11 Best Beginner Yoga Poses at Home (Step-by-Step Guide for 2026)
Starting yoga at home feels overwhelming at first. Trust me, I’ve seen hundreds of beginners feel the same way — […]
 ValVades
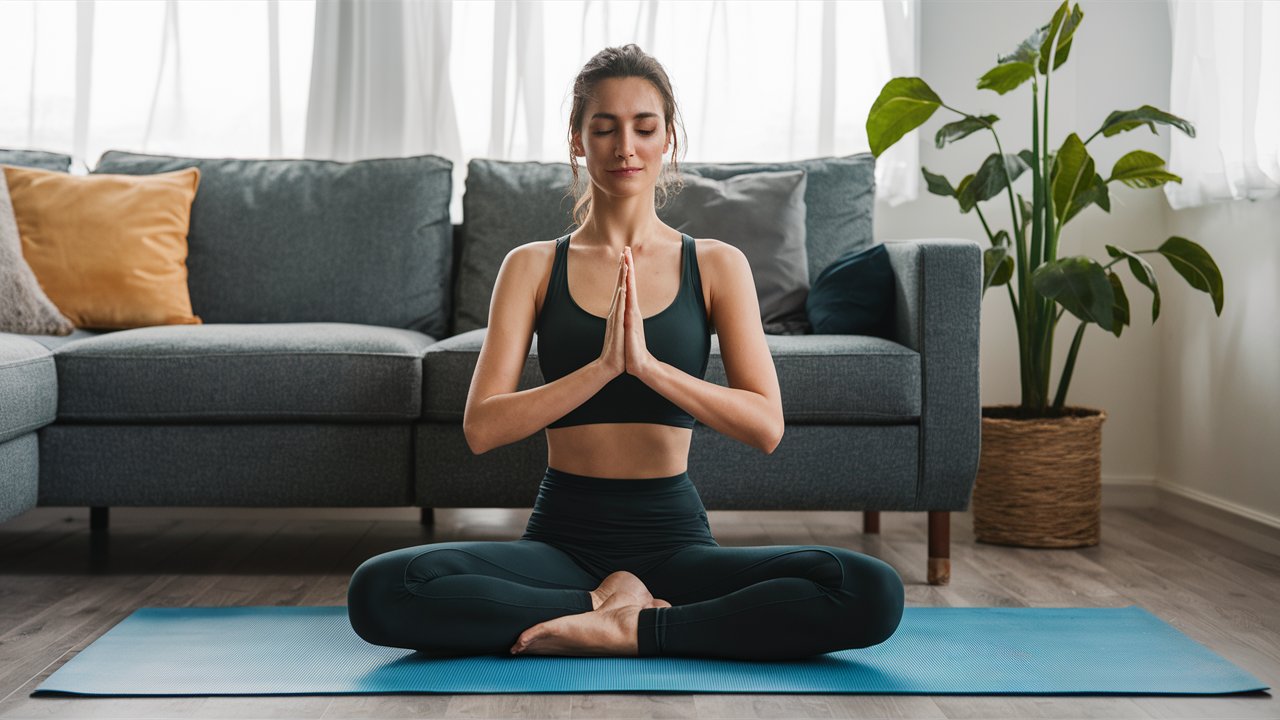
Starting yoga at home feels overwhelming at first. Trust me, I’ve seen hundreds of beginners feel the same way — not knowing where to begin, worried about doing it wrong, or thinking they’re not flexible enough.
Here’s the truth: you don’t need to be flexible to start yoga. You just need to start.
This guide covers 11 beginner yoga poses at home you can do today — no studio, no instructor, and no fancy equipment needed. Each pose is explained clearly with step-by-step instructions, benefits, and honest beginner tips.
Whether you’re 25 or 65, completely stiff or mildly active, these poses will work for you.
What You Actually Need Before You Begin
Before jumping into poses, let’s keep this simple.
Must-have:
A yoga mat (or a non-slip towel on carpet) Comfortable, stretchy clothing About 20–30 minutes of quiet timeNice to have:
A yoga block (helps with balance and reach) A yoga strap (helps with tight hamstrings)That’s it. Don’t wait until you have the perfect setup. A clear patch of floor is enough to begin.
A 5-Minute Warm-Up You Shouldn’t Skip
Jumping straight into poses without warming up is how people strain muscles. Spend 5 minutes on this:
Neck rolls — Slowly roll your head side to side. Don’t rush this.
Shoulder shrugs — Lift both shoulders toward your ears, hold for 2 seconds, release. Repeat 5 times.
Wrist circles — Rotate your wrists in both directions. Important if you’re doing weight-bearing poses.
Ankle circles — One foot at a time, rotate slowly. This opens up your lower body.
Simple breathing — Sit still for 60 seconds. Inhale for 4 counts, exhale for 4 counts. This activates your nervous system for practice.
Benefits of Yoga for Beginners
Before we delve into the world of poses, let’s explore the multitude of benefits yoga offers, especially for those new to the practice:
Increased Flexibility: Yoga stretches and lengthens muscles, improving range of motion and reducing stiffness. Enhanced Strength: Holds and transitions in yoga build core and overall body strength. Improved Balance: Balancing poses challenge your proprioception (body awareness) and refine your ability to maintain stable positions. Stress Reduction: Yoga incorporates mindful breathing techniques that promote relaxation and combat stress hormones. Better Sleep: The combination of physical exertion and stress reduction often leads to improved sleep quality. Boosted Mood: Yoga has been shown to elevate mood and increase feelings of well-being. Mind-Body Connection: Yoga cultivates a sense of awareness between the physical body and the mind.Essential Gear for Your Home Yoga Practice
While not mandatory, having a few key items can enhance your home yoga experience:
Yoga Mat: A comfortable yoga mat provides cushioning and grip for optimal performance. Yoga Block: A supportive block can help modify poses to suit your individual needs. Yoga Strap: A strap can assist in achieving deeper stretches and proper alignment. Comfortable Clothing: Wear loose-fitting clothing that allows for freedom of movement.Creating a Sacred Space
While not essential, creating a dedicated yoga space can deepen your practice. Find a quiet, clutter-free area in your home where you can focus on your breath and movements without distractions.
The Foundation of Yoga – Warm-up and Breathwork
Before embarking on any yoga poses, a proper warm-up is crucial. Here’s a simple 5-minute warm-up routine:
Neck Rolls: Gently roll your head in a circular motion, forward and backward, a few times each way. Shoulder Rolls: Roll your shoulders forward and backward in slow circles, a few times each way. Arm Circles: Make large circles with both arms forward and backward, several times each direction. Spinal Twists: Stand with feet hip-width apart and gently twist your torso from side to side, reaching your arms overhead. Ankle Circles: Slowly rotate your ankles clockwise and counter-clockwise, a few times each direction.Breathwork (Pranayama) is an integral part of yoga. Here’s a simple breathing technique to practice throughout your session:
Ujjayi Breathing (Victorious Breath): Sit comfortably with a straight spine. Inhale through your nose, making a soft hissing sound. Exhale slowly through pursed lips, creating a gentle whooshing sound. Maintain this rhythmic breathing throughout your practice.11 Beginner Yoga Poses at Home (With Step-by-Step Instructions)
These 11 poses are organized by category: standing, seated, and lying down. Together, they give your whole body a complete, balanced practice.
Standing Poses
1. Mountain Pose (Tadasana)
Why it matters: This is the starting point for almost every standing pose in yoga. It teaches you how to stand correctly — which most of us have forgotten.
How to do it:
Stand with feet together, big toes touching. Spread your toes and press all four corners of your feet into the floor. Tighten your thighs slightly and pull your belly button inward. Roll your shoulders back and down, away from your ears. Let your arms hang naturally at your sides. Breathe and hold for 5–10 breaths.Beginner tip: If balancing feels shaky, stand with feet hip-width apart instead. No judgment — it’s still Mountain Pose.
Main benefits: Fixes poor posture, builds body awareness, strengthens ankles and legs.
2. Warrior I (Virabhadrasana I)
Why it matters: This pose builds leg strength and opens your hips at the same time. It’s challenging but incredibly rewarding when you get it.
How to do it:
Stand tall, then step your right foot back about 3–4 feet. Keep your left knee bent at 90 degrees, directly over your ankle. Your back foot stays flat or slightly raised — whatever feels stable. Raise both arms overhead, palms facing each other. Keep your hips square and your spine long. Hold for 5–8 breaths, then switch sides.Beginner tip: If your back heel won’t touch the floor, that’s fine. Keep it lifted.
Main benefits: Strengthens legs and glutes, improves hip flexibility, builds stamina.
3. Warrior II (Virabhadrasana II)
Why it matters: Warrior II opens your chest and shoulders while giving your legs a serious workout. It’s one of the most empowering poses in yoga.
How to do it:
Step feet wide apart (about 4 feet). Turn your right foot out 90 degrees, left foot slightly inward. Bend your right knee so it’s directly above your right ankle. Stretch arms out to both sides, parallel to the floor. Look over your right hand. Keep your shoulders relaxed. Hold for 5–8 breaths, then switch sides.Beginner tip: Don’t let your knee collapse inward. If it does, step your feet wider.
Main benefits: Opens hips and chest, strengthens thighs, improves focus and balance.
4. Triangle Pose (Trikonasana)
Why it matters: Triangle Pose stretches the sides of your body and improves lateral flexibility — areas that most other exercises ignore.
How to do it:
Stand with feet about 3–4 feet apart. Turn your right foot out, left foot slightly in. Extend arms out to the sides. Hinge sideways at your right hip and reach your right hand toward your right shin or a yoga block. Extend your left arm straight up toward the ceiling. Look up or keep your gaze forward (don’t force your neck). Hold for 5–8 breaths, then switch sides.Beginner tip: Use a yoga block under your bottom hand if you can’t comfortably reach your shin.
Main benefits: Stretches sides, hips, and hamstrings. Strengthens core and legs.
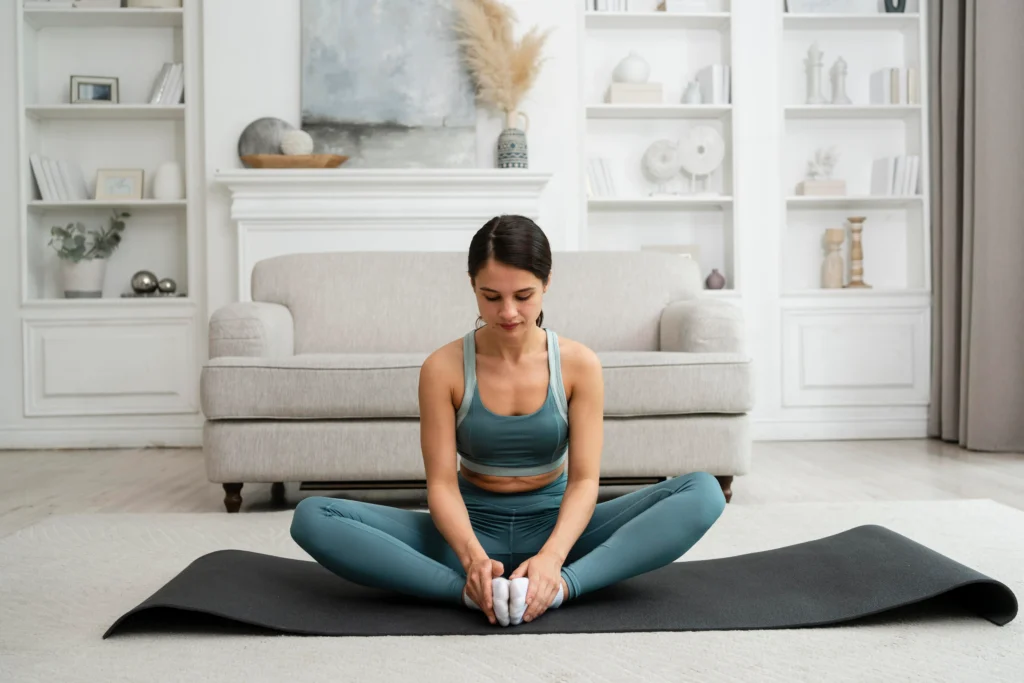
Seated Poses
5. Staff Pose (Dandasana)
Why it matters: Sitting properly sounds easy, but most people collapse in their lower back. Staff Pose teaches you how to sit tall and engage your core while seated.
How to do it:
Sit on your mat with legs extended straight in front of you. Flex your feet (toes pointing up). Place hands on the floor beside your hips. Sit tall — imagine someone pulling a string from the top of your head. Engage your core and breathe for 5–8 breaths.Beginner tip: If your lower back rounds, sit on a folded blanket or yoga block to tilt your pelvis forward.
Main benefits: Builds core strength, improves posture, prepares you for seated poses.
6. Child’s Pose (Balasana)
Why it matters: This is your rest pose. Whenever a yoga session feels too intense, Child’s Pose brings you back to calm. It’s not a “weak” pose — it’s a smart one.
How to do it:
Kneel on your mat, big toes touching, knees hip-width apart. Sit back toward your heels. Fold forward, stretching your arms out in front or resting them by your sides. Let your forehead rest on the mat. Close your eyes. Breathe slowly. Stay as long as you need.Beginner tip: If your forehead doesn’t reach the mat, place a folded blanket or your fists underneath.
Main benefits: Relieves lower back tension, calms the mind, stretches hips and shoulders.
7. Downward-Facing Dog (Adho Mukha Svanasana)
Why it matters: Downward Dog is probably the most recognized pose in yoga — and for good reason. It stretches nearly every part of your body and builds real strength.
How to do it:
Start on hands and knees — hands shoulder-width apart, knees hip-width apart. Tuck your toes under and press your hips up and back. Straighten your legs as much as comfortable. Bent knees are completely fine. Press your heels toward the floor (they don’t need to touch). Let your head hang between your arms — neck relaxed. Hold for 5–10 breaths.Beginner tip: If your hamstrings are tight, bend your knees generously. The important thing is a long, straight spine — not straight legs.
Main benefits: Strengthens arms and legs, stretches hamstrings and calves, improves circulation.
8. Cat-Cow Pose (Marjaryasana – Bitilasana)
Why it matters: If you sit at a desk all day, your spine is probably stiff. Cat-Cow is the simplest way to wake it up. Most people feel instant relief after just a few rounds.
How to do it:
Start on hands and knees. Cow: Inhale, drop your belly toward the floor, lift your chest and tailbone. Look slightly upward. Cat: Exhale, round your spine toward the ceiling, tuck your chin to your chest. Flow between Cat and Cow with your breath — slowly, without rushing. Repeat for 8–10 breath cycles.Beginner tip: Move at half the speed you think you should. Slower is better here.
Main benefits: Relieves spinal stiffness, improves posture, reduces lower back pain.
9. Seated Spinal Twist (Ardha Matsyendrasana)
Why it matters: Twisting poses massage your internal organs, improve spinal rotation, and release tension in the mid-back — areas that rarely get attention.
How to do it:
Sit with legs extended. Bend your right knee and place your right foot flat on the floor outside your left thigh. Sit tall, then rotate your torso to the right. Place your left elbow outside your right knee, or just place your hand there gently. Right hand goes behind you on the floor for support. Look over your right shoulder. Hold for 5–8 breaths. Switch sides.Beginner tip: Don’t force the twist. Even a small rotation is beneficial and will deepen with time.
Main benefits: Improves spinal flexibility, aids digestion, stretches hips and shoulders.
Lying-Down Poses
10. Bridge Pose (Setu Bandhasana)
Why it matters: Bridge Pose strengthens your glutes, lower back, and core — the muscles that support your spine. It’s also a gentle backbend that opens your chest.
How to do it:
Lie on your back with knees bent, feet flat on the floor, hip-width apart. Arms rest by your sides, palms facing down. Press your feet into the floor and lift your hips toward the ceiling. Keep your thighs parallel — don’t let your knees fall out or cave in. Hold for 5–8 breaths. Lower slowly and repeat 2–3 times.Beginner tip: Squeeze your glutes at the top of the pose for more activation.
Main benefits: Strengthens core, glutes, and hamstrings. Opens chest and hip flexors.
11. Corpse Pose (Savasana)
Why it matters: This is the most important pose in any yoga session, and also the most underrated. Your body integrates everything it learned during practice while you’re in Savasana. Skipping it is like baking a cake and skipping the cooling step.
How to do it:
Lie flat on your back. Let your feet fall open naturally. Arms rest by your sides, palms facing up. Close your eyes. Do nothing. Just breathe and let your body be heavy. Stay for at least 5 minutes — longer if possible.Beginner tip: If your mind wanders (it will), gently bring attention back to your breath. That’s the practice.
Main benefits: Deep relaxation, stress reduction, integration of physical benefits from your session.
A Simple 20-Minute Beginner Routine Using These Poses
You don’t need to do all 11 poses every day. Here’s a simple sequence that flows well:
Mountain Pose — 5 breaths Warrior I (both sides) — 5 breaths each Warrior II (both sides) — 5 breaths each Downward-Facing Dog — 8 breaths Cat-Cow — 8 rounds Child’s Pose — rest for 1 minute Seated Spinal Twist (both sides) — 5 breaths each Bridge Pose — 3 rounds Corpse Pose — 5 minutesThat’s it. Twenty minutes. You’ll feel the difference after your first session.
Honest Tips for Beginners (That Most Guides Skip
You will feel sore after your first few sessions. That’s normal. It means your muscles are waking up. It usually fades after day 3 or 4 of consistent practice.
Comparison is the enemy of progress. Your practice is yours. It doesn’t matter what someone in an online video can do. Focus on how your body feels, not how it looks.
Practice 4–5 days a week for best results. Daily is ideal but consistency beats intensity every time. Four good sessions a week beats one perfect Saturday session.
You don’t need to warm up “perfectly.” Just move gently for 5 minutes before you start poses. Your body will tell you when it’s ready.
Flexibility comes slowly, strength comes faster. Most beginners are surprised that they gain strength before flexibility. That’s completely normal.
Yoga for Everyone
Remember, yoga is a journey, not a destination. Embrace modifications and don’t push yourself beyond your limits. As you progress, explore more challenging poses and flows while always honoring your body’s needs.
Additional Tips for Beginners
Listen to Your Body: Pain is a signal to modify or come out of a pose. Focus on Breath: Maintain smooth, steady breathing throughout every pose. Don’t Force Flexibility: Stretching should feel good, not painful. Be Patient: Building strength and flexibility takes time and consistent practice. Enjoy the Journey: Focus on the present moment and appreciate the process of moving your body mindfully.Expanding Your Practice
Once you feel comfortable with the basic poses, you can explore a variety of resources to expand your yoga practice:
Online Yoga Classes: Numerous websites and apps offer beginner-friendly online yoga classes. Yoga Books: Invest in yoga books with detailed instructions and illustrations of poses. Yoga Workshops: Consider attending beginner-oriented yoga workshops led by experienced instructors.Conclusion
Yoga is not about perfect poses or perfect flexibility. It’s about showing up on your mat, breathing, and moving your body with intention.
These 11 beginner yoga poses at home are a solid foundation. Return to them often — even experienced yogis practice these same fundamentals because the basics never stop mattering.
Start today. Even 15 minutes counts. Your body will thank you.
Frequently Asked Questions
How long should a beginner yoga session be?
Start with 20–30 minutes. As your body adapts and you learn more poses, you can extend to 45–60 minutes. Consistency matters more than duration.
Can I do yoga every day as a beginner?
Yes, but alternate between more active sessions and gentler ones. Doing the same intense flow every day without rest can lead to fatigue or minor injury.
Do I need to be flexible to start yoga?
No. Flexibility is the result of yoga, not a requirement for it. Every pose in this guide has modifications for stiff bodies.
How soon will I see results from yoga?
Most beginners notice better sleep, reduced tension, and improved mood within the first two weeks. Physical flexibility and strength improvements typically show within 4–8 weeks of consistent practice.
What should I eat before yoga?
Practice on a relatively empty stomach. A light snack 1–2 hours before is fine, but avoid heavy meals within 2–3 hours of practice.
Is yoga enough exercise on its own?
For flexibility, stress relief, and body awareness — yes, absolutely. If weight loss or cardiovascular fitness is your main goal, combine yoga with walking, swimming, or cycling.
What’s the best time of day to do yoga?
Morning yoga energizes you for the day. Evening yoga helps you unwind. The best time is whichever time you’ll actually stick to.