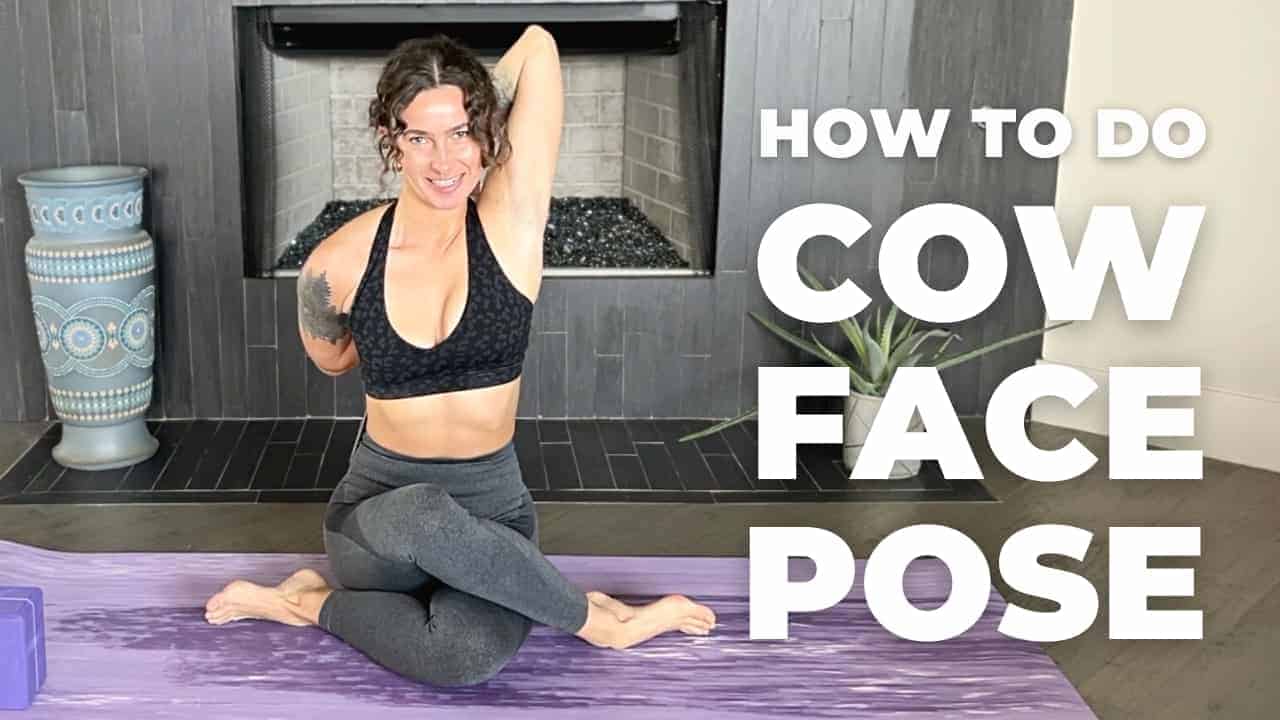
How to Do Cow Face Pose in Yoga—Proper Form, Variations, and Common Mistakes
The post How to Do Cow Face Pose in Yoga—Proper Form, Variations, and Common Mistakes appeared first on The Yoga Nomads.
 Konoly
Cow Face Pose (Gomukhasana) is a full body stretch that improves your posture while dynamically stretching over 10 major muscle groups. With an expansive heart, open hips, and rotated shoulders, this pose counteracts the negative effects of sitting at a desk all day.
Practicing Cow Face Pose for just 5 minutes a day can even relieve back pain, sciatic, stiff shoulders, and leg cramping. Here is everything you need to know about reaping the benefits of Gomukhasana.
Prefer video? Here’s our complete tutorial on how to perform the cow face pose:
Why is it called Cow Face Pose?
Cow Face Pose is named for the shape that your body creates while performing this dynamic asana. Your legs are the cow’s mouth, your torso is the head, and your arms are the ears. If you still can’t see the “cow,” think of the crossed knees as the lips and the bent elbows as ears (one up and one down).
Pose Benefits
Cow Face Pose is known for its heart opening and hip opening benefits. Your shoulders, legs, and arms should feel extra relaxed after holding this pose for a few minutes. Gomukhasana is considered a restorative posture because it removes stress from the body and allows you to relax in a seated position. The other benefits include:
Hip opening: Stacking your knees on top of each other allows the hips to internally rotate and provide a deep stretch across the outer glutes. This asana can relieve hip tension and improve flexibility for other poses that challenge the hips. Reduced back pain: Cow Face Pose targets the deep connective tissues and fascia between your back muscles, which relieves stiffness throughout the entire back, particularly in your upper spine and neck. Shoulder stretch: This posture rotates your shoulder sockets and provides a relieving stretch across your shoulder blades. Energy boost: If you’re feeling fatigued, Cow Face Pose can reinvigorate your energy levels by channeling prana through all of the body’s major joints. When combined with deep breathing, this posture is almost like an afternoon “pick me up.” Improved posture: If you spend a lot of time hunching over devices, Cow Face Pose can help realign your spine and relieve upper back pain. Chakra balancing: Gomukhasana is often included in yoga sequences designed to balance the 7 chakras. The posture involves movements of all 4 limbs and targets major pressure points on your joints.Is Cow Face Pose a hip opener?
Cow Face Pose can be a mild or dramatic hip opener depending on the position of your knees and feet. For a deeper hip stretch, work towards stacking your knees on top of each other and bringing your feet away from the body. For an easier hip stretch, keep the feet close to your hips and allow your knees more space to each side.
What muscles does Cow Face Pose stretch?
Cow Face Pose stretches, strengthens, and lengthens the hips, ankles, shoulders, arms, and chest. The interlocking nature of this pose allows muscle groups to remain active while also elongating and relieving tension.
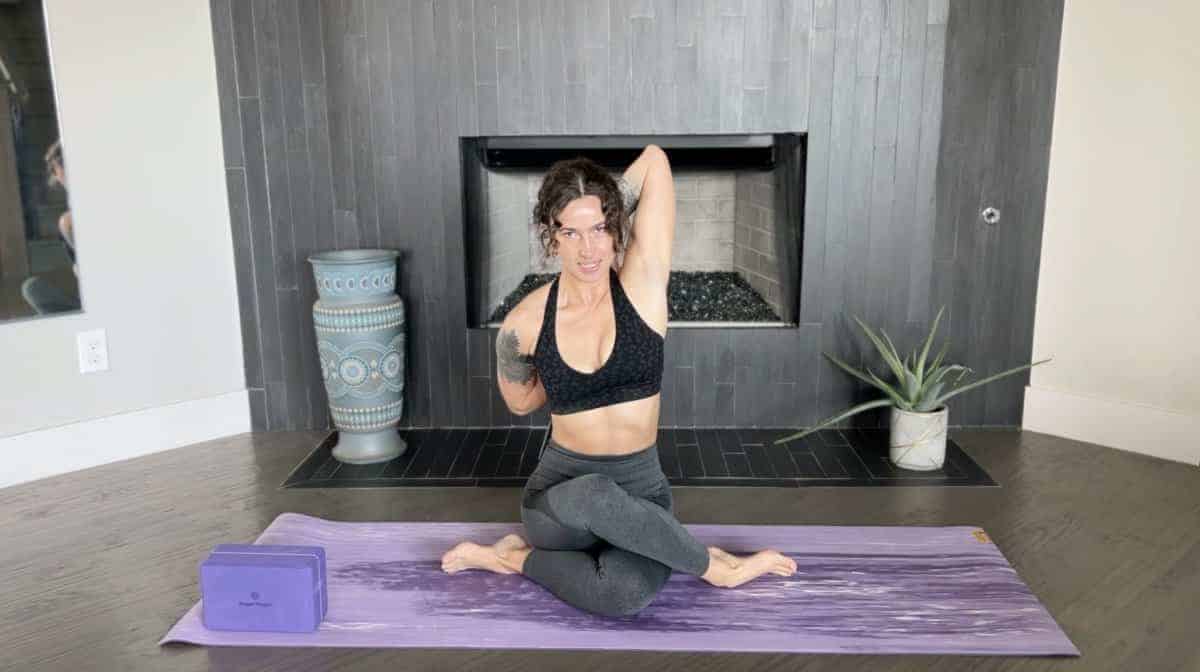
How to do a Cow Face Pose: Step-by-Step Instructions
Similar to Eagle Pose, Cow Face Pose can feel a bit like a human shoelace. Instead of tangling your limbs together, here is how to enter the posture with grounded, intentional alignment from the ground up.
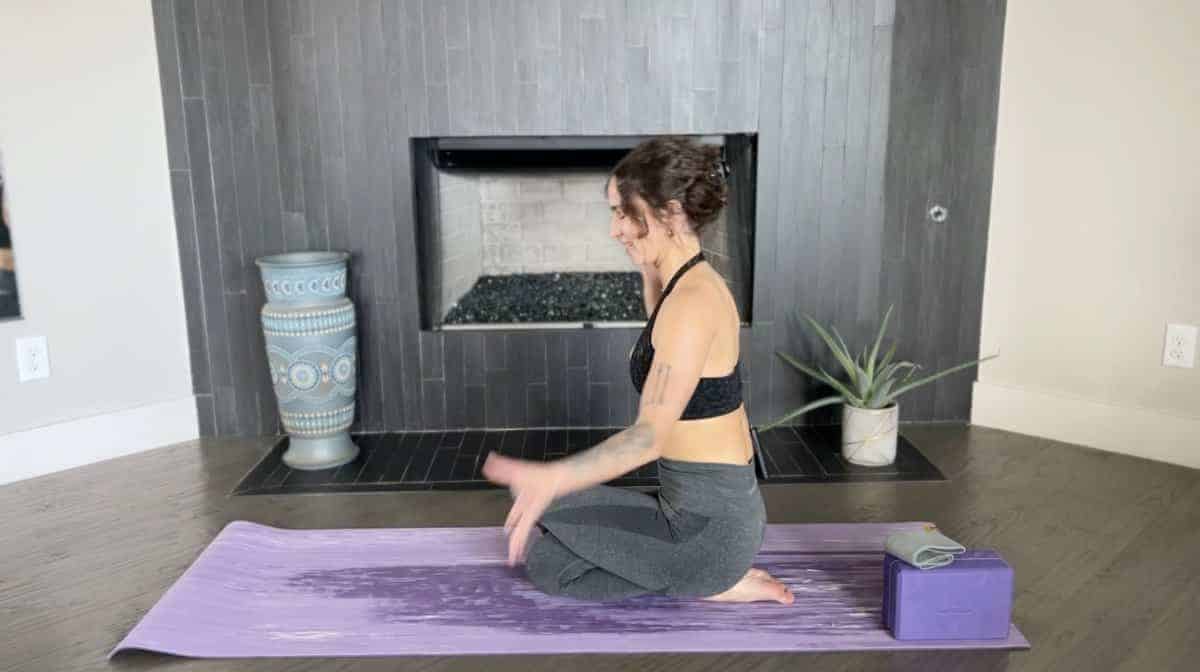
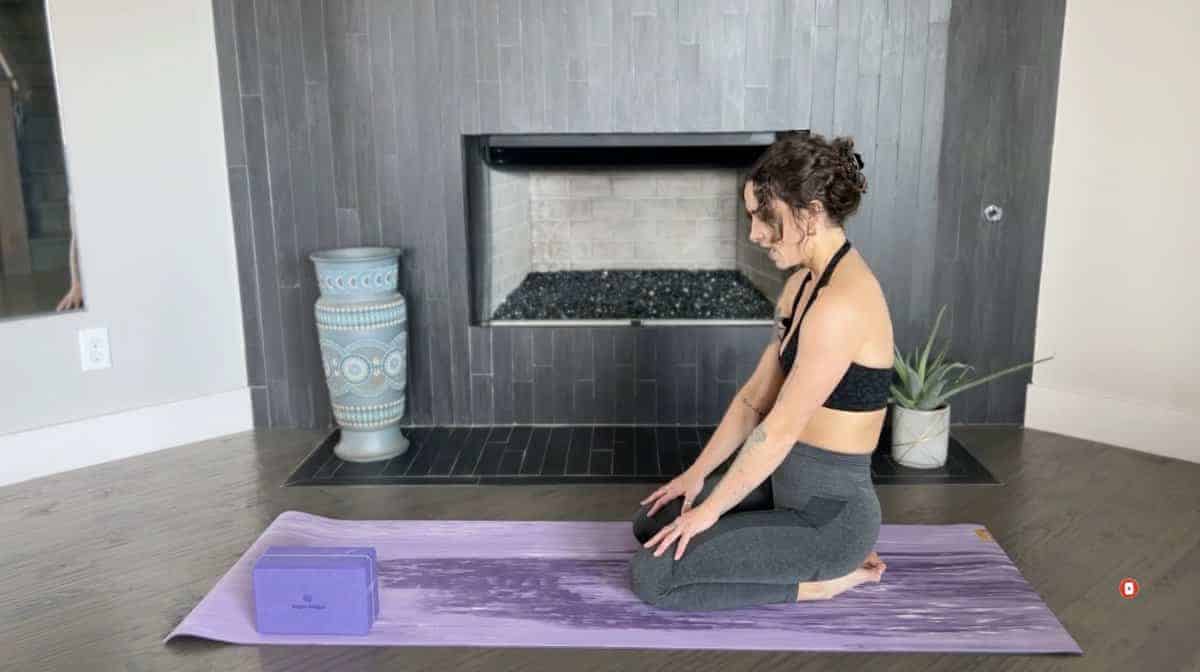 Start in a seated position or Dandasana (Staff Pose) with your legs straight out in front of you and spine straight.
Cross your right leg over your left and gently place your right foot on the outside of your left knee. Then, shift the right foot to the outside of the left hip.
Then, bend your left leg and bring your left foot to the outside of your right hip.
Adjust your legs so that your right knee is stacked on top of the left knee.
For a deeper stretch, slowly scoot your heels toward the outside of your hips while keeping the knees bent as much as is comfortable.
With your knees stacked and centered as much as possible, root into the mat with your sit bones. Try to remain equally grounded on both sides.
Inhale, press into the mat with your hands, and lift your spine upward to straighten. Keep the core engaged to keep your back supported.
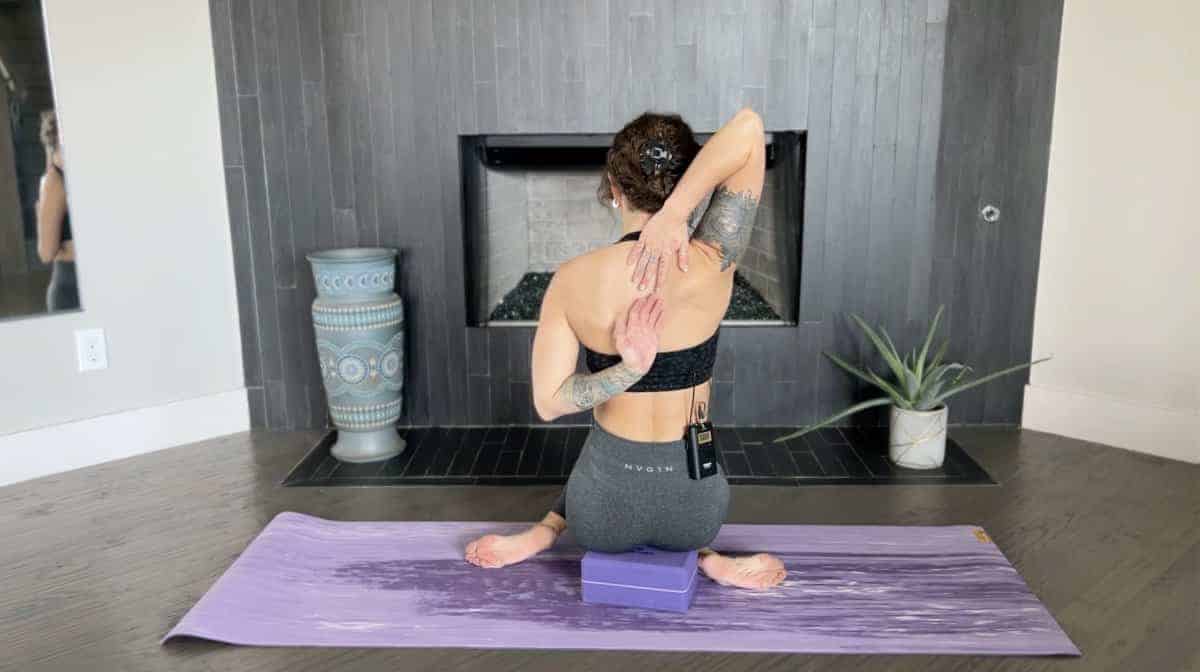
Bring your arms out to both sides and bend the right elbow. Tuck your right arm behind your back and bring the top of your hand pressing against your spine between your shoulder blades.
On an exhale, bring the left arm straight up by your ear. Bend the left elbow and reach the hand down the middle of your back.
If possible, grasp your fingertips together. If you can’t reach your hands together, use a strap or lightly press the hands into your back.
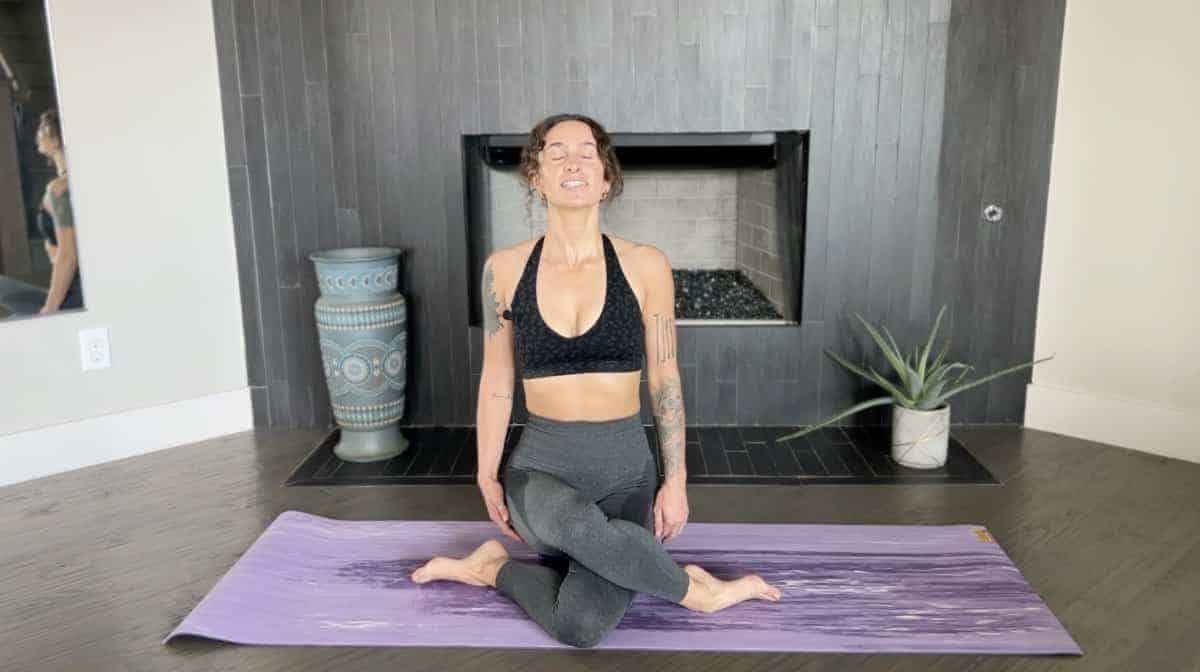
On an inhale, lengthen your spine again to ensure you aren’t hunched over. Keep your gaze straight ahead and breathe deeply. Hold fo4 1-2 minutes.
Feel the hips and shoulders rotating as you relax into the posture.
When you’re done, unclasp the hands and slowly release your arms. Stabilize your hands on the floor and gently uncross your legs. Repeat on the opposite side.
Start in a seated position or Dandasana (Staff Pose) with your legs straight out in front of you and spine straight.
Cross your right leg over your left and gently place your right foot on the outside of your left knee. Then, shift the right foot to the outside of the left hip.
Then, bend your left leg and bring your left foot to the outside of your right hip.
Adjust your legs so that your right knee is stacked on top of the left knee.
For a deeper stretch, slowly scoot your heels toward the outside of your hips while keeping the knees bent as much as is comfortable.
With your knees stacked and centered as much as possible, root into the mat with your sit bones. Try to remain equally grounded on both sides.
Inhale, press into the mat with your hands, and lift your spine upward to straighten. Keep the core engaged to keep your back supported.
Bring your arms out to both sides and bend the right elbow. Tuck your right arm behind your back and bring the top of your hand pressing against your spine between your shoulder blades.
On an exhale, bring the left arm straight up by your ear. Bend the left elbow and reach the hand down the middle of your back.
If possible, grasp your fingertips together. If you can’t reach your hands together, use a strap or lightly press the hands into your back.
On an inhale, lengthen your spine again to ensure you aren’t hunched over. Keep your gaze straight ahead and breathe deeply. Hold fo4 1-2 minutes.
Feel the hips and shoulders rotating as you relax into the posture.
When you’re done, unclasp the hands and slowly release your arms. Stabilize your hands on the floor and gently uncross your legs. Repeat on the opposite side.
Tips for Mastering the Pose
Cow Face Pose is one of the best yoga poses for counteracting all the problems associated with prolonged sitting. However, you need to ensure that you keep your spine erect and your joints protected. There is no shame in modifying the posture until you’re ready to work toward the full pose.
Here’s our video on how to approach Cow face as a beginner:
Tip #1: If you have tight hips, elevate your sitting bones
Cow Face Pose is undeniably challenging on inflexible hips. Most beginner yogis will benefit from practicing Cow Face Pose on a folded blanket or a yoga block. When you elevate your butt off the floor, it gives the hips more space to adjust to the posture. Experiment with different block positions (long-ways versus short-ways) and blanket adjustments until you feel comfortable with stacking your knees on top of each other.
Tip #2: If your fingertips can’t clasp, use a strap
If you can’t touch your fingertips together behind your back, don’t worry! Many of us aren’t used to rotating our shoulders into such an open position. The quickest way to advance your shoulder flexibility is to hold a yoga strap between your hands. This gives you more length and allows you to adjust your grip so you can eventually interlock your fingertips between those shoulder blades.
Tip #3: Point feet sideways
The angle of your feet in Cow Face Pose can dramatically impact the comfort of your knees. Allow your toes to naturally point out to the sides so you don’t end up straining your knee joints. Optionally, you can flex the feet for more muscle activation.
Common Mistakes
Yogis who rush into Cow Face Pose may feel like a tangled mess. Avoid these common pitfalls to ensure that you enjoy all the benefits of this asana without hurting your back or your joints.
Common Mistake #1: Hunched back
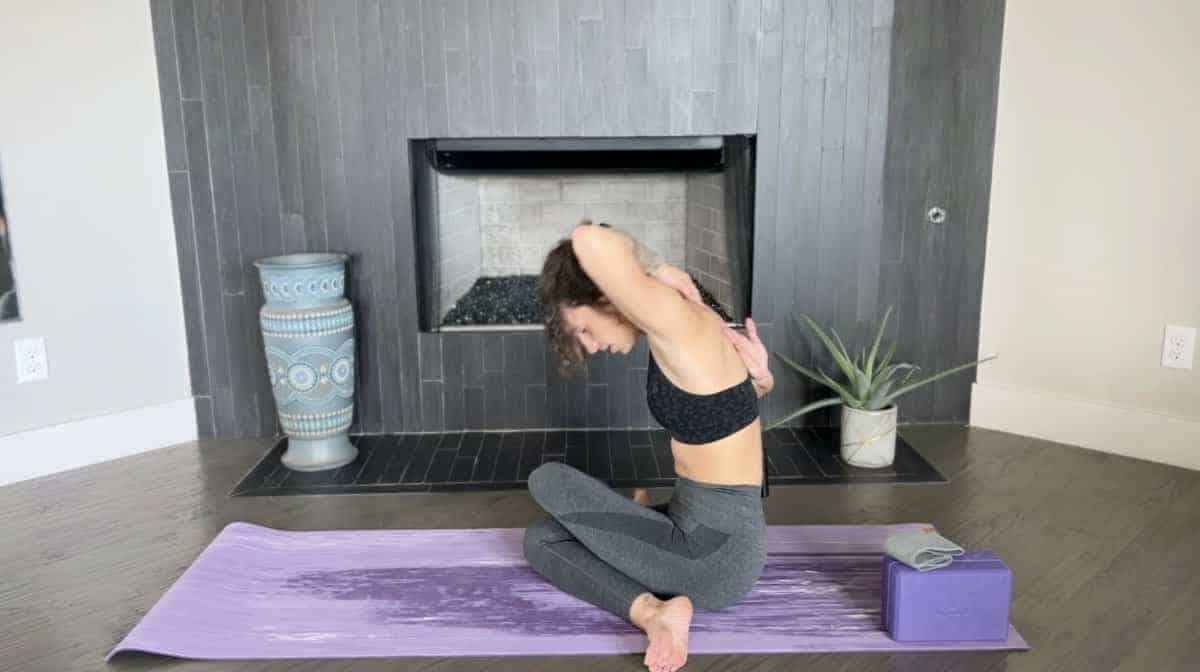
Your spine should not be curved forward or uncomfortable in Cow Face Pose. As you reach your hands together, it’s natural to want to hunch forward to find the right clasp. However, this can hurt your neck and lead to more of the postural issues we are trying to correct! Cow Face is supposed to a heart-opening, chest-expanding posture. Stay upright!
How to Fix It: Bring your gaze forward and up. Don’t look down! Next, sit up straight, take a deep inhale, and tighten your core. Imagine your belly button reaching back toward your spine. Then, reach your hands closer together behind your back to open your chest. If you can’t reach, use a strap.
Common Mistake #2: Forcing your knees
Most yoga classes teaching Cow Face Pose include the the cue “stack your knees on top of eachother.” However, if your hip flexibility isn’t quite there yet, you can end up forcing your knees into an uncomfortable position.
Contrary to popular belief, you can reap all the benefits of Cow Face Pose without fully “stacking” your knees.
You should not feel any pain in your joints during this posture! If you do, it’s time to add a prop or adjust.
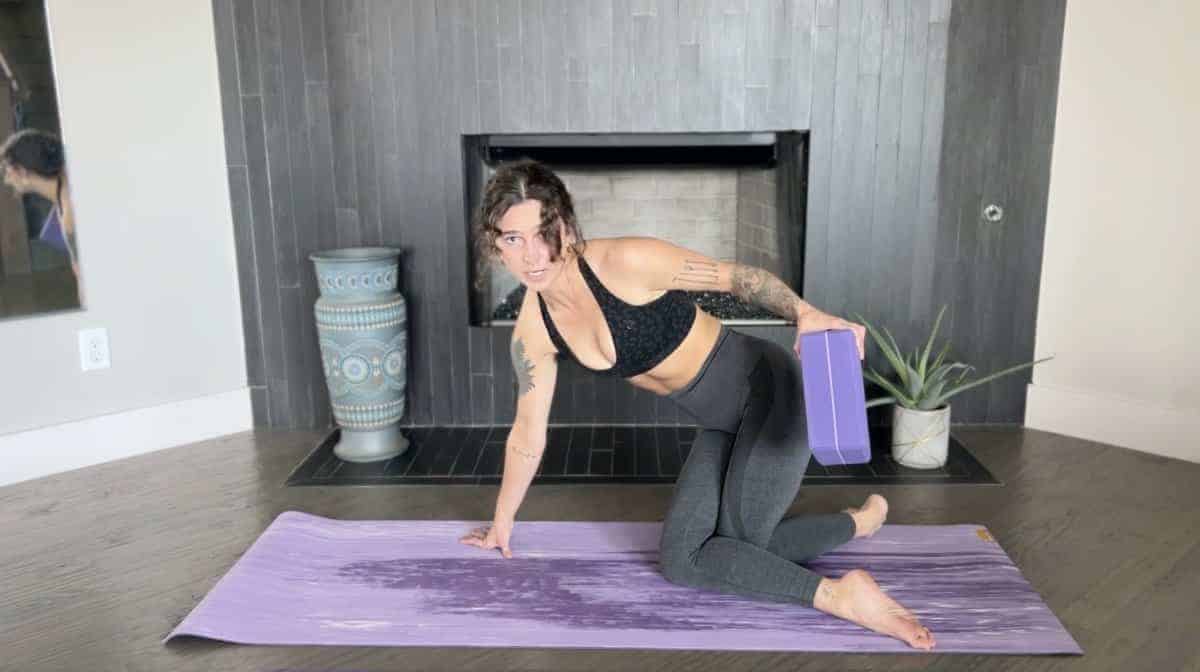
How to Fix It: Try coming into Cow Face Pose from a tabletop position. Lean forward onto your hands and then cross your legs over each other. Press the bottom knee into the back of the other knee. Retain this knee position. Then, separate your feet and sit back between them.
Add a block beneath your butt to lift your hips and bring more mobility to the knees.
Common Mistake #3: Sitting on your feet
Sitting on your feet is incredibly uncomfortable and not necessary. We aren’t little kids at story time! Get those feet out from under your butt and let your sitting bones anchor into the mat.
How to Fix It: Keep your tailbone firmly rooted on the floor. Allow your feet to naturally point toward the outer edges of your mat. The feet can be closer to the outside of the hips for a lighter stretch, or they can move forward (away from the hips) for a deeper stretch.
Variations
You can modify Cow Face Pose for any skill level.
Cow Face Pose with a Block
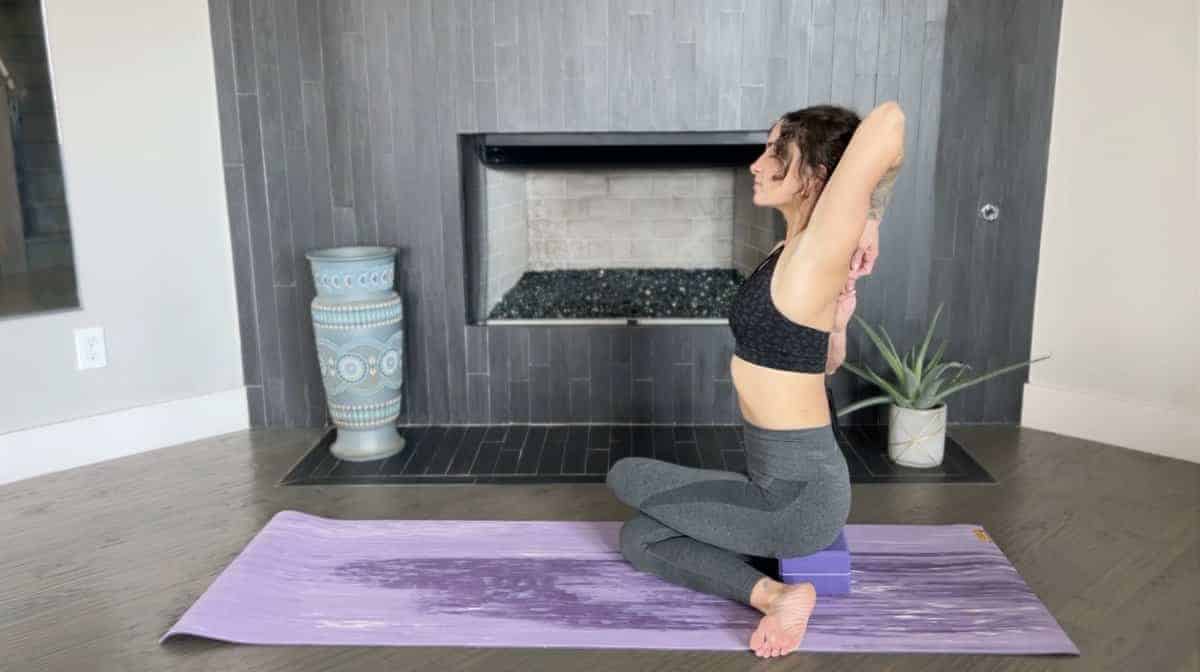
The most beginner-friendly version of Cow Face involves a block or folded blanket. This is perfect for anyone with tight hips or stiff joints. To do it:
Start in a tabletop position with shoulders stacked over hands and hips stacked over knees. Bring the right knee into the “ditch” behind the left knee so they are crossed. Spread your feet out to the side so there is space beneath your butt. Place a block right there. Then, keep your knees bent as you sit back between your feet onto the block. Sit up straight, elongate the spine, and then move into the Cow Face arm position.Over time, remember not to rely too much on the block or you’ll never advance!
Cow Face Pose with a Strap
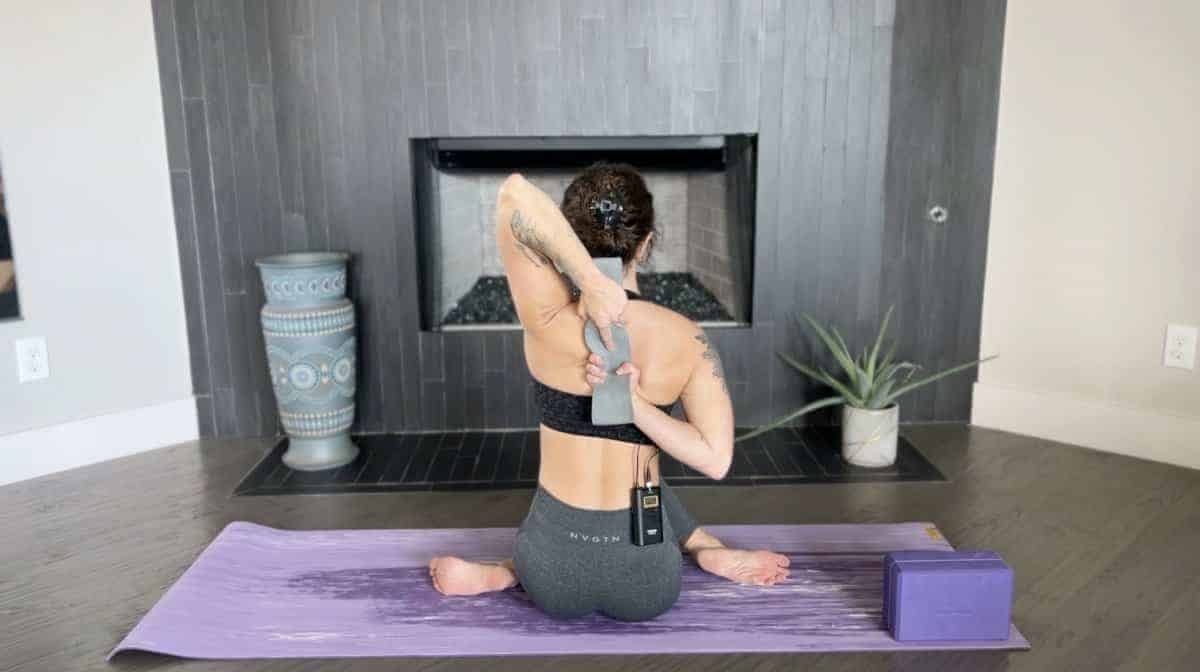
If you are having trouble grasping your hands behind your back, hold a yoga strap (or belt or rope) in the upper hand as you reach back. Grab onto the opposite end of the strap once your hands are behind you. Use tension to pull on the strap and stretch your shoulders open. Slowly work towards inching your hands closer together along the length of the strap.
Cow Face Pose in a Chair
For elderly or beginner students, Cow Face can also be practiced in a seated position in a chair. The legs can be crossed or remain neutral while the student focuses on the shoulder stretch with their spine straight up against the support of the chair.
Reclined Cow Face Pose
For a more restorative version of Cow Face Pose (Gomukhasana), you can enjoy a similar hip stretch while laying on your back. This is great for anyone with a lot of back pain or discomfort in their knees.
Lay flat on your back with knees bent. On an inhale, bring the left leg toward your body and bend the knee so the left foot points out to the opposite side. Next, bend up the right leg and tuck the knee under the left knee. Grab the outer edge of both feet and adjust the knees so they are crossed right in the center of your body. Keep your spine flat to the floor and slowly pull on the feet or calves to adjust the intensity of the hip stretch as you pull the knees closer to your chest.Safety and Precautions
Avoid practicing Cow Face Pose if you have:
A shoulder or rotator cuff injury Hip replacements or hip injuries Ankle, knee, or wrist strains or injuries Spinal surgery or any other joint conditionTeaching the Pose
These cues are helpful for yoga teachers who want to properly guide their students into this posture:
Start the pose from Tabletop (all fours) or a seated position. Either way, be sure that your feet remain pointed outwards and your hips sit between them. Don’t be afraid to modify the posture to ensure proper form. A yoga block or yoga strap can help you maintain proper alignment while still enjoying a deep stretch. Move slowly and carefully when exiting this pose. The deep shoulder rotation requires gentle release.Preparatory Poses
Sun Salutations Eagle Pose (Garudasana) Pigeon Pose (Adho Mukha Kapotasana) Bound Angle Pose (Baddha Konasana)Counter Poses
Bow Pose (Dhanurasana) Seated Forward Bend Pose (Paschimottansana) Child’s Pose (Balasana)Conclusion
Cow Face Pose may feel awkward at first, but it can quickly become one of your favorite postures once you realize how good it feels on your upper back and hips. Don’t forget to keep the chest wide and heart open.
Namaste!