The Best Gentle Yoga Sequence For All Levels
The post The Best Gentle Yoga Sequence For All Levels appeared first on The Yoga Nomads.

Have you recently been to a yoga class where you found many postures too tricky or felt totally overwhelmed? If so, don’t despair or write yoga off entirely just yet.
There are many different yoga styles, some of which are easier than others. For example, Ashtanga yoga is one of the most challenging styles, where many poses require a certain level of flexibility. Therefore, it’s not the most accessible or gentle yoga practice for newbies.
If you’re new to yoga, it’s essential to ease yourself in by learning the basics and most accessible yoga poses first. So to help you prepare for classes at yoga studios, I’m sharing the most beginner-friendly yoga styles and a gentle yoga sequence that anyone can do.
Why Is Yoga So Difficult?
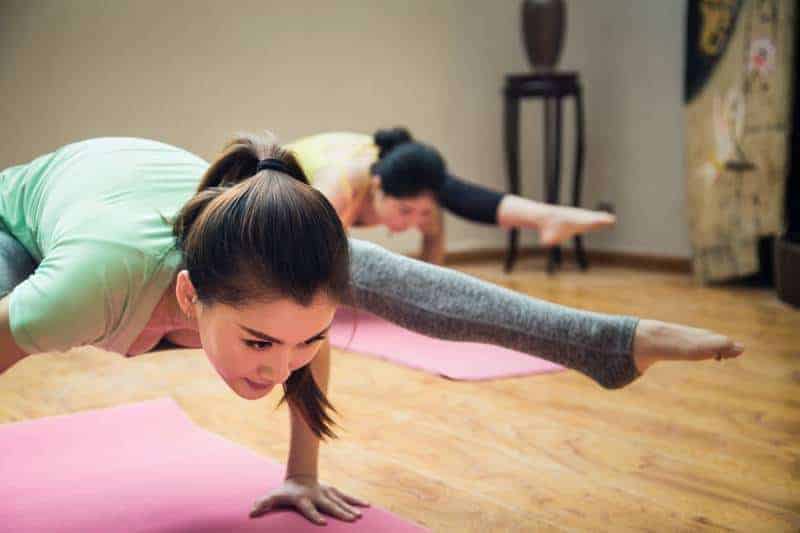
As mentioned, not all yoga classes are the same. Unfortunately, as a complete beginner with no knowledge of the different styles, it’s easy to walk into a yoga class that is not suited to your individual needs.
Finding yourself in a class where you struggle to do most of the asanas is enough to put you off for good. But if this has happened to you, don’t let it deter you. If you found it too tricky, likely, you were not doing a beginner-friendly, gentle yoga style. Here are three yoga styles that you should avoid as a beginner.
Ashtanga yoga
Ashtanga is a traditional, disciplined style that involves a set sequence that must be followed in a particular order. There are six different Ashtanga series that you learn with certified yoga instructor. You cannot start the next series until you master the current one.
The lack of freedom in this style makes it very challenging for beginners. Even the first series (known as the primary series) features many advanced poses that require a level of flexibility too high even for the average person. Therefore, these yoga classes are better suited for experienced yoga practitioners looking to take their practice to the next level.
Power yoga
Power yoga can be described as a yoga workout, as it combines traditional yoga poses with strength and conditioning exercises. Like fitness classes, this yoga style can help you build muscle mass, become stronger, and lose weight. However, it lacks the spiritual aspect of yoga and is far from the practice’s traditional roots.
Moreover, this physically challenging style pushes your body to the extreme, with additional core work and upper body strengthening added to the yoga poses or transitions. Therefore, it’s not ideal if you want to learn basic yoga, if you are not already physically fit, or if you have injuries or health conditions.
Hot yoga
Hot yoga is traditionally based on the Bikram style, a challenging set sequence of asanas. However, today, it refers to any dynamic yoga style practiced in a heated room. For Bikram yoga, the room is set to 105 degrees with 40% humidity to create a sauna-like feel.
The purpose of hot yoga is to release toxins and lose weight. In addition, the hot temperatures increase your flexibility so that you can stretch deeper. However, this style can be overwhelming for people without an existing yoga practice and leave you exhausted rather than replenished.
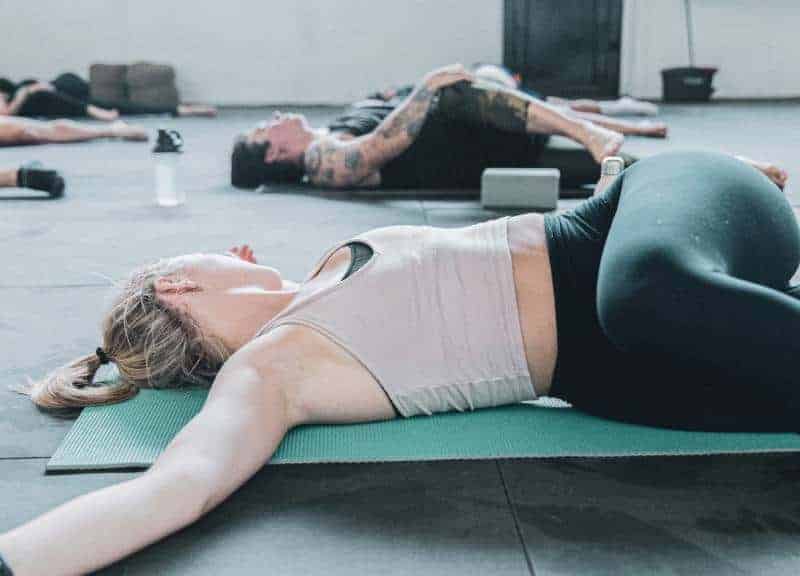
What Yoga Styles Are Best For Beginners?
What Yoga Styles Are Best For Beginners?
Now that you know which yoga styles are not suited to beginners let’s discuss the gentler types of yoga you can do with zero experience.
Hatha yoga
Hatha is one of the oldest lineages of yoga that has now become an umbrella term for all dynamic styles, such as Vinyasa, Iyengar, and Ashtanga. Hatha translates to “sun and moon” in Sanskrit. Thus, this method involves balancing and uniting the opposing forces or energies in the body, which is done through physical postures, breathing techniques, and meditation.
However, a traditional Hatha class differs from the other dynamic styles that branch off this lineage. In authentic Hatha yoga practice, you hold static postures, typically taking five breaths in each one. Therefore, it is not a fast-paced style and gives you time to work on your alignment, which is ideal for beginners.
Iyengar yoga
Iyengar yoga gives the most focus on alignment. It involves holding the poses for a long time while adjusting the body to find precise positioning. Iyengar yoga teachers provide very detailed cues and physical adjustments, which is an excellent way to comprehend how each asana should look and feel. It also features the same postures found in other styles, so you can take what you learn from Iyengar and apply it to different classes.
In fact, this is what I did when I started practicing yoga. I enjoyed faster-paced styles like Ashtanga and Vinyasa, but I was never sure of the proper alignment. Then I tried Iyengar yoga. Iyengar was not the most fun yoga practice compared to the dynamic sequences. Still, I could see its importance, so I continued learning yoga for two years alongside other styles.
Now I advise my students to do the same. Knowing the correct alignment will prevent you from injuring yourself or harming your body in the more challenging styles.
Restorative yoga
Restorative yoga is best for anyone with injuries or existing health conditions that limit their mobility and range of movement. Unlike Hatha and Iyengar, Restorative yoga poses are all floor-based. You also hold the poses for longer and use lots of props to help you find comfort.
In this type of yoga class, the teacher will prompt you to relax your body. You typically don’t engage or strengthen the muscles; instead, you gently build flexibility. If you feel tension or pain, the yoga instructor will make the pose more supportive and comfortable by adding additional props.
Yin yoga
Like Restorative, Yin is a gentle yoga style as all postures are floor based, and you hold them for some time (usually between one to five minutes). You also use props but not as much as in Restorative.
There is also no active strain on the muscles in Yin but a passive one that builds over time. This helps the stretch move past the superficial muscles, working the connective tissue like fascia, tendons, and ligaments. Yin also has roots in Traditional Chinese Medicine, and the poses target the meridians, improving the flow of chi in each energy channel.
Short & Gentle Yoga Sequence For Beginners
Learning some basic yoga poses will help you feel more confident and comfortable if you’re considering attending your first yoga class. I suggest trying the following gentle yoga sequence a few times to get familiar with practicing yoga.
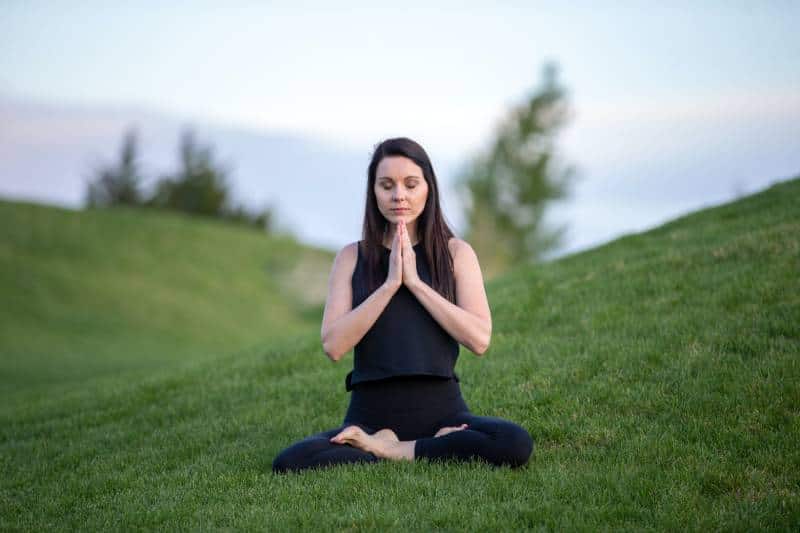
Seated Meditation
Start your gentle yoga session in a comfortable seated position with your legs crossed. You may like to sit on a cushion or pillow to elevate your hips and help straighten the spine. If you find sitting with crossed legs uncomfortable, sit against a wall with your legs extended, or try Hero’s Pose seated on a block or cushion.
Place your hands on your knees or thighs and close your eyes. Bring your awareness to your breath and spend a few minutes observing the natural rhythm of your breathing. Starting your yoga session with meditation helps you focus and center yourself, mentally preparing for the practice ahead.
Neck stretches
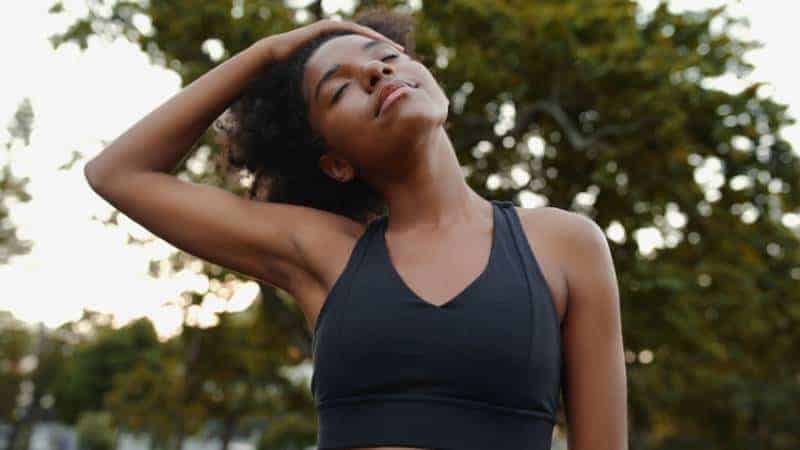
Staying seated, let your head drop to the right side, bringing the ear towards the shoulder. Take a few breaths here, feeling the stretch on the left side of the neck. Then, slowly release your head back to neutral and stretch the opposite side.
Next, gently tilt your head forwards, bringing your chin to your chest. This stretches the back of the neck. If you want more sensation, clasp your fingers and place your hands on the back of the head. Don’t press; just let the weight of your hands deepen the stretch.
Lastly, tilt your head, lifting your chin towards the sky to stretch the front of the neck. For more sensation, gently press your thumbs under your chin.
Seated Twist
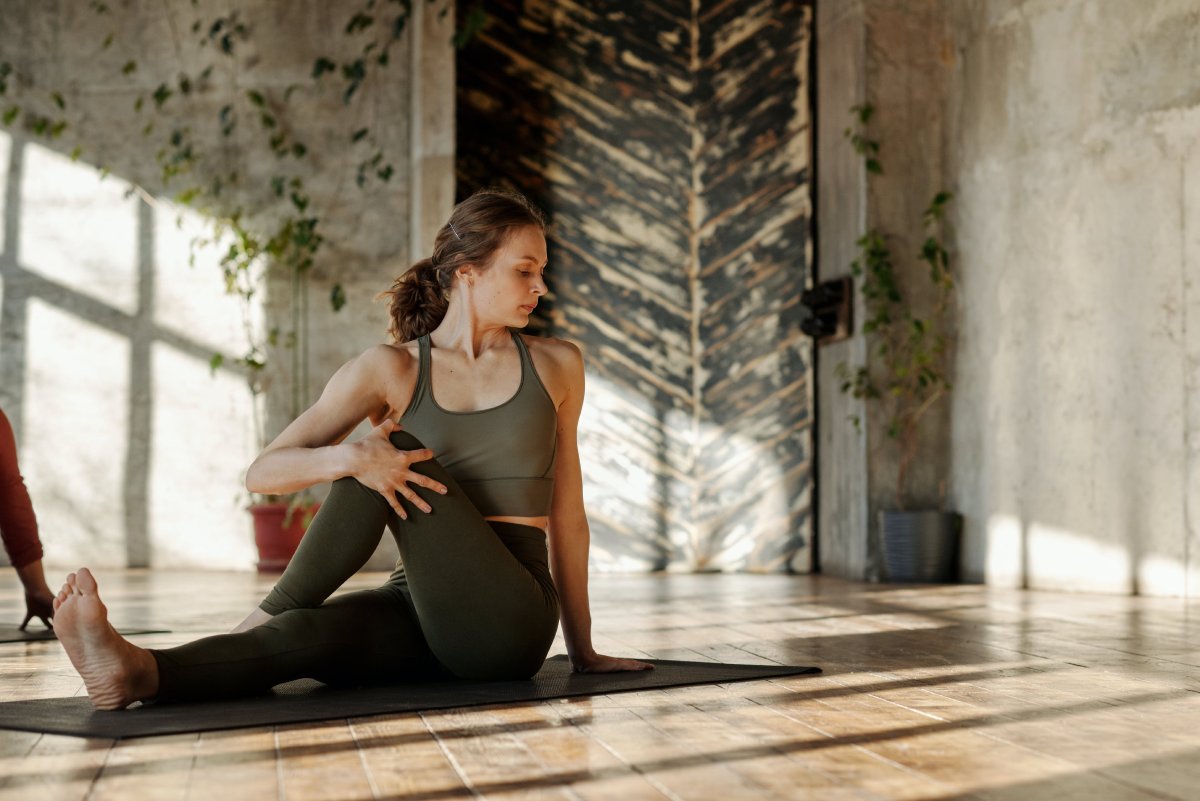
In a cross-legged seated position (or Hero’s Pose), bring your hands to the heart center in a prayer position. Next, sit tall with a straight spine, focusing on rooting your sitting bones down to the earth and extending the crown of the head to the sky. With this alignment, take an inhale and sit up taller. As you exhale, slowly begin twisting to the right side, gently drawing your right shoulder back.
Stop to take another inhale and then twist a little more on the exhale. Ensure the twist comes from your core and not from the upper body. As you turn, keep your thumbs connected to the sternum. Take five breaths, release, and repeat on the other side.

Cat/Cow
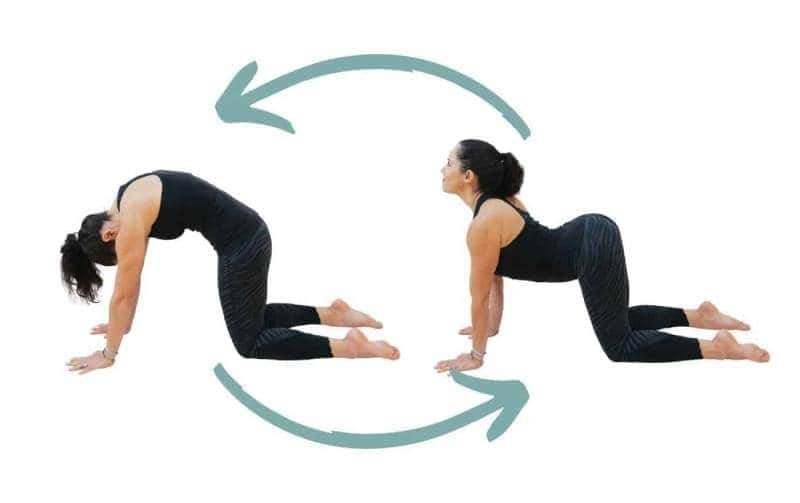
Next, come into a tabletop position on your hands and knees. Your hands should be about shoulder-width apart, with the shoulders stacked directly over the wrists. Your knees should be hip distance, with the hips directly over the knees.
Starting with a straight spine, press the palms firmly into the mat as you inhale to lift the tailbone and arch the spine. Here, gaze forwards to open the chest. Next, exhale to draw the tailbone done and round the spine as you suck the belly button in and bring the chin to the chest. Repeat these cat/cow movements five times.
Sphinx pose
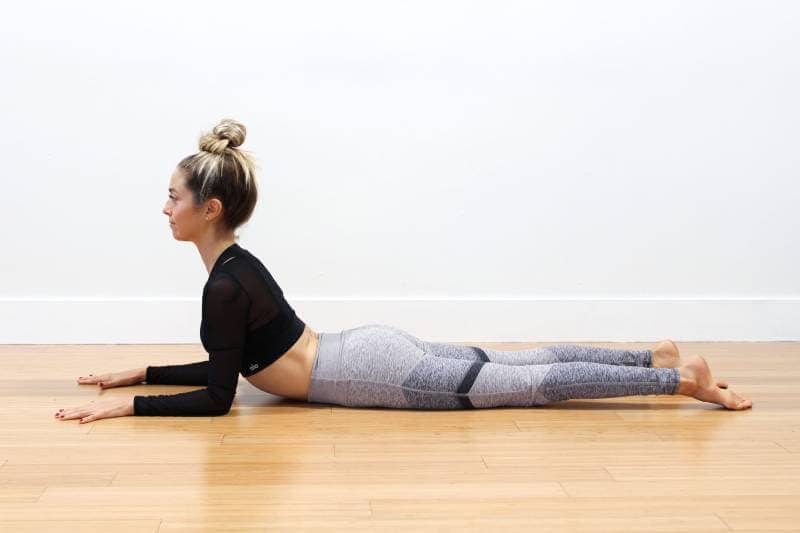
From a tabletop pose, shift your weight forwards to come into a prone position. Then bring your elbows under your shoulders and press into your forearms to lift your upper body off the floor. Next, pull your shoulders back, press your chest forward and hips down, and keep your gaze straight ahead as you hold for five breaths.
Child’s Pose
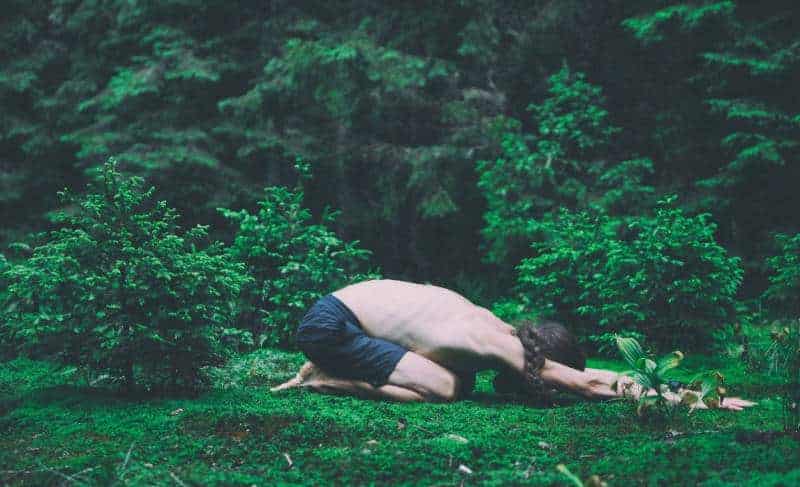
From the Sphinx pose, lower your chest and push into your hands to lift your hips up. Then, keep drawing your hips back, bringing the sitting bones to your heels. Fold your torso over your thighs, rest your forehead on the mat or a prop, and hold for at least five breaths in this gentle yoga posture.
You can do the Child’s pose with your knees wide or together, whatever feels most comfortable. Likewise, you can relax your arms by your sides or extend them forwards to create an additional stretch in the sides of your body.
Low Lunge
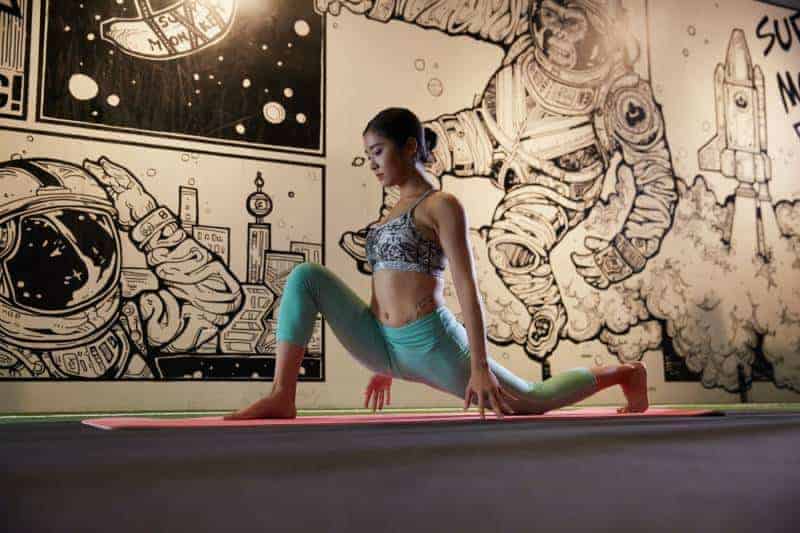
Come back to a tabletop position and step your right leg forwards in between your hands into a low lunge. Keep your left knee on the floor and straighten your spine, placing your hands on the right thigh or releasing them by your sides.
Ensure your right knee is stacked directly over the ankle, then sink your hips lower, feeling the stretch in the thigh and groin. Hold for five breaths and then switch sides, bringing the left leg forward.
Downward Facing Dog
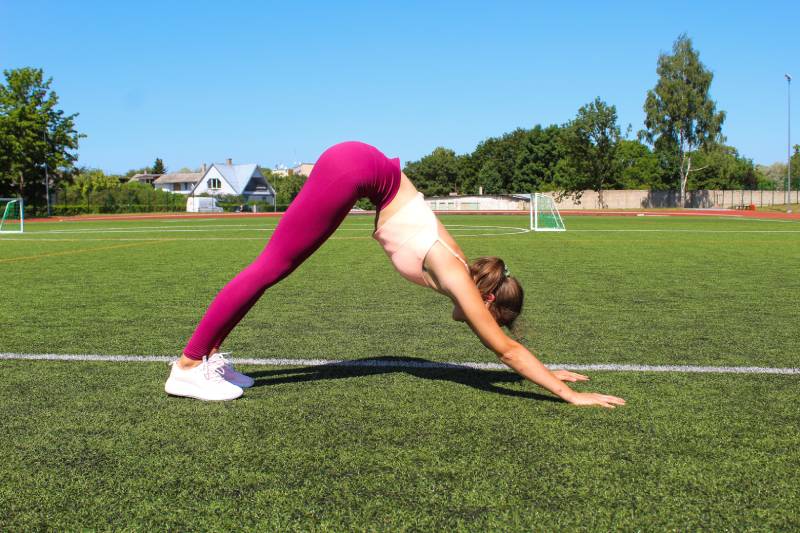
Back on all fours, press your hands firmly into the mat. Tuck your toes, engage your core, and inhale to lift your knees off the mat. Next, exhale to press the hips up and back as you straighten your legs and arms. You should aim to create a triangle shape with your body, with the hips pointing up to the sky.
Hold for five breaths ensuring equal weight between the arms and the legs. Relax your head here and gaze towards your toes. As this pose puts weight on the upper body, avoid it if you have a wrist injury or carpal tunnel syndrome.
Standing Forward Fold
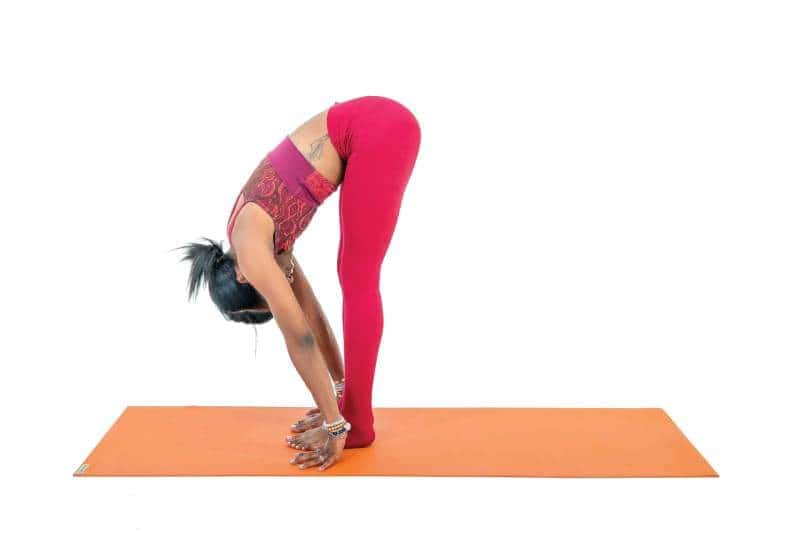
From downward dog, bend your knees and slowly walk your hands back to your feet, folding your torso over your thighs. Try to straighten your legs but if this is not possible, keep a slight knee bend. Let your arms and head hang, and enjoy the deep stretch in the back and the hamstrings.
Bound Angle Pose
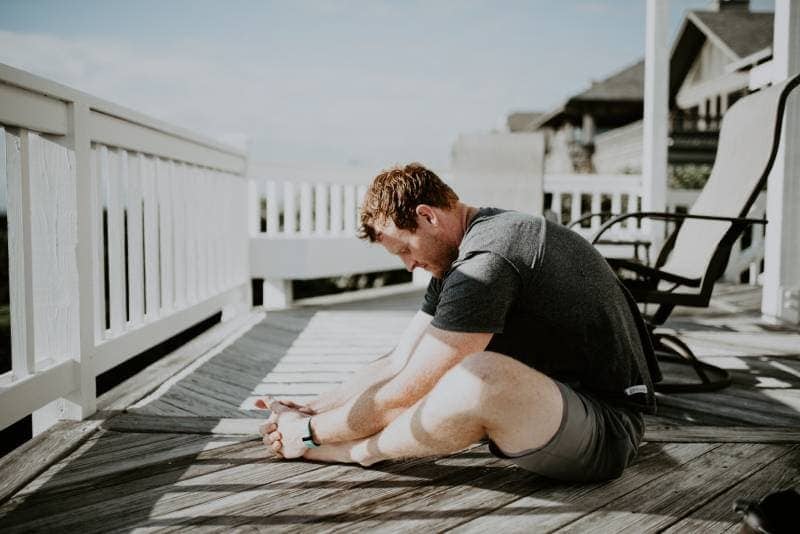
From Standing Forward Fold, walk your hands back to the downward dog and drop your knees to come into a seated position. From here, open both knees to each side, bringing the soles of the feet together. Adjust the hip stretch as needed; the closer the feet are to the body, the more intense the sensation.
Either stay upright with a straight spine or fold forwards from the hips, releasing the hands to the ground and relaxing the head. Stay for five to ten breaths, or longer if desired.
Reclined Figure Four
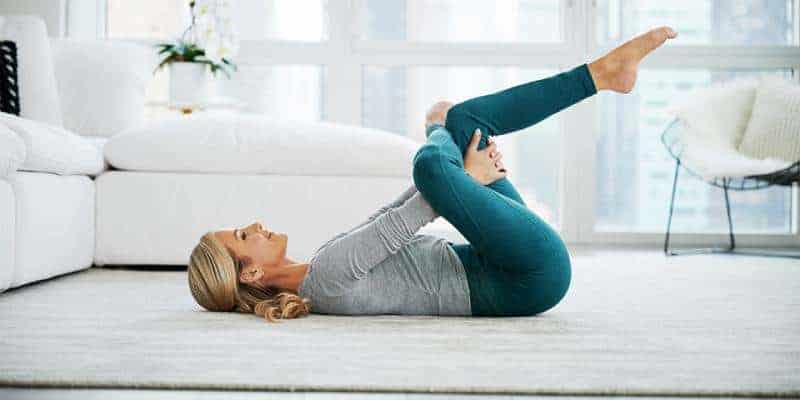
From here, come onto your back with your knees bent and the soles of your feet on the floor. Lift your right foot, turn the knee to the side, and place the right ankle on the left thigh. With your right hand, gently press the knee away from you to stretch the glute while keeping the spine on the ground.
If this is enough sensation, stay here. Otherwise, lift the left foot and clasp your hands behind the left thigh. Then, gently pull the left leg towards you to deepen the stretch, ensuring your shoulders and hips do not lift off the floor. Hold here for five to ten breaths, and then repeat on the other side.
Banana Pose
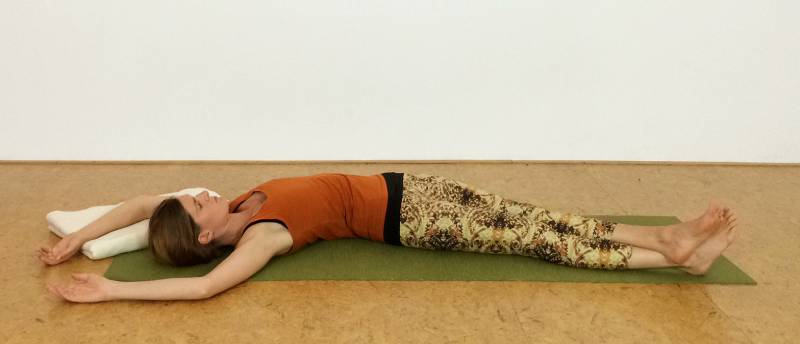
Staying in a reclined position, straighten both legs and reach your arms overhead. Walk both your feet to the right side until you feel a stretch in your left hip and lower ribcage. Then walk both hands to the right side to extend the stretch to the upper ribcage and armpit.
You can place the left ankle over the right and clasp the left wrist with your right hand to increase sensation. Hold the stretch for a few moments, then switch sides.
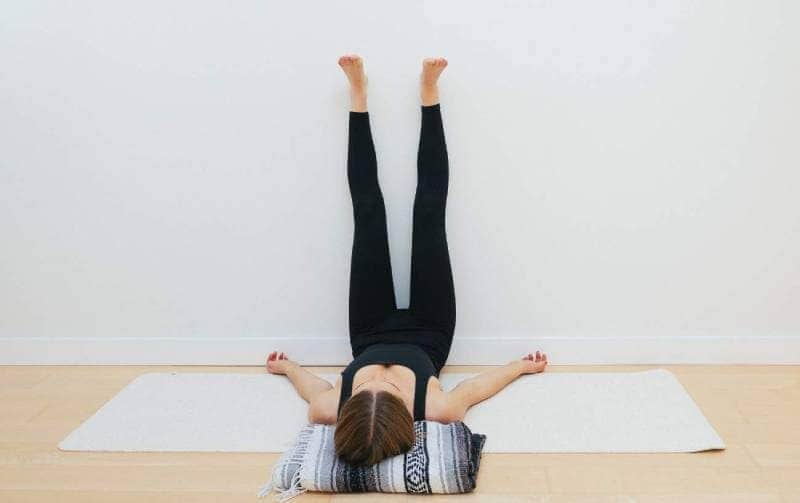
Legs Up The Wall
Move to a wall and shimmy your hips as close as possible. Next, release your head, shoulders, and back to the floor and raise your legs, resting them on the wall. The legs should be lifted to roughly 90 degrees, so move your hips closer to the wall if needed.
You can also do this gentle yoga pose without a wall by placing a bolster or cushion under your sitting bones instead. Stay in this gentle inversion for at least one minute for maximum effect. This restorative posture helps to relax the whole body, reduce stress and improve circulation.
Corpse pose
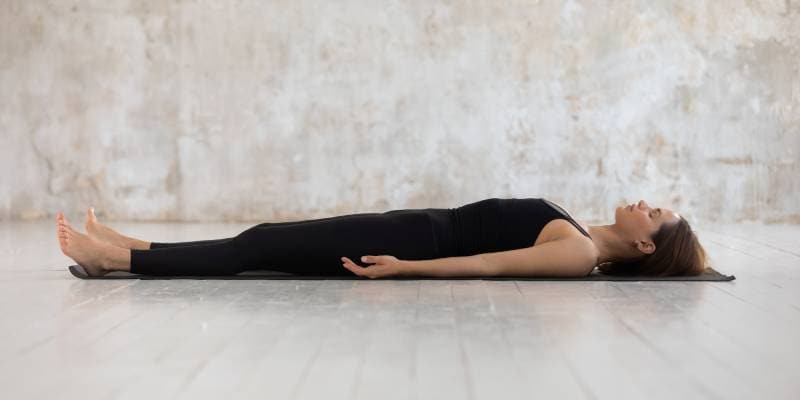
End your yoga sequence with the Corpse pose (Savasana). Extend your legs along the mat and let your feet fall to the sides. Relax your arms by your sides with the palms open and drop your shoulders towards the earth. Ensure your whole body is relaxed so your mind can enter a meditative state, your nervous system can rebalance, and your physical body can heal.
Final Tips For Getting Started With A Gentle Yoga Practice
When starting out, remember that yoga is not just about the physical body but also the mind and soul. Thus, meditation practice and breathing exercises are just as crucial as learning physical postures.
I recommend starting and ending your practice with meditation and/or pranayama. One of the most accessible breathing techniques is alternate nostril breathing (Nadi Shodhana), which calms and rebalances the central nervous system. Including these other aspects of yoga will make your practice more holistic and wholesome, increasing the incredible benefits you receive.

 FrankLin


