The Fastest Ways to Convert Your iPhone HEIC Photos to JPG (So You Can Actually Use Them)
HEIC is a solid format for Apple devices. It includes Live Photos, Apple’s post-processing, and it still manages to weigh way below what a JPG would. While it works fine if you’re sharing a photo among other Apple devices,...
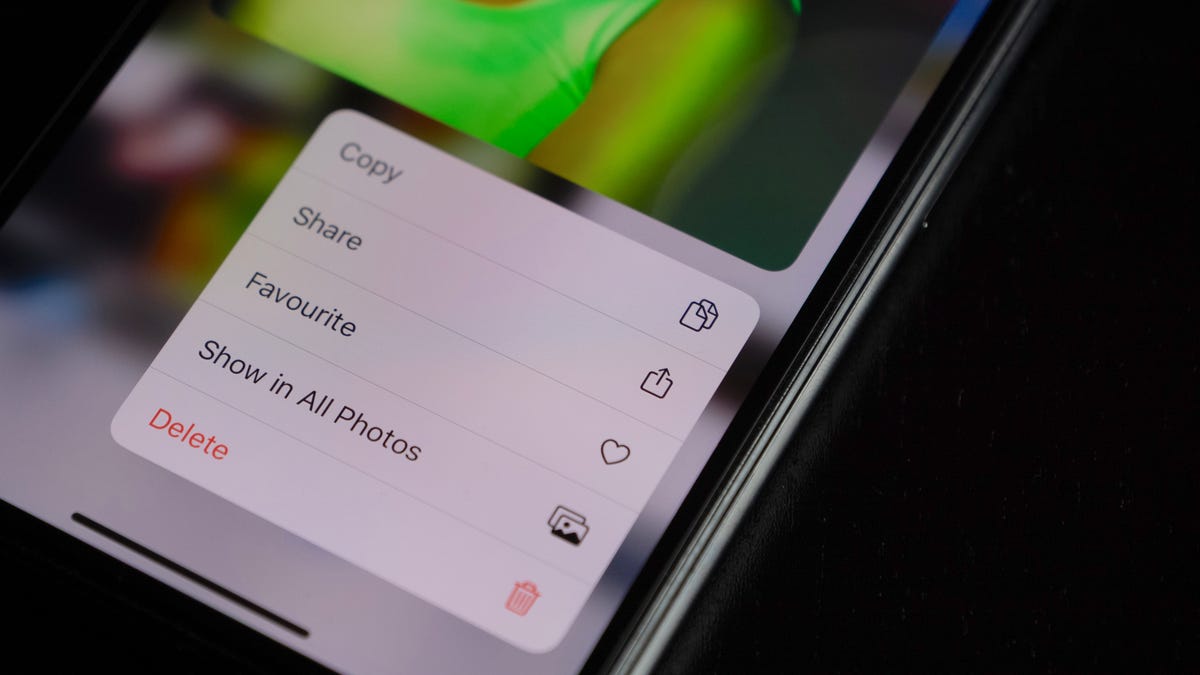

Photo: Cristian Dina (Shutterstock)
HEIC is a solid format for Apple devices. It includes Live Photos, Apple’s post-processing, and it still manages to weigh way below what a JPG would. While it works fine if you’re sharing a photo among other Apple devices, you run into a problem when you need to upload a photo to an online form or open it on Windows: It’s not compatible. It won’t open.
There are a couple of ways to handle this. You can use our workaround to convert HEIC images to JPG (or JPEG) on your iPhone, or you can switch back to clicking JPG photos. If the photo is already on your Mac or Windows PC, we have some options there, as well.
Use the Files app to convert HEIC to JPG
The quickest way to convert HEIC photos to JPG is to use the Files app (plus, no need to trust a third-party app). All it takes is a simple copy-paste: Open the Photos app on your iPhone, and select the photos that you want to convert. Then, tap the Share icon, and choose the “Copy Photos” option.
Go to the Files app, and create a new folder. Tap and hold in an empty space and tap on the “Paste” button; the HEIC photos will show up in JPEG format. Now you can share them in any app you want. If you want to put them back in the Photos app as JPEG files, tap the Share button, and choose “Save Image.”
How to convert a lot of images
Don’t like this copy-paste dance? You can more quickly convert HIEC photos to JPEG using a dedicated shortcut. If you’re using an iPhone or iPad, use the generic Convert Image shortcut from Matthew Casselini. Add the shortcut to your library, and make sure to choose JPEG as the resulting file format.
G/O Media may get a commission

23% Off
Shark Ion Robot Vacuum
Keep it clean
Features three different brush types, learns the layout of your home to avoid getting stuck and damaging things, and can be controlled via an app on your phone.
On the Mac, use the Convert to JPEG shortcut courtesy of Mac Stories. This shortcut directly links to the right-click menu in Finder. Select photos, right-click, and choose this shortcut from the “Quick Actions” menu. The shortcut will now create new copies of the images in JPG format.
Quickly convert photos using a new feature in macOS Monterey
If you’re using a Mac running macOS Monterey or higher, there’s a quick image conversion tool built into the Finder app that supports multiple images. Select the HEIC photos, right-click, and go to Quick Actions > Convert Image. Here, choose the “JPEG” format, and click the “Convert to JPEG” option.
Use online websites to convert HEIC photos (if you’re in a hurry)
Want to quickly convert a couple of HEIC photos, and don’t want to bother with apps? Use a free image converter website like Cloud Convert. Just drag in HEIC photos, hit the Convert button, and download the resulting JPG files.
Stop taking photos in HEIC altogether
This is a bit of an extreme measure, but if you find yourself frustrated by how many times you have to convert photos, it might be best to switch taking photos to JPG altogether. Go to Settings > Photos > Formats and switch to the “Most Compatible” option.

 JimMin


