The Smart SEO Team’s Guide To Timing & Executing A Large-Scale Site Migration via @sejournal, @inmotionhosting
Planning a migration? Discover these expert tips to ensure a seamless site move while protecting your SEO and performance. The post The Smart SEO Team’s Guide To Timing & Executing A Large-Scale Site Migration appeared first on Search Engine...
 UsenB
UsenB
This post was sponsored by InMotion Hosting. The opinions expressed in this article are the sponsor’s own.
We’ve all felt it, that sinking feeling in your stomach when your site starts crawling instead of sprinting.
Page speed reports start flashing red. Search Console is flooding your inbox with errors.
You know it’s time for better hosting, but here’s the thing: moving a large website without tanking your SEO is like trying to change tires while your car is still moving.
We’ve seen too many migrations go sideways, which is why we put together this guide.
Let’s walk through a migration plan that works. One that’ll future-proof your site without disrupting your rankings or overburdening your team.
Step 1: Set Your Performance Goals & Audit Your Environment
Establish Performance Benchmarks
Before you touch a single line of code, you need benchmarks. Think of these as your “before” pictures in a website makeover.
If you skip this step, you’ll regret it later. How will you know if your migration was successful if you don’t know where you started?
Gather your current page speed numbers, uptime percentages, and server response times. These will serve as proof that the migration was worth it.
Document Current Site Architecture
Next, let’s identify what’s working for your site and what’s holding it back. Keep a detailed record of your current setup, including your content management system (CMS), plugins, traffic patterns, and peak periods.
Large sites often have unusual, hidden connections that only reveal themselves at the worst possible moments during migrations. Trust us, documenting this now prevents those 2 AM panic attacks later.
Define Your Website Migration Goals
Let’s get specific about what success looks like. Saying “we want the site to be faster” is like saying “we want more leads.” It sounds great, but how do you measure it?
Aim for concrete targets, such as:
Load times under 2 seconds on key pages (we like to focus on product pages first). 99.99% uptime guarantees (because every minute of downtime is money down the drain). Server response times under 200ms. 30% better crawl efficiency (so Google sees your content updates).We recommend running tests with Google Lighthouse and GTmetrix at different times of day. You’d be surprised how performance can vary between your morning coffee and afternoon slump.
Your top money-making pages deserve special attention during migration, so keep tabs on those.
Step 2: Choose The Right Hosting Fit
Not all hosting options can handle the big leagues.
We’ve seen too many migrations fail because someone picked a hosting plan better suited for a personal blog than an enterprise website.
Match Your Needs To Solutions
Let’s break down what we’ve found works best.
Managed VPS is excellent for medium-sized sites. If you’re receiving 100,000 to 500,000 monthly visitors, this might be your sweet spot. You’ll have the control you need without the overkill.
Dedicated servers are what we recommend for the major players. If you’re handling millions of visitors or running complex applications, this is for you.
What we appreciate about dedicated resources is that they eliminate the “noisy neighbor” problem, where someone else’s traffic spike can tank your performance. Enterprise sites on dedicated servers load 40-60% faster and rarely experience those resource-related outages.
WordPress-optimized hosting is ideal if you’re running WordPress. These environments come pre-tuned with built-in caching and auto-updates. Why reinvent the wheel, right?
Understand The Must-Have Features Checklist
Let’s talk about what your web hosting will need for SEO success.
NVMe SSDs are non-negotiable these days. They’re about six times faster than regular storage for database work, and you’ll feel the difference immediately.
A good CDN is essential if you want visitors from different regions to have the same snappy experience. Server-level caching makes a huge difference, as it reduces processing work and speeds up repeat visits and search crawls.
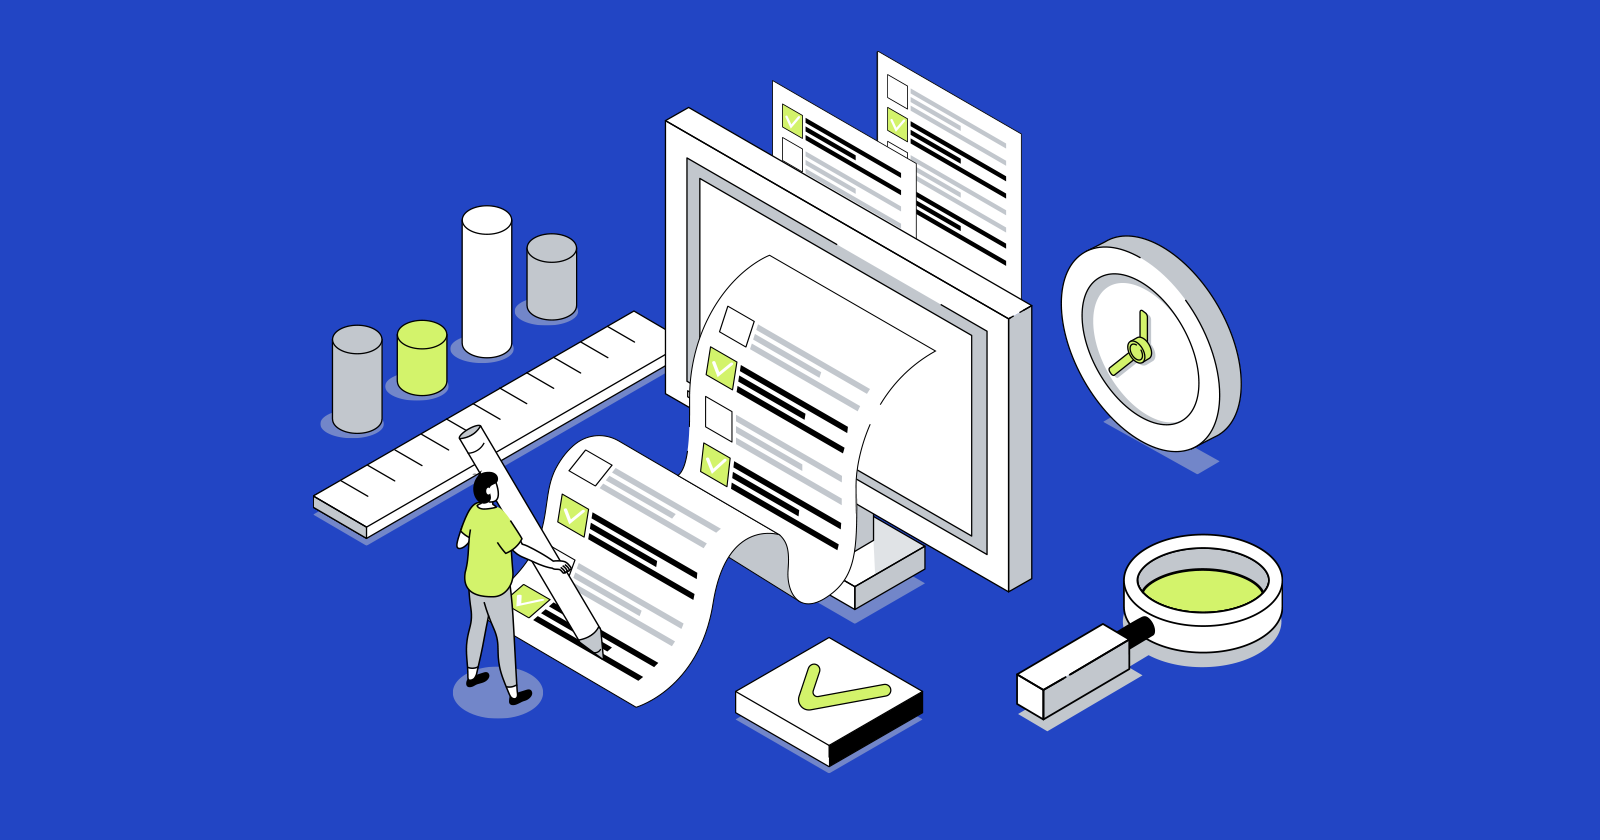
 Image created by InMotion Hosting, June 2025
Staging environments aren’t optional for big migrations. They’re your safety net. Keep in mind that emergency fixes can cost significantly more than setting up staging beforehand.
And please ensure you have 24/7 migration support from actual humans. Not chatbots, real engineers who answer the phone when things go sideways at midnight.
Key Considerations for Growth
Think about where your site is headed, not just where it is now.
Are you launching in new markets? Planning a big PR push? Your hosting should handle growth without making you migrate again six months later.
One thing that often gets overlooked: redirect limits. Many platforms cap at 50,000-100,000 redirects, which sounds like a lot until you’re migrating a massive product catalog.
Step 3: Prep for Migration – The Critical Steps
Preparation separates smooth migrations from disasters. This phase makes or breaks your project.
Build Your Backup Strategy
First things first: backups, backups, backups. We’re talking complete copies of both files and databases.
Don’t dump everything into one giant folder labeled “Site Stuff.” Organizing backups by date and type. Include the entire file system, database exports, configuration files, SSL certificates, and everything else.
Here’s a common mistake we often see: not testing the restore process before migration day. A backup you can’t restore is wasted server space. Always conduct a test restore on a separate server to ensure everything works as expected.
Set Up the New Environment and Test in Staging
Your new hosting environment should closely mirror your production environment. Match PHP versions, database settings, security rules, everything. This isn’t the time to upgrade seven different things at once (we’ve seen that mistake before).
Run thorough pre-launch tests on staging. Check site speed on different page types. Pull out your phone and verify that the mobile display works.
Use Google’s testing tools to confirm that your structured data remains intact. The goal is no surprises on launch day.
Map Out DNS Cutover and Minimize TTL for a Quick Switch
DNS strategy might sound boring, but it can make or break your downtime window.
Here’s what works: reduce your TTL to at least 300 seconds (5 minutes) about 48 hours before migration. This makes DNS changes propagate quickly when you flip the switch.
Have all your DNS records prepared in advance: A records, CNAMEs for subdomains, MX records for email, and TXT records for verification. Keep a checklist and highlight the mission-critical ones that would cause panic if forgotten.
Freeze Non-Essential Site Updates Before Migration
This might be controversial, but we’re advocates for freezing all content and development changes for at least 48 hours before migration.
The last thing you need is someone publishing a new blog post right as you’re moving servers.
You can use this freeze time for team education. It’s a perfect moment to run workshops on technical SEO or explain how site speed affects rankings. Turn downtime into learning time.
Step 4: Go-Live Without the Guesswork
Migration day! This is where all your planning pays off, or where you realize what you forgot.
Launch Timing Is Everything
Choose your timing carefully. You should aim for when traffic is typically lowest.
For global sites, consider the “follow-the-sun” approach. This means migrating region by region during their lowest traffic hours. While it takes longer, it dramatically reduces risk.
Coordinate Your Teams
Clear communication is everything. Everyone should know exactly what they’re doing and when.
Define clear go/no-go decision points. Who makes the call if something looks off? What’s the threshold for rolling back vs. pushing through?
Having these conversations before you’re in the middle of a migration saves a ton of stress.
Live Performance Monitoring
Once you flip the switch, monitoring becomes your best friend. Here are the key items to monitor:
Watch site speed across different page types and locations. Set up email alerts for crawl errors in Search Console. Monitor 404 error rates and redirect performance.Sudden spikes in 404 errors or drops in speed need immediate attention. They’re usually signs that something didn’t migrate correctly.
The faster you catch these issues, the less impact they’ll have on your rankings.
Post-Migration Validation
After launch, run through a systematic checklist:
Test redirect chains (we recommend Screaming Frog for this). Make sure internal links work. Verify your analytics tracking (you’d be surprised how often this breaks). Check conversion tracking. Validate SSL certificates. Watch server logs for crawl issues.One step people often forget: resubmitting your sitemap in Search Console as soon as possible. This helps Google discover your new setup faster.
Even with a perfect migration, most large sites take 3-6 months for complete re-indexing, so patience is key.
Step 5: Optimize, Tune, and Report: How To Increase Wins
The migration itself is just the beginning. Post-migration tuning is where the magic happens.
Fine-Tune Your Configuration
Now that you’re observing real traffic patterns, you can optimize your setup.
Start by enhancing caching rules based on actual user behavior. Adjust compression settings, and optimize those database queries that seemed fine during testing but are sluggish in production.
Handling redirects at the server level, rather than through plugins or CMS settings, is faster and reduces server load.
Automate Performance Monitoring
Set up alerts for issues before they become problems. We recommend monitoring:
Page speed drops by over 10%. Uptime drops. Changes in crawl rates. Spikes in server resource usage. Organic traffic drops by over 20%.Automation saves you from constantly checking dashboards, allowing you to focus on improvements instead of firefighting.
Analyze for SEO Efficiency
Server logs tell you a lot about how well your migration went from an SEO perspective. Look for fewer crawl errors, faster Googlebot response times, and better crawl budget usage.
Improvements in crawl efficiency mean Google can discover and index your new content much faster.
Measure and Report Success
Compare your post-migration performance to those baseline metrics you wisely collected.
When showing results to executives, connect each improvement to business outcomes. For example:
“Faster pages reduced our bounce rate by 15%, which means more people are staying on the site.” “Better uptime means we’re not losing sales during peak hours.” “Improved crawl efficiency means our new products get indexed faster.”Pro tip: Build easy-to-read dashboards that executives can access at any time. This helps build confidence and alleviate concerns.
Ready to Execute Your High-Performance Migration?
You don’t need more proof that hosting matters. Every slow page load and server hiccup already demonstrates it. What you need is a plan that safeguards your SEO investment while achieving tangible improvements.
This guide provides you with that playbook. You now know how to benchmark, choose the right solutions, and optimize for success.
This approach can be applied to sites of all sizes, ranging from emerging e-commerce stores to large enterprise platforms. The key lies in preparation and partnering with the right support team.
If you’re ready to take action, consider collaborating with a hosting provider that understands the complexities of large-scale migrations. Look for a team that manages substantial redirect volumes and builds infrastructure specifically for high-traffic websites. Your future rankings will thank you!
Image Credits
Featured Image: Image by InMotion Hosting. Used with permission.
In-Post Image: Images by InMotion Hosting. Used with permission.


![Does Google Favor UGC? Reddit Leads In Search Growth [STUDY] via @sejournal, @MattGSouthern](https://www.searchenginejournal.com/wp-content/uploads/2025/01/img_2025-01-23-193114-772.jpg)