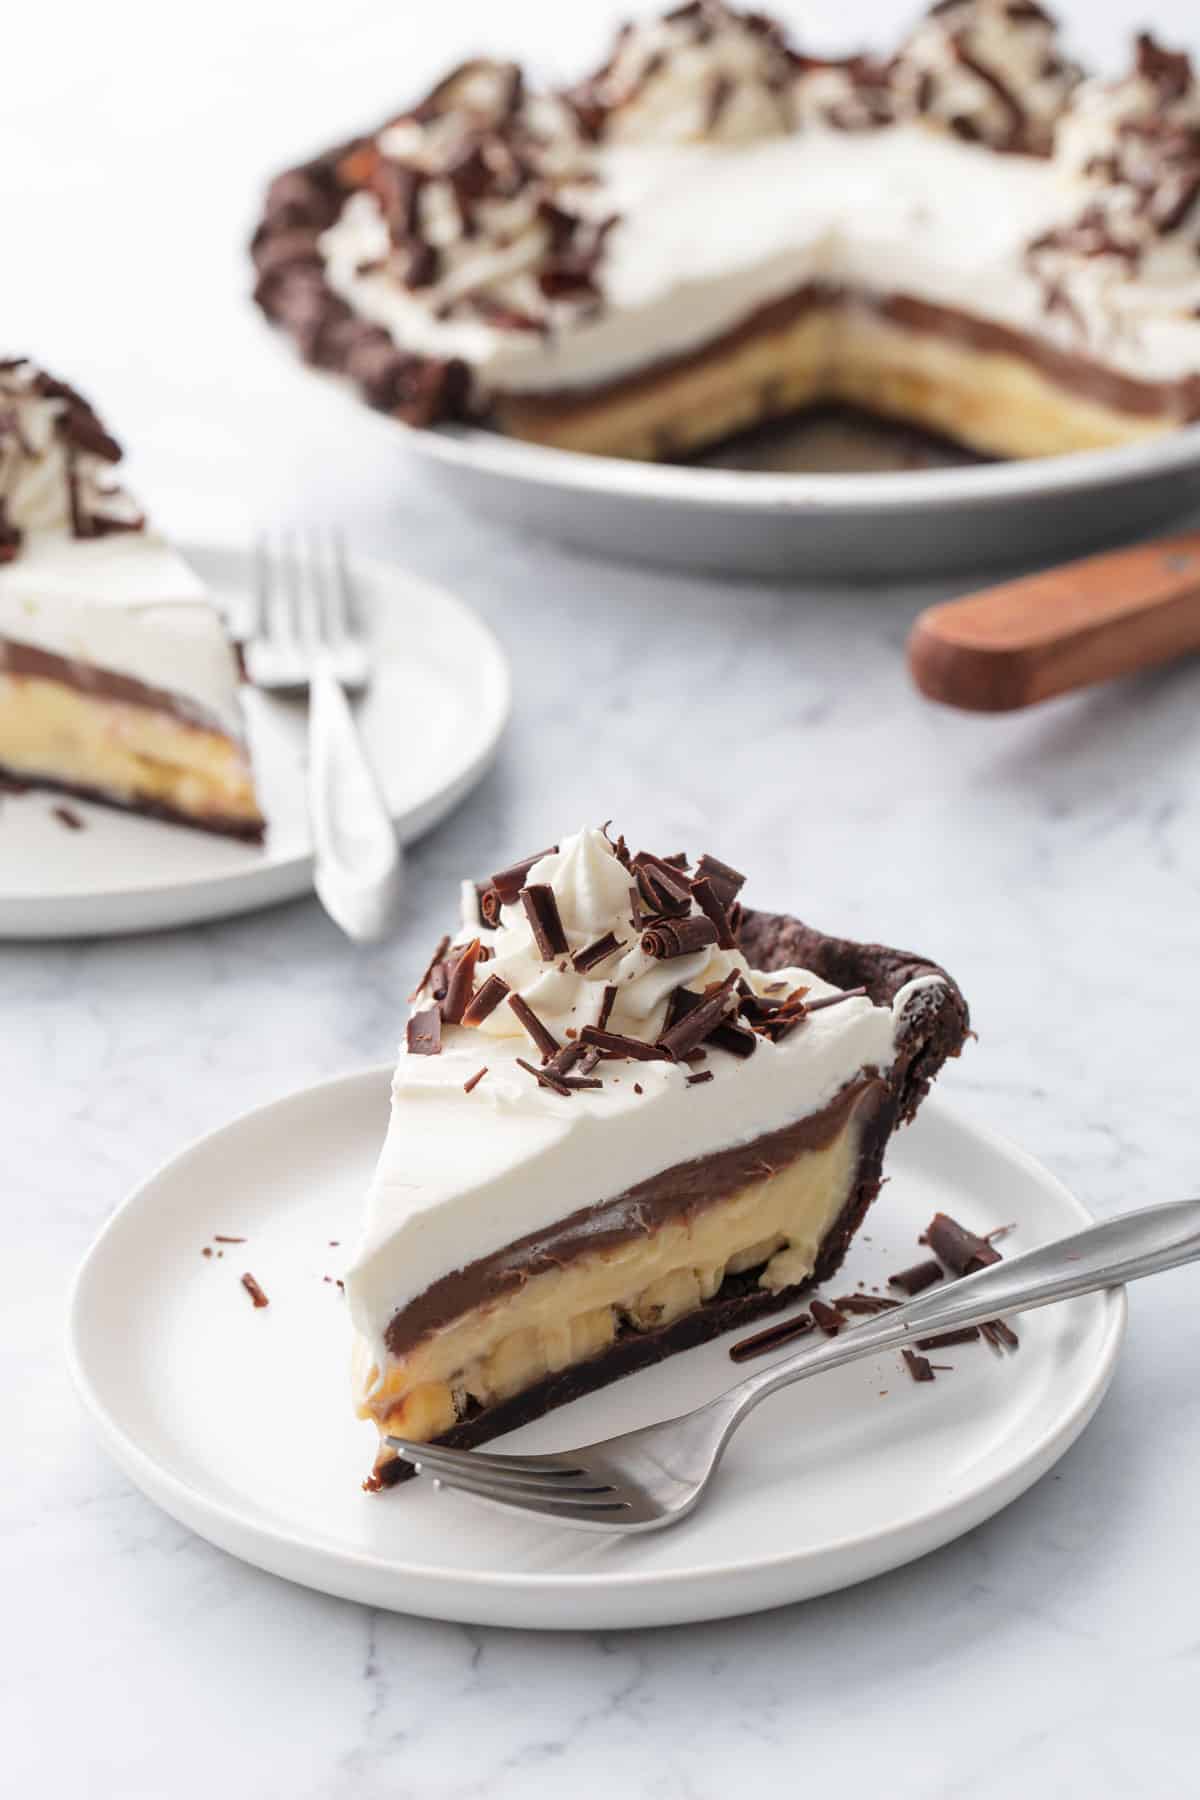
Flaky Chocolate Pie Crust
Pie crust is great, but have you ever had chocolate pie crust? This flaky chocolate pie crust is everything you love about pie pastry: tender, flaky and buttery, with the addition of cocoa powder for a deeply chocolate flavor...
 BigThink

Pie crust is great, but have you ever had chocolate pie crust? This flaky chocolate pie crust is everything you love about pie pastry: tender, flaky and buttery, with the addition of cocoa powder for a deeply chocolate flavor that will complement just about any filling.
The crust comes together just like any other pastry, you can use a pastry blender by hand, or mix with a stand mixer or food processor (though I always recommend mixing in the water by hand regardless). The result is a beautiful, flaky pastry that’s easy to work with and a delight to eat!
My Chocolate Banana Cream Pie recipe (newly updated and improved with new photos and step-by-step!) features a chocolate pastry crust, but the original recipe utilized a rough-puff technique that has since vanished from the internet.
The original crust recipe proportions were a little vague as well, so I made a couple changes and also clarified the process, with step by step photos to show you the way!
So I figured it was high time for an update, and such a delicious crust was more than worthy of its own post, especially since it’s so versatile: you could really fill this chocolate crust with just about anything, from fruit to pumpkin to custard! Let’s be serious, what doesn’t go with chocolate? You could also swap this crust for chocolate cookie crusts if you prefer a flakier pastry (and as much as I love a cookie crust, the demise of the Famous chocolate wafer cookie has me looking for chocolatey alternatives).
The result is a buttery, flaky pastry crust with a rich chocolate flavor. It’s amazing how much chocolate flavor you actually get from a mere 3 tablespoons of cocoa!
I like to scale my pie crust recipes slightly bigger than most recipes, as I always seem to run out of crust and can never roll it big enough for my pie pan. And there’s nothing worse than not having quite enough crust to fill your pan!
By increasing the recipe by about 20%, you have a bit more wiggle room to roll the crust big enough to fit into a standard sized pan with enough overhang to properly fold over and crimp.
And look, if you have lots of extra scraps left after trimming, bake them on a cookie sheet in the oven when you bake your pie. They’ll make for some tasty chef snacks to tide you over as you bake. :)
Here’s how to make it:
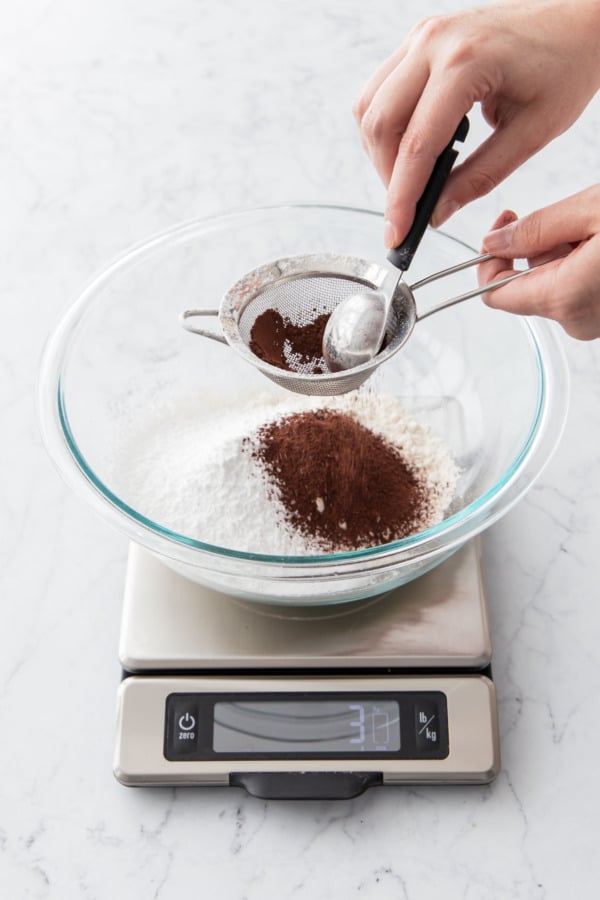 Sift dry ingredients including flour, powdered sugar, salt, and cocoa powder into a mixing bowl.
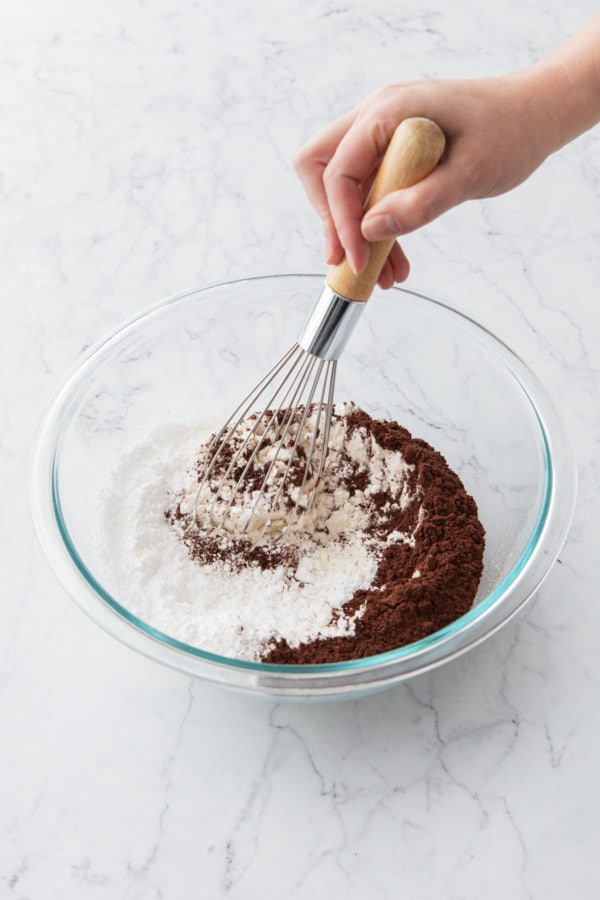 Whisk together dry ingredients until evenly incorporated.
 Add cold cubed butter and shortening to mixing bowl with dry ingredients.
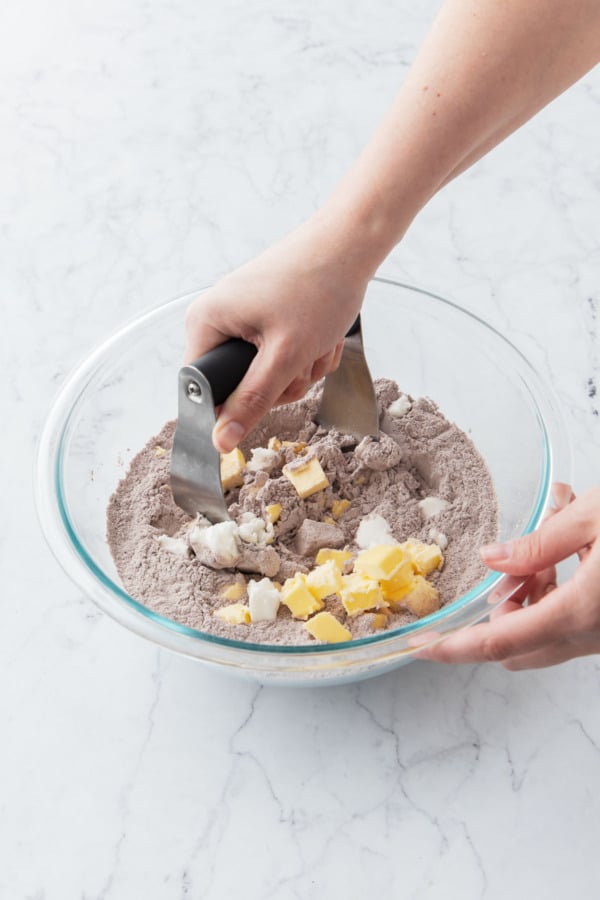 Using a pastry blender, cut the butter into the dry ingredients (you can also use a food processor or mixer if you prefer).
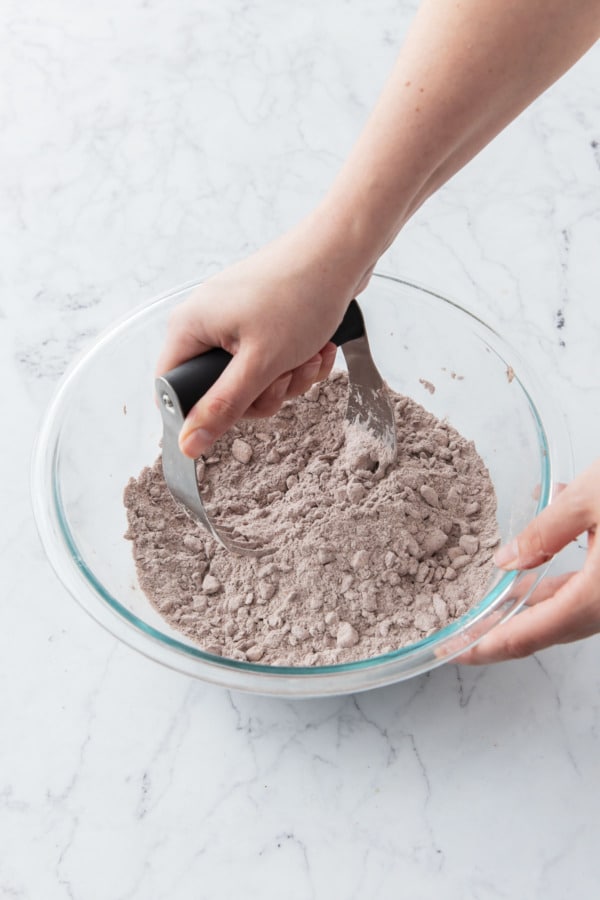 Continue to cut in butter until it forms pea-sized pieces fully coated in flour.
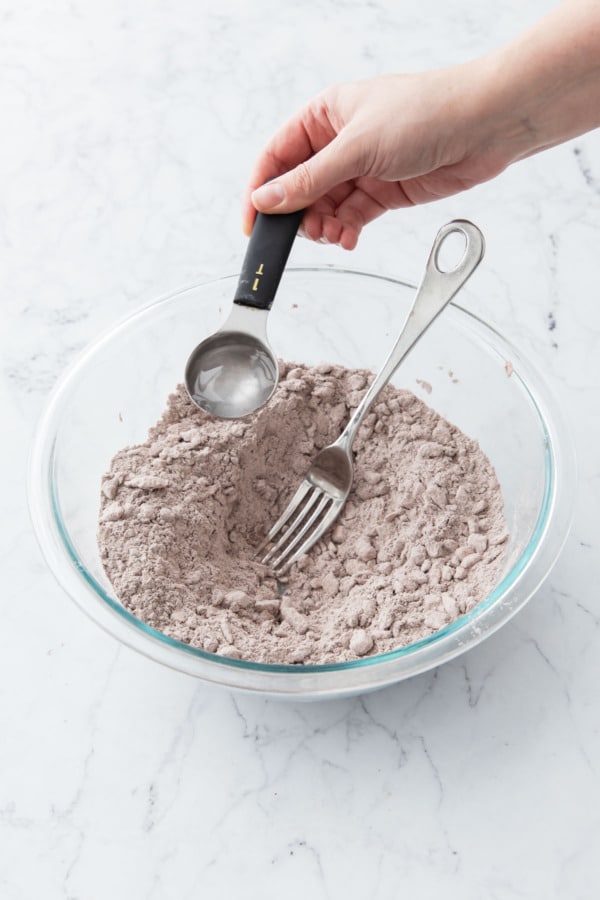 Drizzle in ice water, 1 tablespoon at a time, into a well in the center of the blended flour mixture.
 Use a fork to incorporate the water into the dry flour.
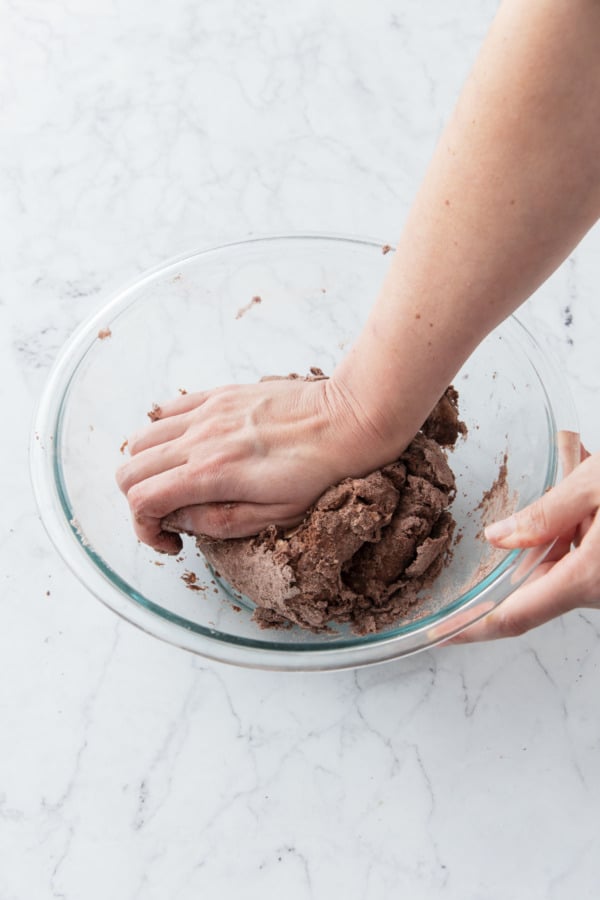 Give the dough a knead or two until it comes together in a rough, shaggy ball.
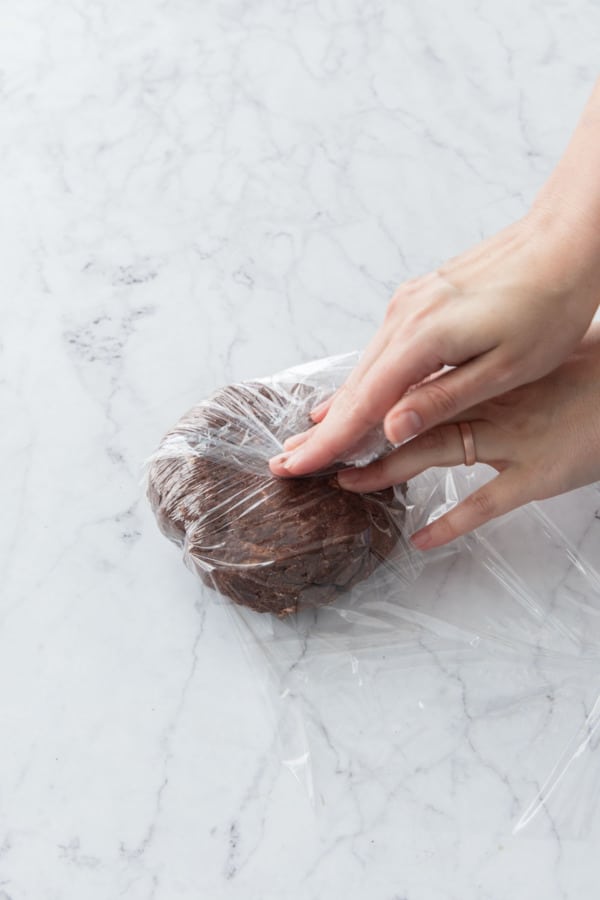 Turn out onto a sheet of plastic wrap then wrap tightly before refrigerating for 30-60 minutes or overnight.
While I opted to mix this by hand with a pastry blender, you can also use a stand mixer or a food processor to incorporate the butter. Ultimately you’re looking for lentil to pea-sized chunks of butter.
No matter how you blended the butter, I do recommend incorporating the water by hand or with a fork, as it’s too easy to over-mix otherwise.
This recipe calls for mostly butter, with a small amount of shortening: I find it makes for a more tender crust that’s also more flexible and easier to work with. But you still get all the delicious flavor from the butter, so it’s really the best of both worlds!
Make a well in the center of the dry ingredients and drizzle in 2 tablespoons of water. Mix with a fork, then push the clumped dough to the side and sprinkle another tablespoon of water around the dry bits. Mix that in and again. After 3 tablespoons, add water a teaspoon at a time until the dough all comes together.
Because of the sugar and shortening in this chocolate crust, the dough does have a tendency to go sticky more quickly than a standard pie crustl, so you don’t want to use any more water than necessary! You’ll probably need about 4 tablespoons, plus or minus a few teaspoons depending on the weather, humidity, alignment of the planets and so forth (lol).
Chill the mixed pie dough for at least 30-60 minutes, or overnight (pie dough can also be double wrapped, bagged, and frozen for up to a month; let thaw overnight in the fridge before rolling out).
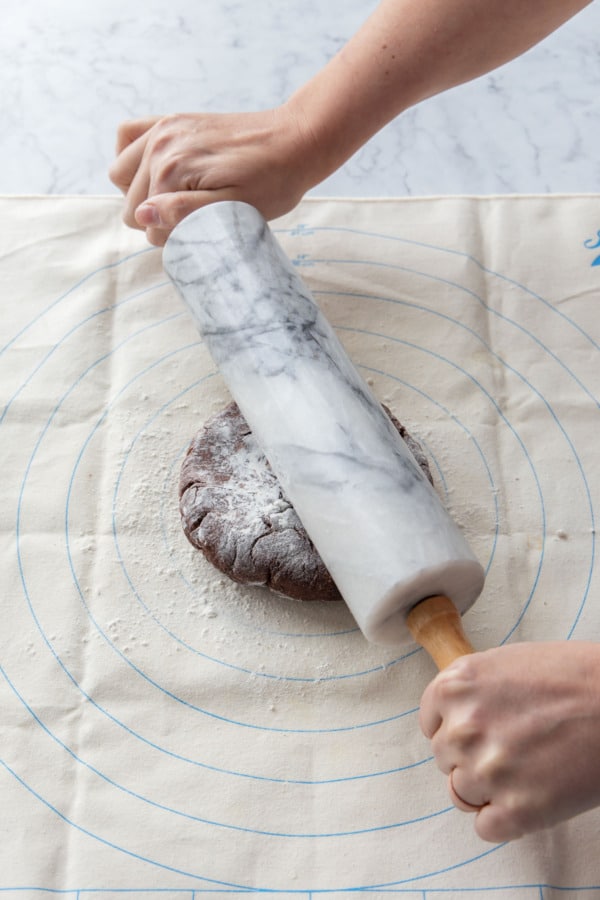 After chilling, lightly dust countertop or a pastry cloth with flour before rolling out the crust.
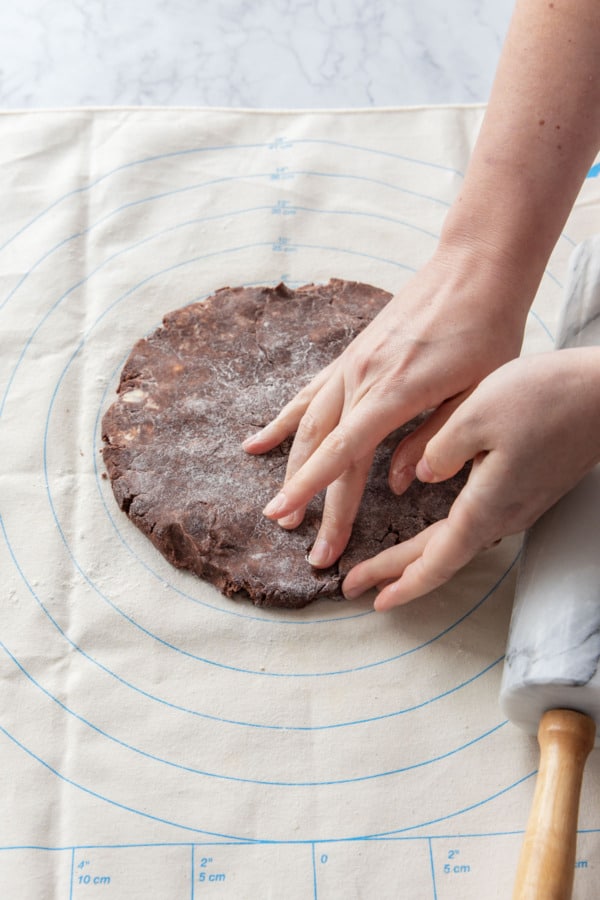 As you roll, pinch together any breaks in the edges to keep a more uniform shape.
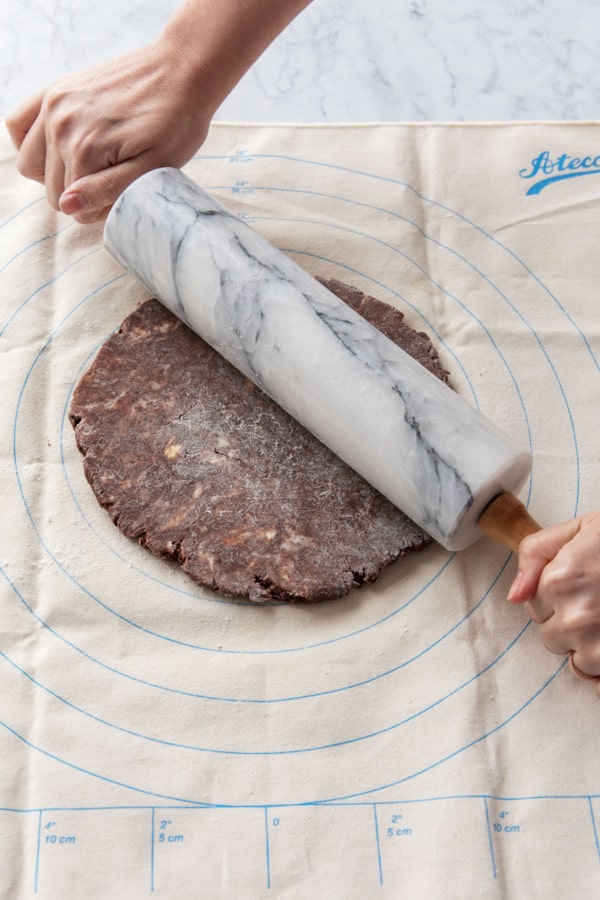 Continue to roll, rotating the dough 90 degrees between each stroke to ensure an even shape.
 Roll the dough to about 14-inches in diameter (which will fit a 9-inch pie pan with a slight overhang).
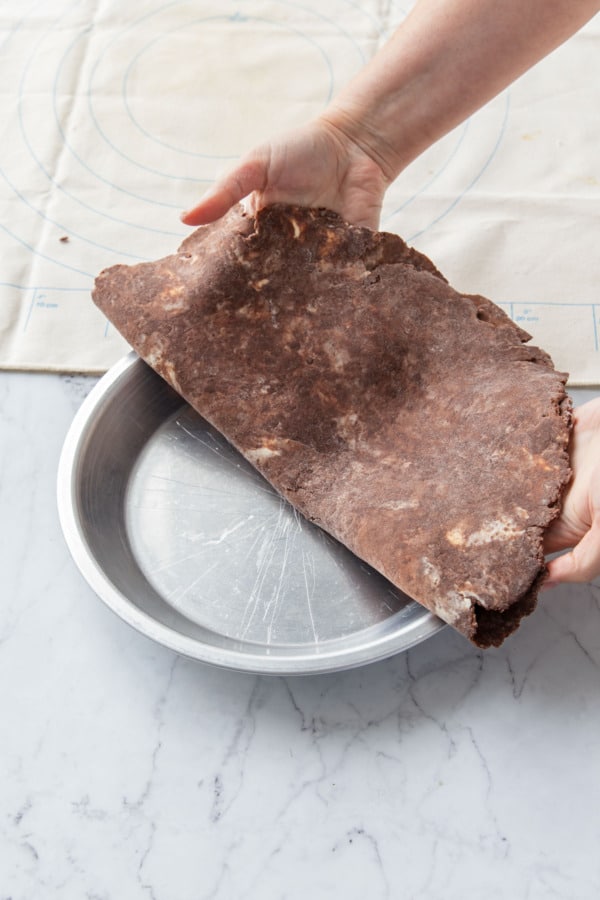 Fold the dough in half and then gently transfer to a metal pie plate.
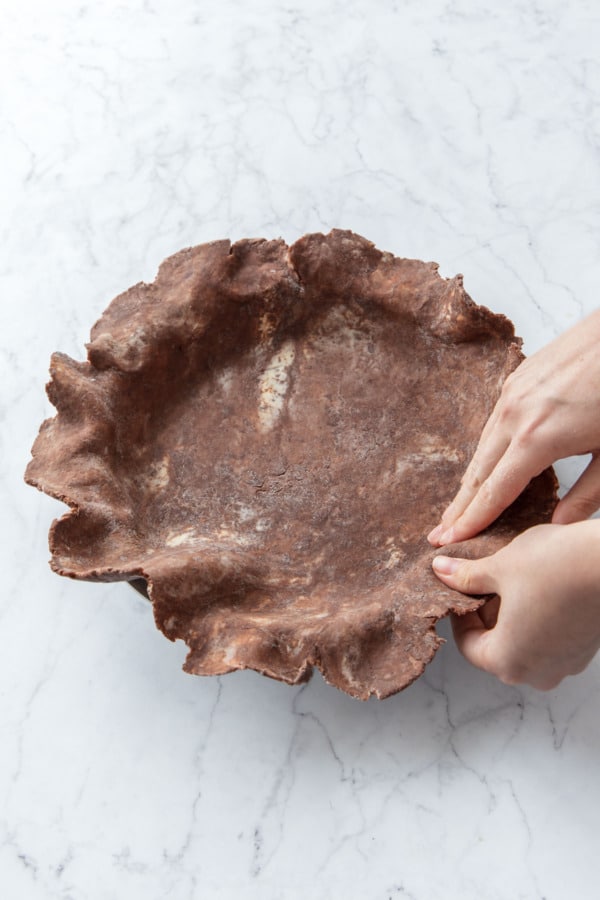 Unfold the dough, and gently ease (don’t stretch!) the dough into the bottom of the pie plate.
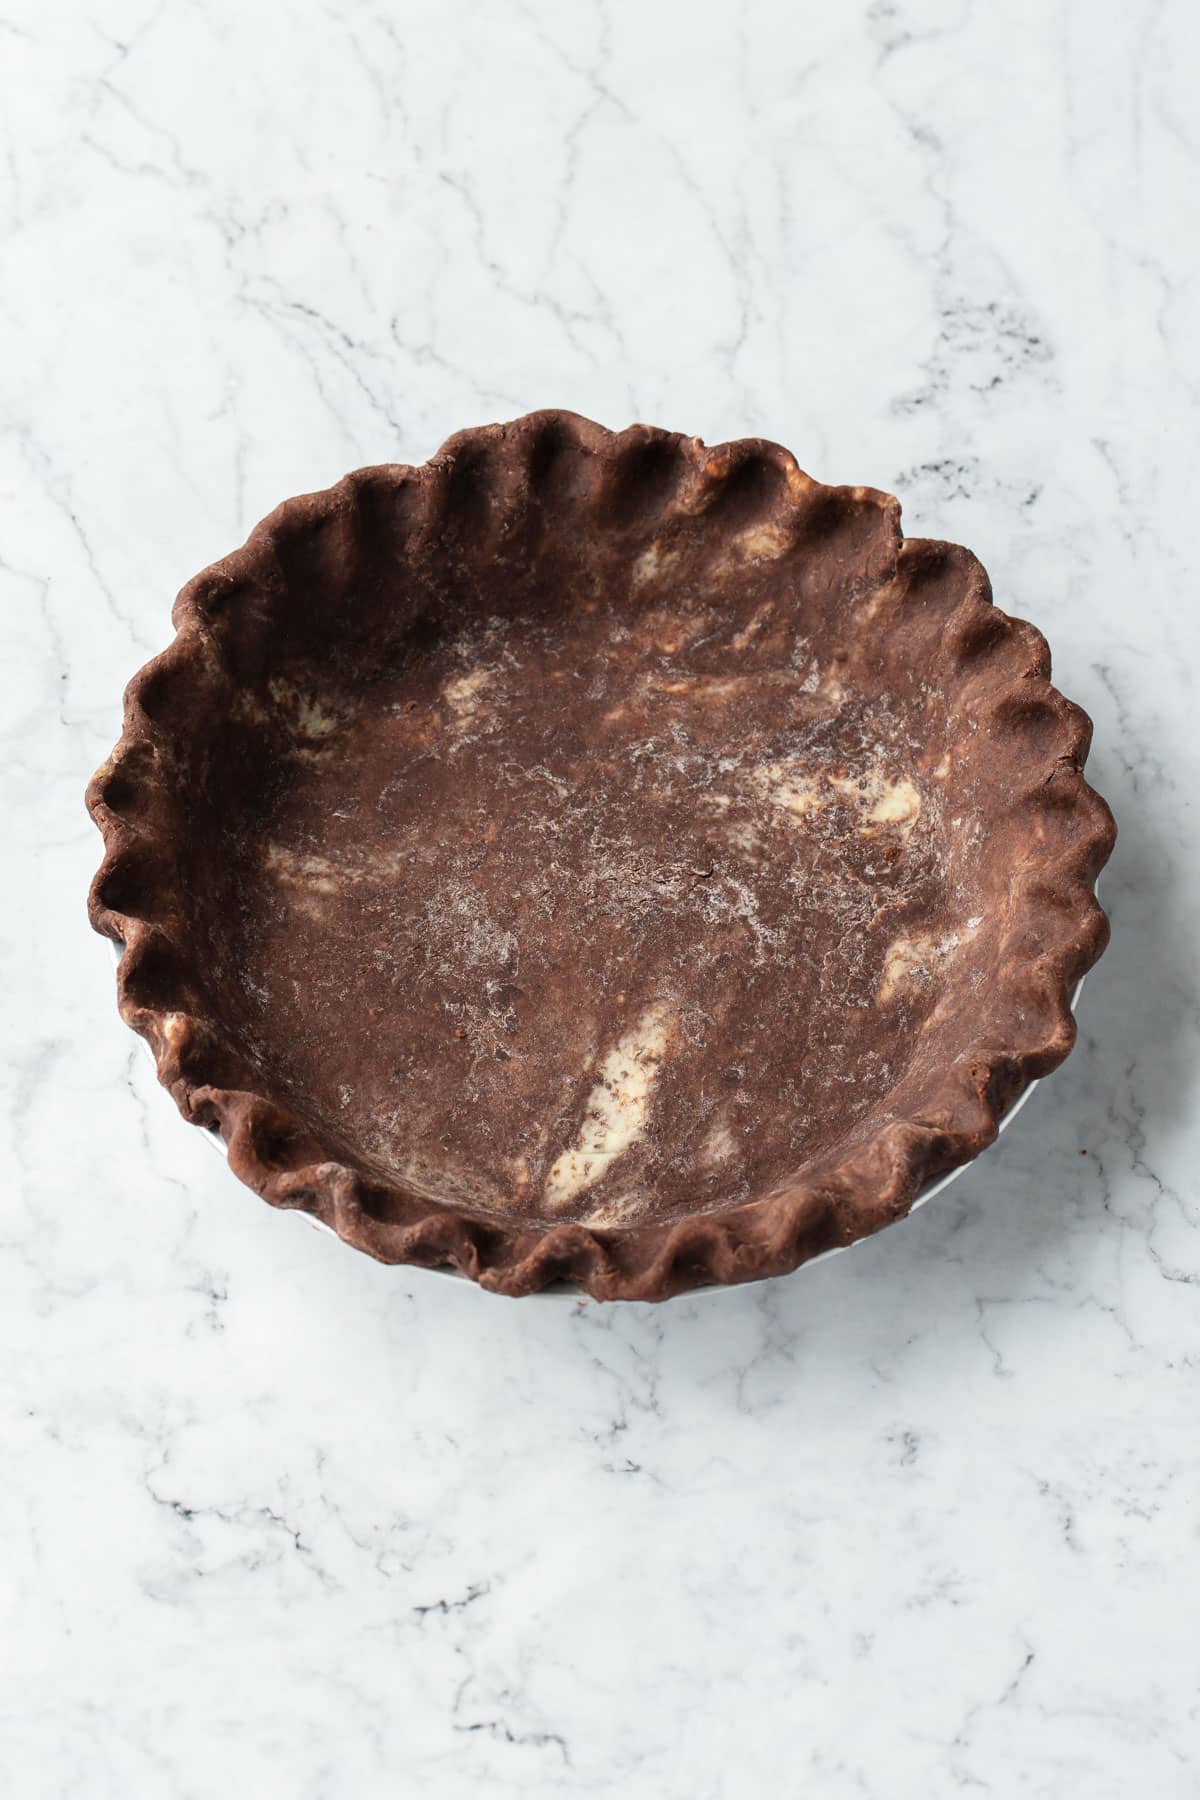
 Trim any rough edges, then fold the excess overhang back under itself, pressing lightly to adhere.
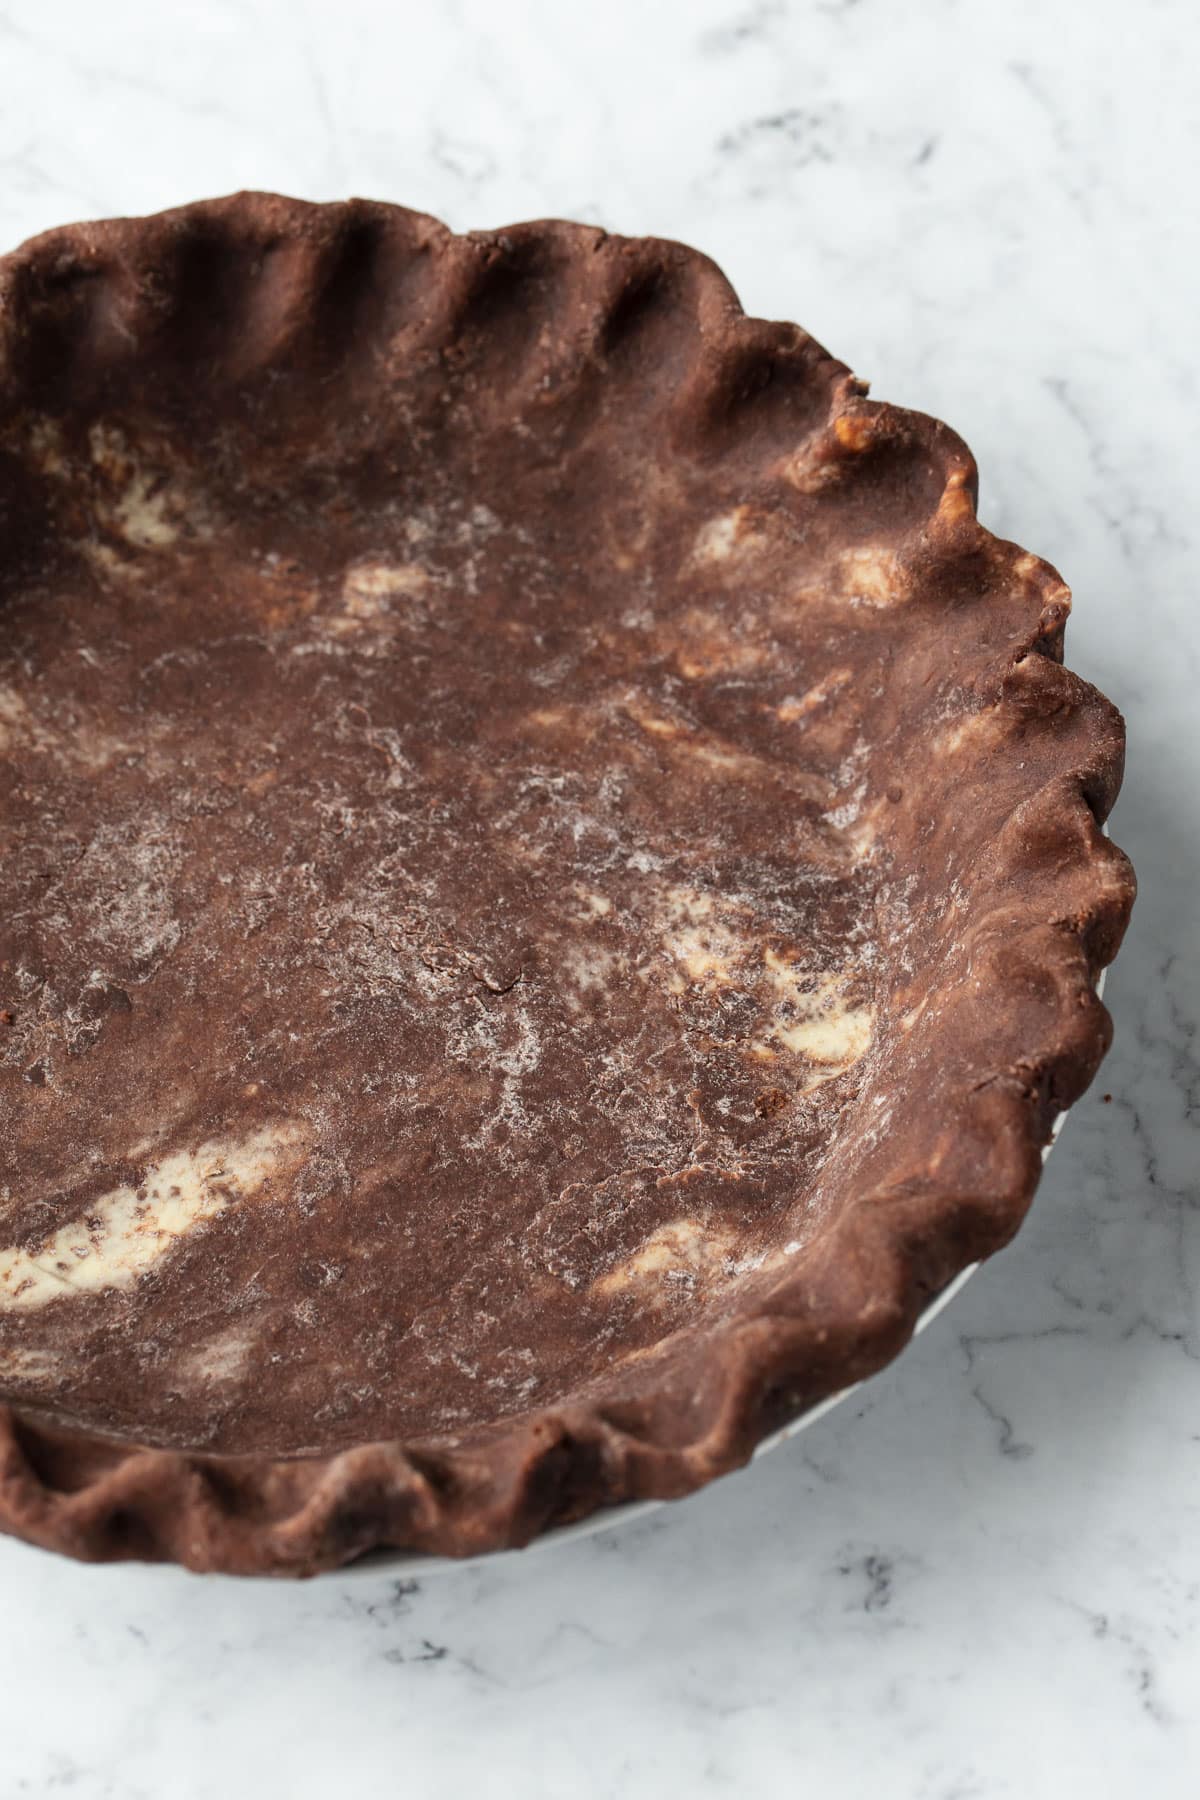
 Crimp the crust with the method of your choosing (I like to use my knuckles). Freeze crust for at least 15 minutes.
 Line the chilled crust with crinkled parchment paper.
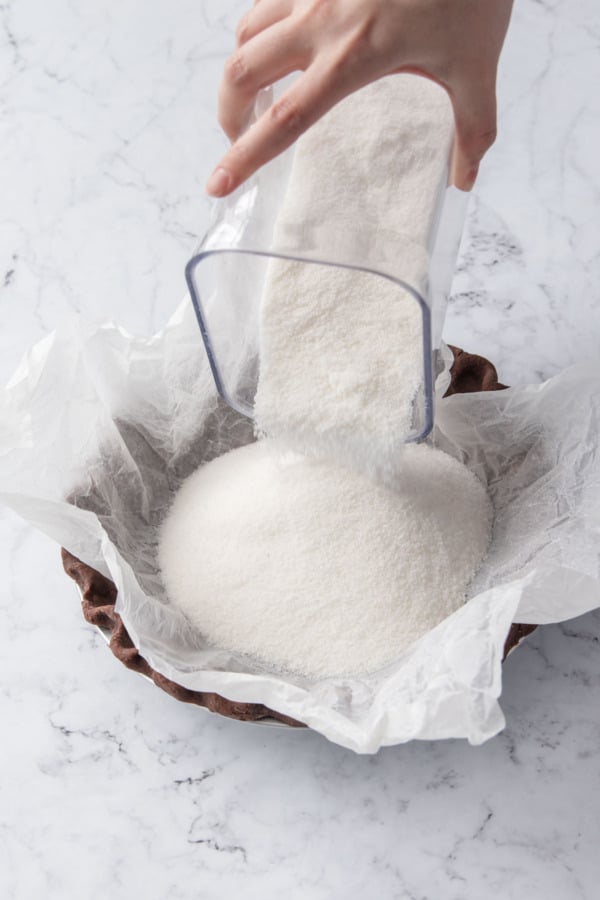 To prevent slumping, fill the lined crust with pie weights (or I like to use granulated sugar).
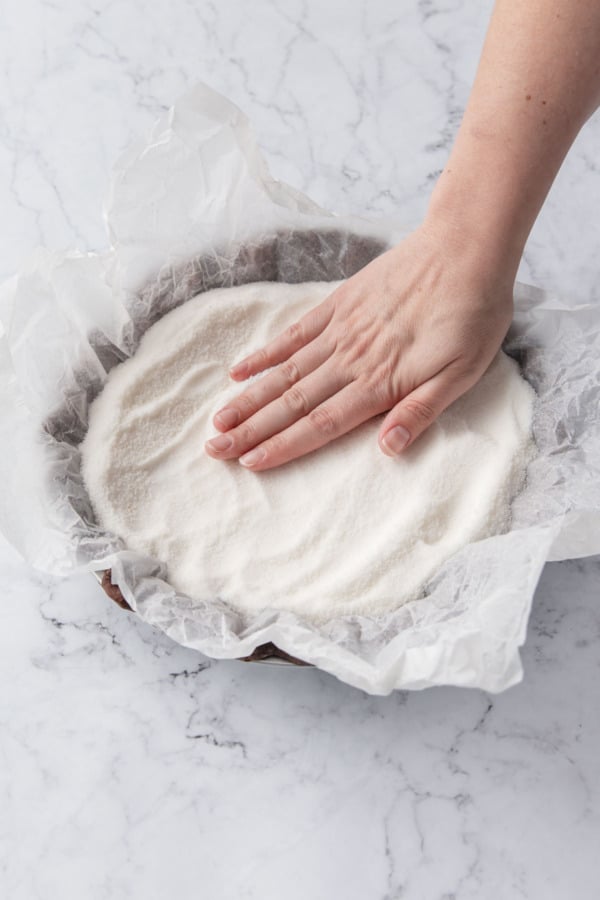 Fill the weights all the way to the bottom of the fluted edges, then bake, removing the parchment and weights part-way through.
Once draped into the pie pan and crimped, freeze for 15 minutes or chill for another 30-60 (this will firm up the crust so it doesn’t deform when you line it prior to baking).
Par bake the crust by lining it with crumpled parchment paper (crumpling it first helps it ease into the corners of the crust).
I like to fill the lined crust with granulated sugar, but you can also use pie weights or dry rice or beans. Fill it to the top of the crust just under the crimped edge.
If you do use the sugar filling… don’t toss it when you’re done! I’ll save the sugar to reuse multiple times (just discard any hard clumps that won’t break up). You can also use this lightly toasted sugar in recipes like your pie filling or whipped cream, it adds a lovely toasty flavor that I just love!

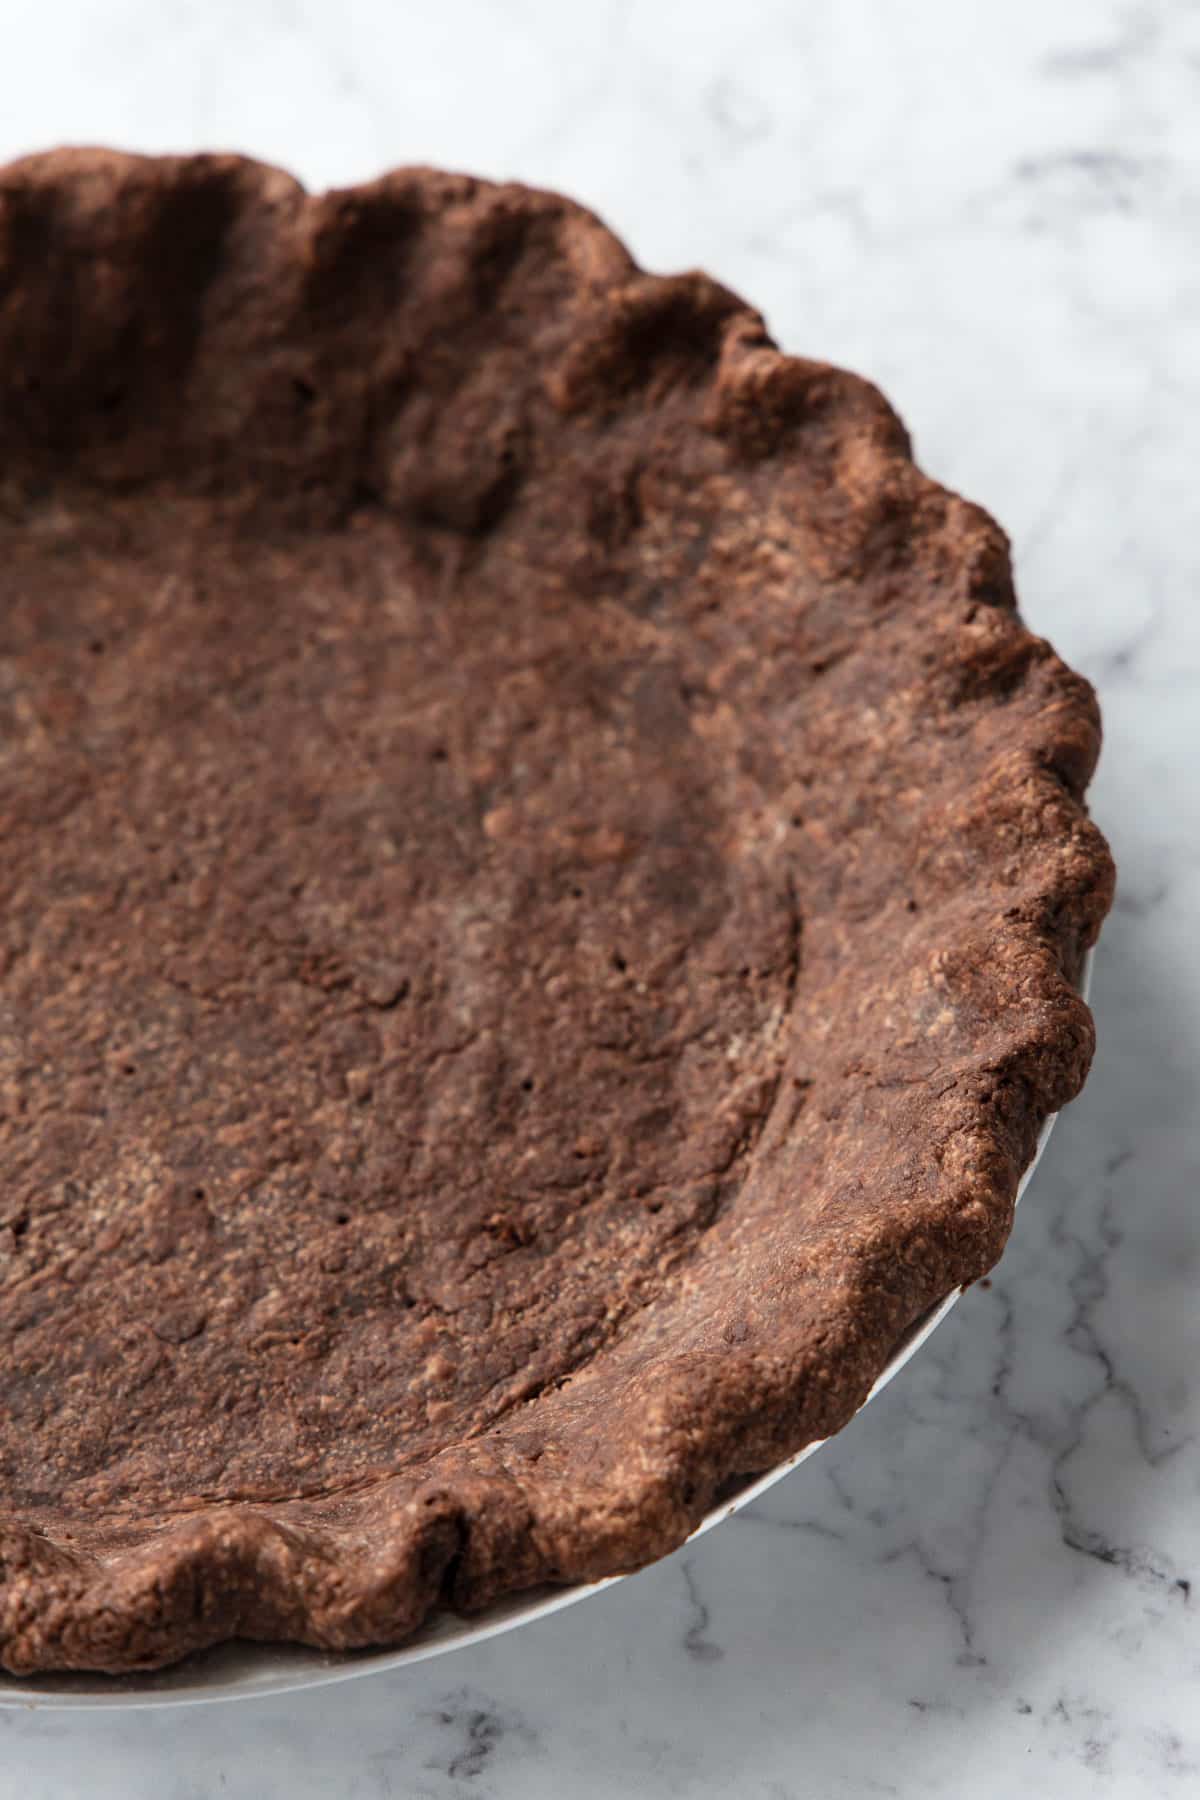
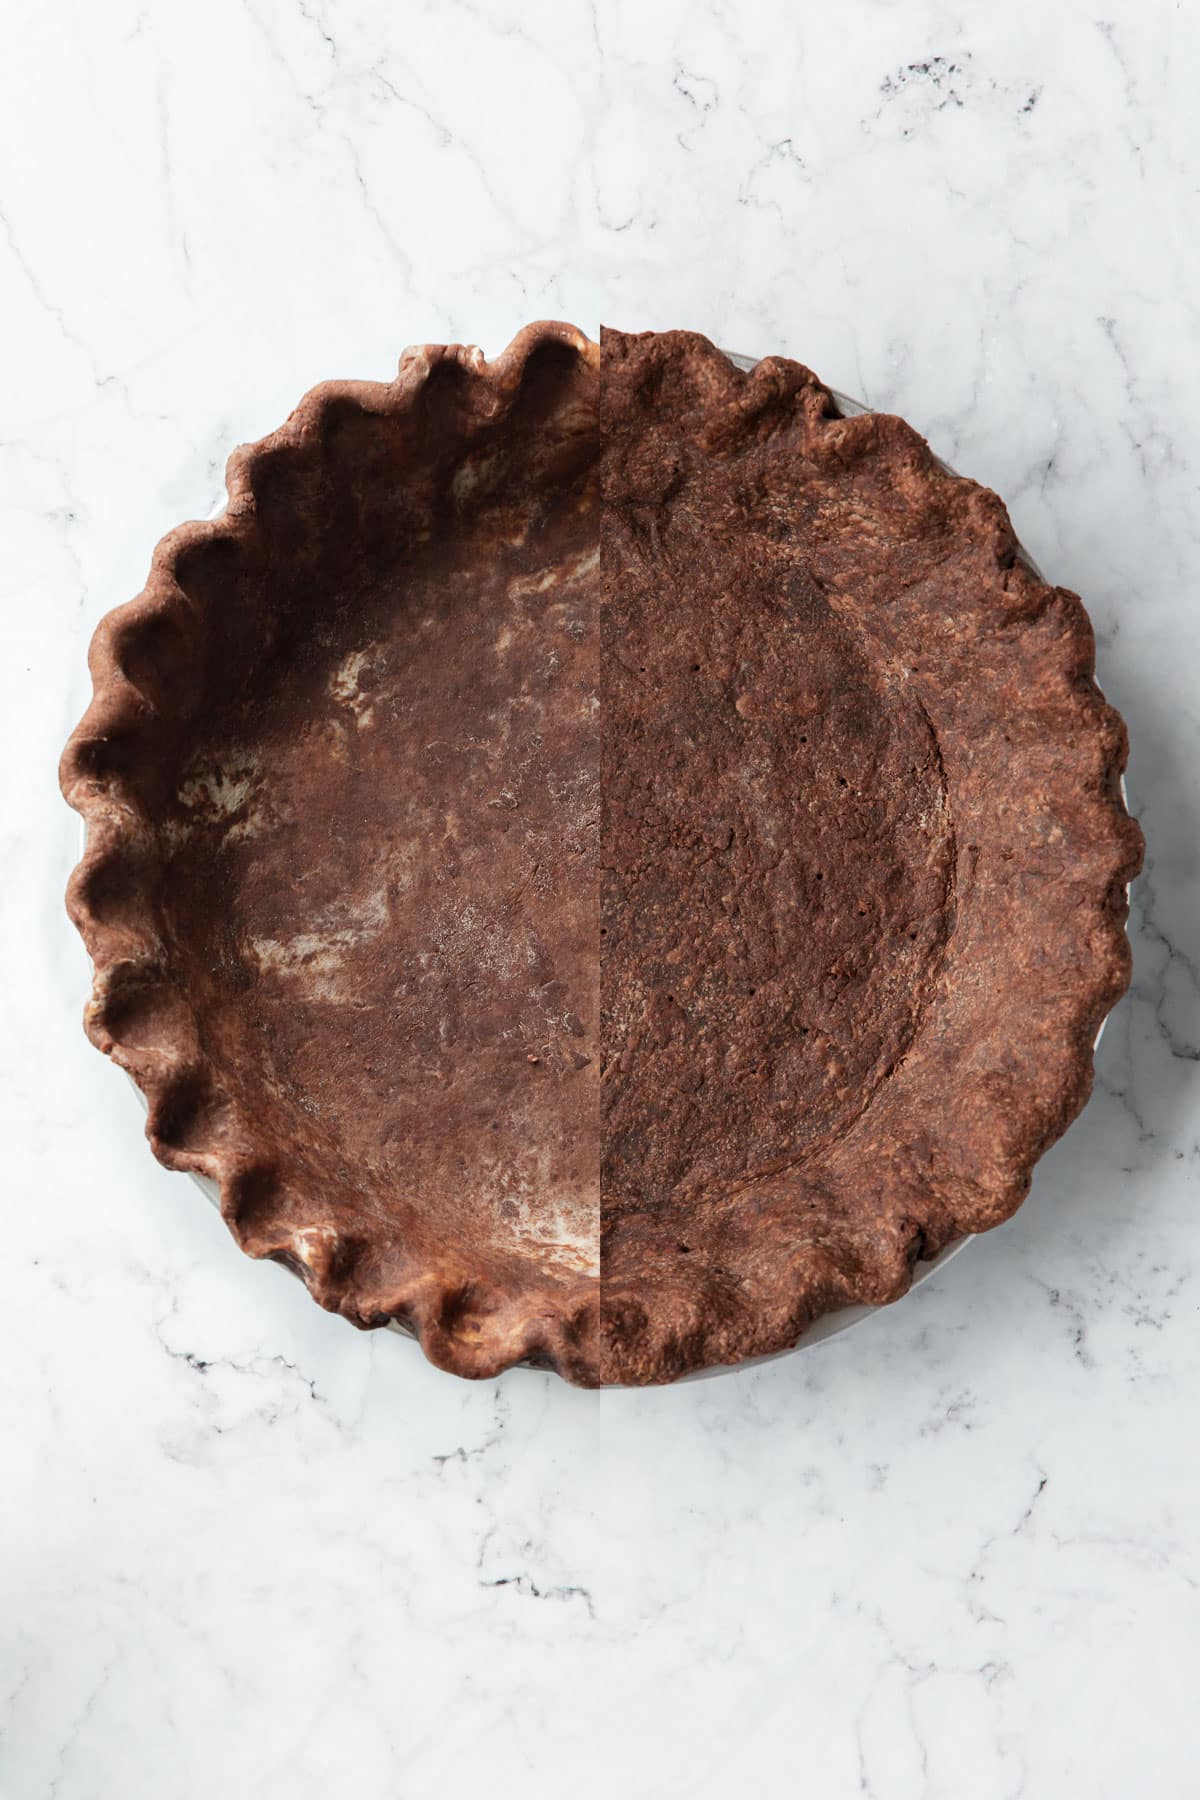
No matter what recipe you are making, par-bake the crust in a 375 degree oven for about 15 minutes; the edges and sides should be dried out and matte, but once you remove the parchment and weights the bottom will still be a bit wet looking.
If you are using the crust for a baked filling like pumpkin pie, you can remove the lining and weight and then add your filling and return it to the oven.
Otherwise, for cream or other unbaked fillings, you’ll need to fully bake the crust before adding your filling. Remove the weights and parchment lining, poke the bottom and sides with a toothpick or fork so it doesn’t puff up too much, then return to the oven to bake for an additional 10 to 15 minutes or until it’s no longer shiny and fully matte all over.
Ingredient Notes & Substitutions
Butter: I used unsalted butter. If you use salted butter, reduce or omit the salt.
Shortening: A small portion of unflavored vegetable shortening makes for a more tender pie crust that’s easier to work with, while still allowing for plenty of butter flavor (I don’t like all shortening crusts for that reason… butter just tastes better!) If you want, you can use all butter, however I find a small portion of shortening makes a huge difference.
Cocoa powder: I used Dutch process cocoa powder, which gives the crust a deeper color and richer flavor. Since it’s not a leavened recipe, however, you can use Natural cocoa powder without any other substitutions, just know your crust will have a lighter color.

Love the idea of a chocolate pie crust but not sure what to fill it with? Might I suggest one of these recipes? (Only the pecan pie filling is baked, the others all call for a fully baked or cookie crust which can be replaced with this one instead):
This recipe makes enough crust for one 9-inch single crust pie; double it for a double crust pie. For a 10-inch or deep dish pie, try increasing the recipe by about 25%.
Flaky Chocolate Pie Crust
Prep Time: 30 minutes
Cook Time: 25 minutes
Total Time: 2 hours
This flaky chocolate pie crust is everything you love about pie pastry: tender, flaky and buttery, with the addition of cocoa powder for a deeply chocolate flavor that will complement just about any filling.
In a bowl, sift together flour, cocoa powder, sugar, and salt.
Sprinkle butter cubes and shortening over flour, then use a pastry blender to cut in the fat until it forms pea-sized pieces. You can also use a food processor or blender for this step if you like!
Make a well in the center of the dry ingredients, and sprinkle over 3 tablespoons of the ice water. Mix with a fork or (cold!) hands until the dough starts to clump together. Push the clump to the side and sprinkle more water, a teaspoon at a time, over dry bits, mixing until those too start to clump together. Try not to use any more water than necessary to bring the dough together!
Give the dough a good knead or two until it comes together in a rough, shaggy ball. Turn out onto a piece of plastic wrap spread out on the countertop, then wrap tightly (double wrap if needed). Flatten slightly into a disk. Refrigerate for at least 30-60 minutes or overnight. Pie dough can also be wrapped, bagged, and frozen for up to a month (let thaw overnight in the fridge before rolling).
Preheat oven to 375 degrees F.
Roll out dough on a lightly floured countertop or pastry cloth, lightly flouring as needed to prevent sticking (you can also roll between layers of parchment paper). For a standard 9-inch pie pan you're looking for about 14" in diameter to allow for sufficient overhang.
Fold the rolled dough in half, then carefully transfer to a 9-inch pie pan. Unfold, and gently ease the dough, taking care not to stretch it, into the bottom and corners of the pan.
Trim off any excess from the edges, leaving a 1" overhang beyond the edge of the pan. Gently fold the overhang back up under itself around the circumference of the pan. Crimp edges using the technique of your choice (I like to use my knuckles, two on the inside and one on the outside, to form the fluted shape.
Freeze the fluted crust for at least 15 minutes or refrigerate for 30; this will firm up the crust enough that lining it won't mess up the fluted edges.
Crinkle up a piece of parchment paper and place it in the chilled crust. Fill with weights of some sort (I like to use granulated sugar but you can use pie weights or dried rice or beans too).
Place crust on a second baking sheet (to catch any leaking butter) and bake with the parchment and weights for 15-20 minutes, until the edges and sides are matte and no longer shiny.
Gently remove the parchment paper and weights (if you have a second set of hands you can do this all at once). The bottom of the crust will still look a bit wet, that's ok.
For pies with a baked filling, you can add your filling at this time and then bake according to the recipe instructions.
For non-baked pie fillings, you'll need to fully bake the crust. First prick the crust all over with a toothpick or fork to prevent puffing, then return to the oven for another 10 to 15 minutes or until the crust appears dry and is no longer shiny on the bottom. Remove from oven and let cool before adding your filling!
All images and text ©
for Love & Olive Oil.
Let us know what you think! Leave a Review below or share a photo and tag me on Instagram with the hashtag #loveandoliveoil.
There may be affiliate links in this post. We are a participant in the Amazon Services LLC Associates Program, an affiliate advertising program designed to provide a means for us to earn fees by linking to Amazon.com and affiliated sites.