Hailey Bieber Is Obsessed With This Summer Hairstyle—a Beauty Pro Shows How It’s Done
The slicked back ponytail: a step-by-step guide. The post Hailey Bieber Is Obsessed With This Summer Hairstyle—a Beauty Pro Shows How It’s Done appeared first on Camille Styles.
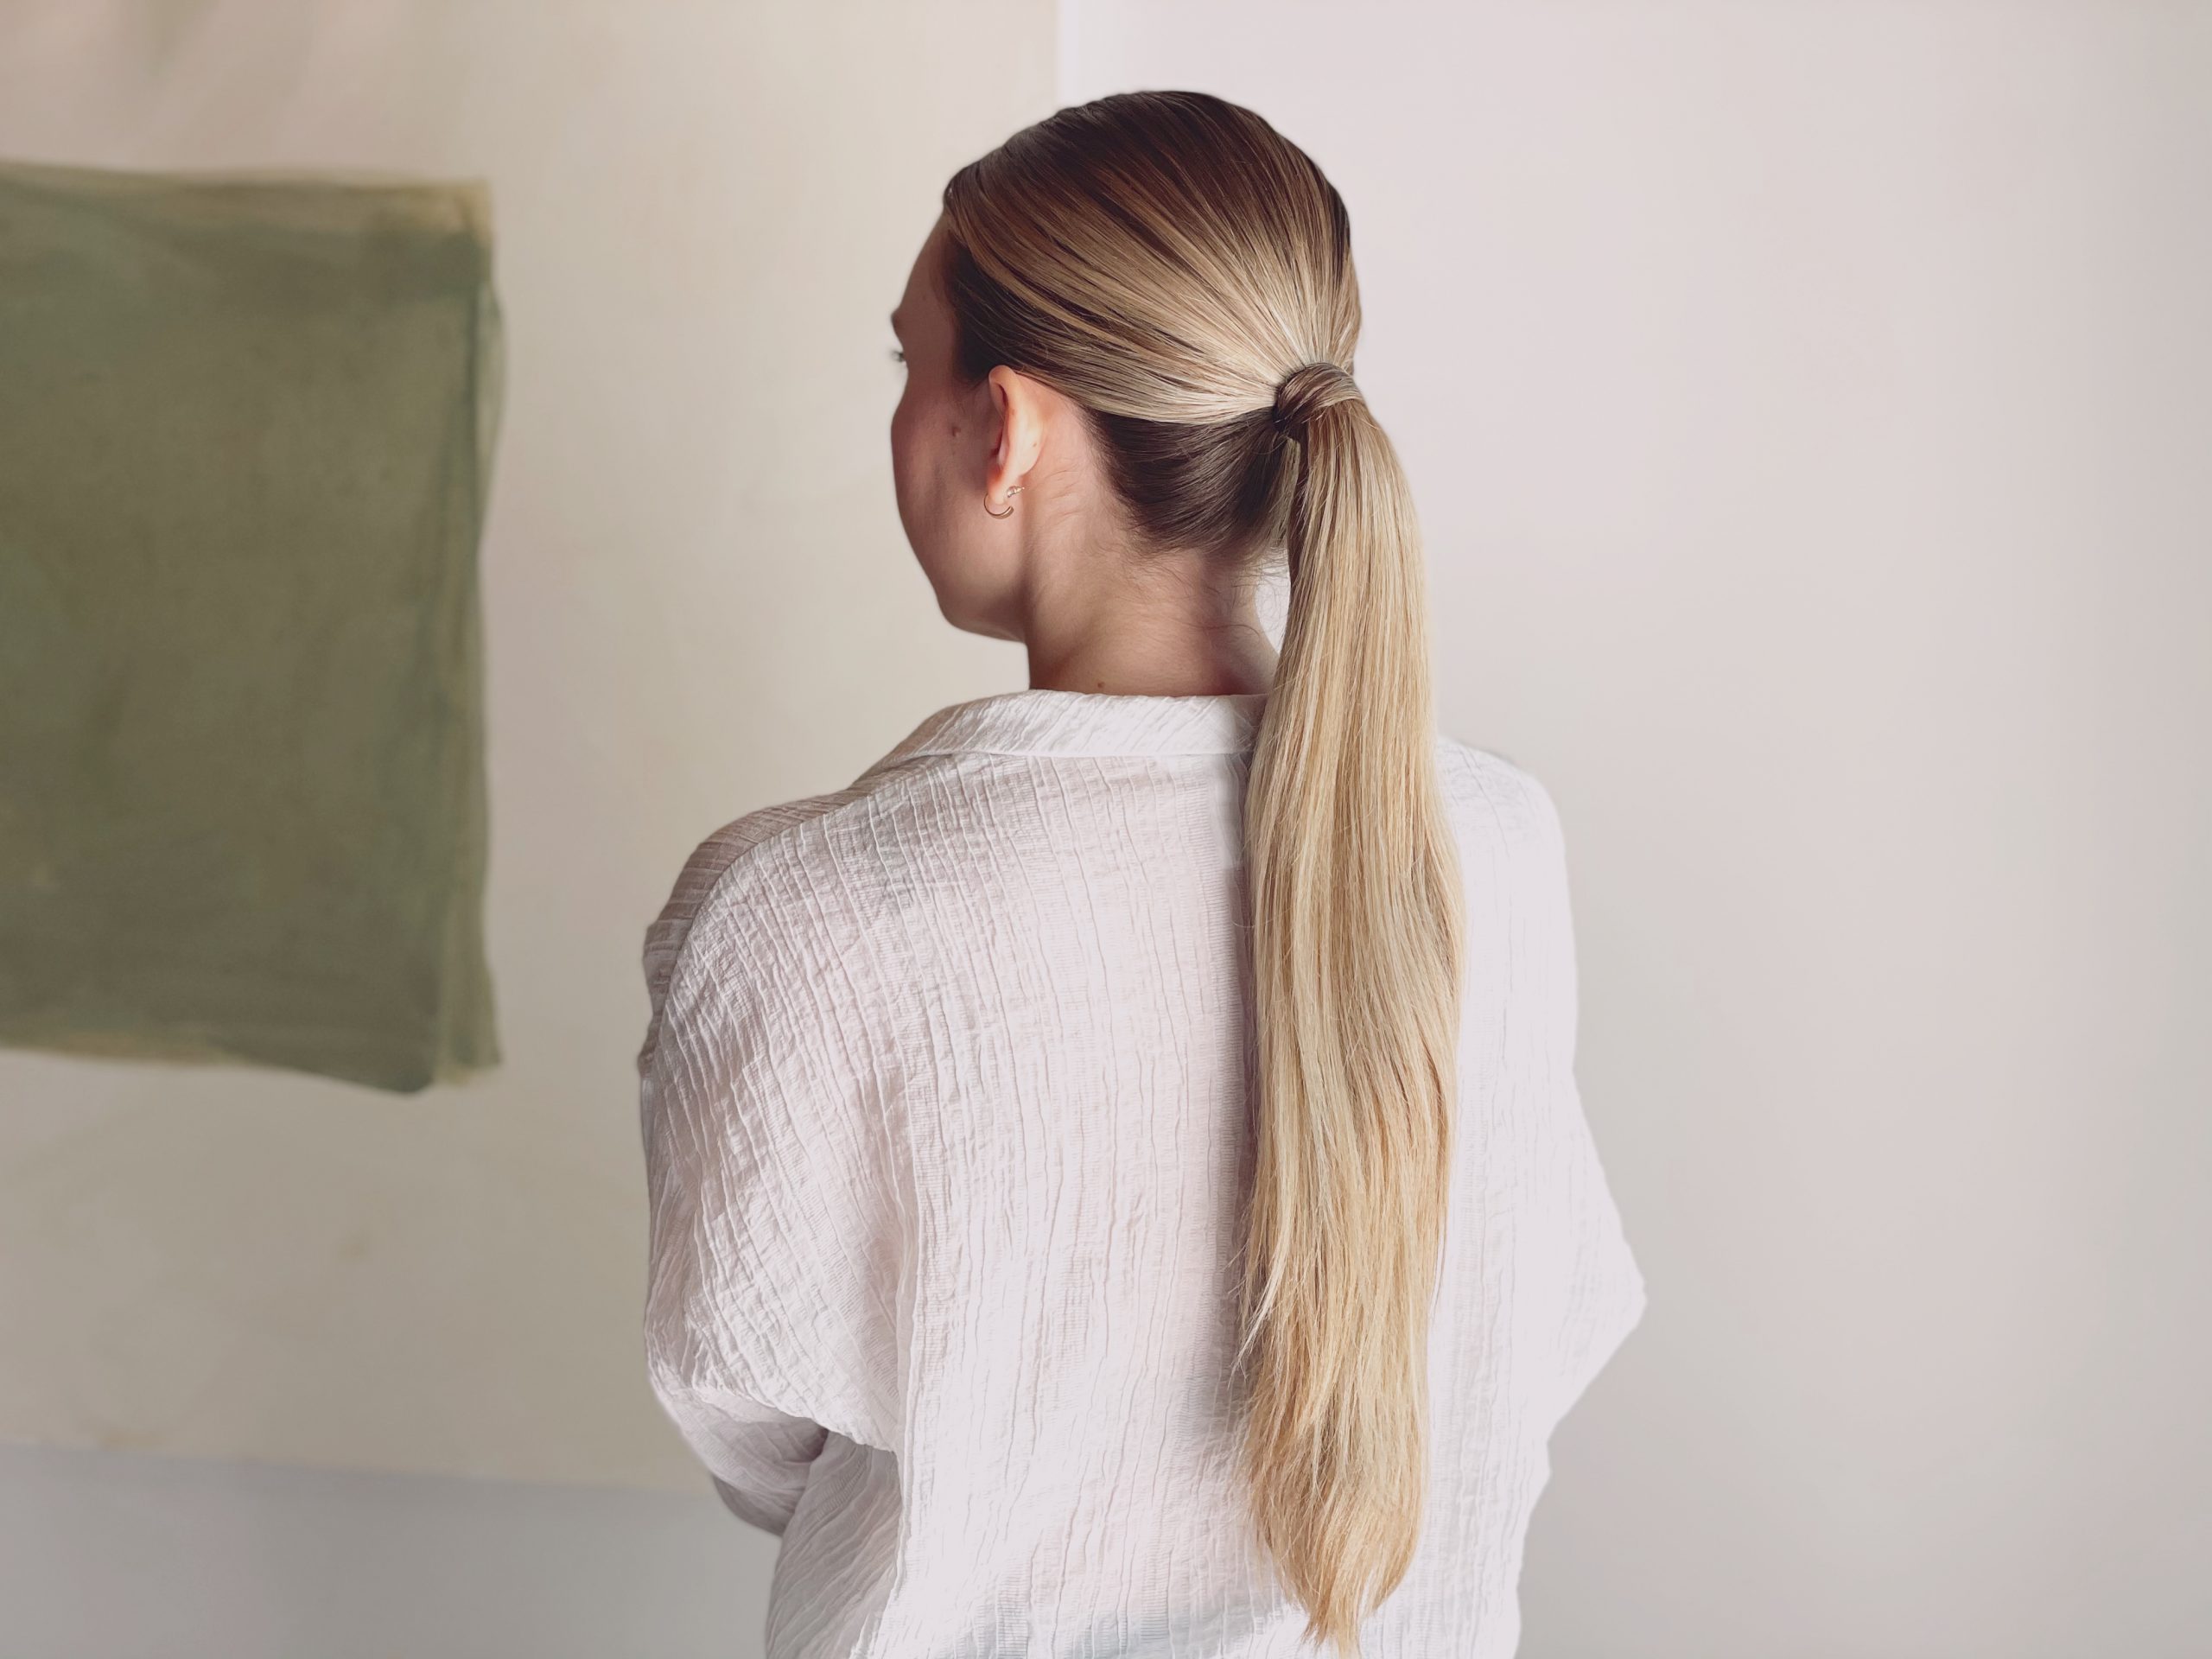
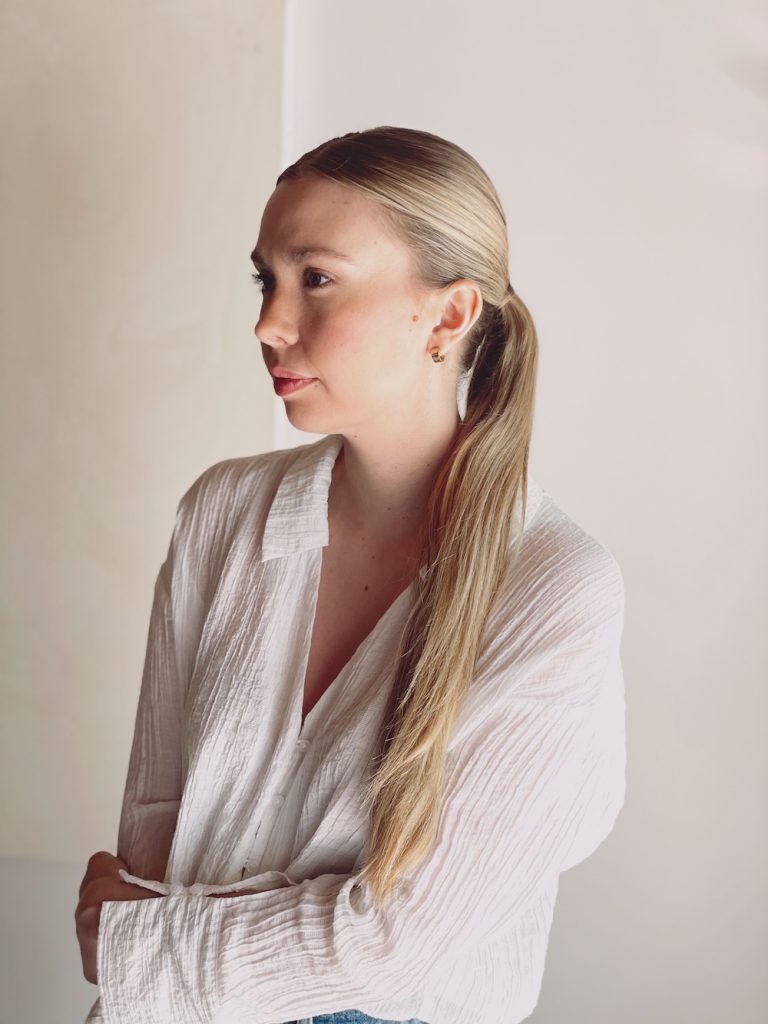
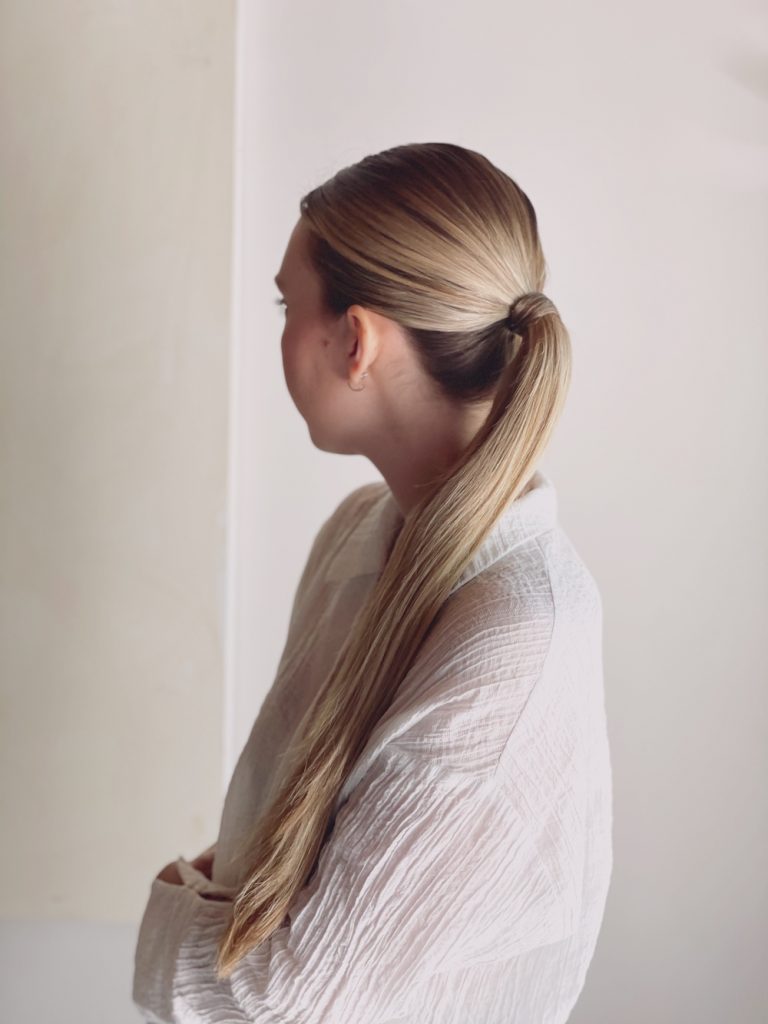
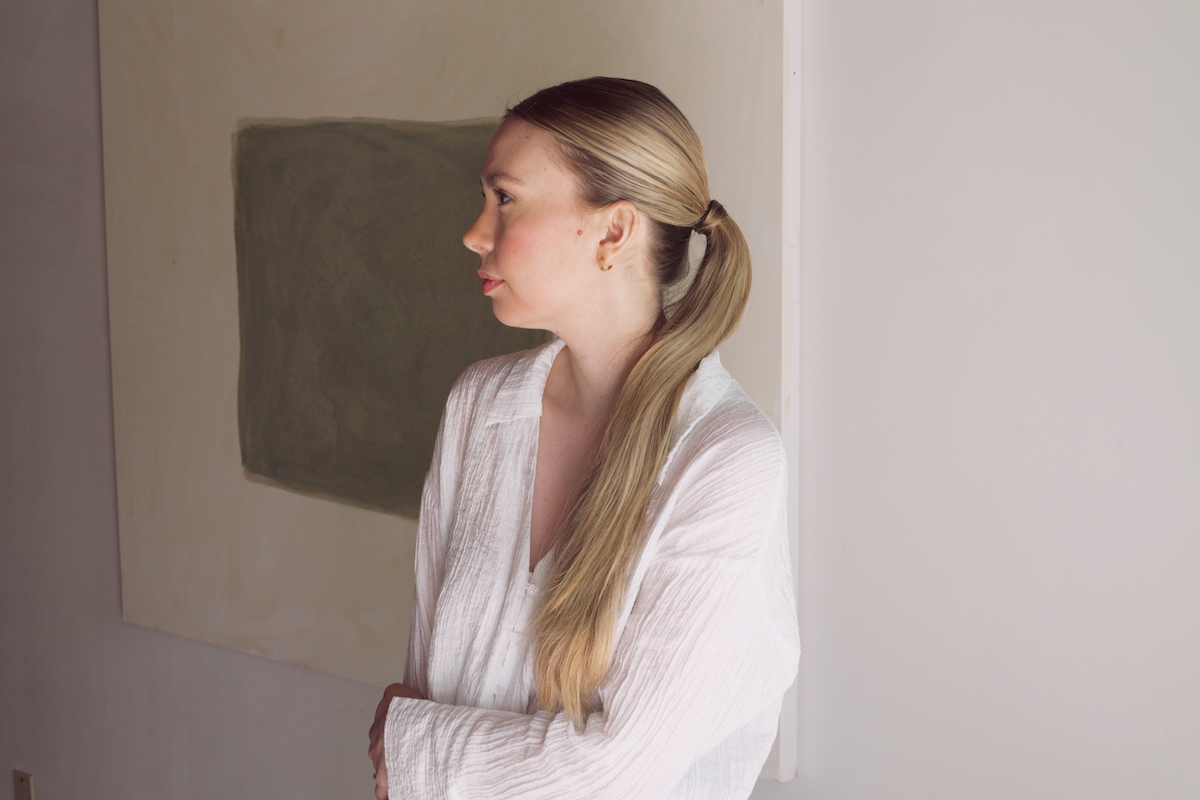
The slicked back ponytail—it’s a style we’ve seen on everyone, everywhere for years. However, with the popularity of the Clean Girl Look and our work-from-home desire for easy, high-style options, it’s become our go-to hairstyle. The slicked back ponytail is simple and works for anyone, particularly if you want an instant facelift that accentuates your bone structure. So, if you’ve always wanted to know how to do it, keep reading. We have your step-by-step tutorial right here, courtesy of beauty stylist Hannah Zahner. (And guess what? It’s easier than you think.)
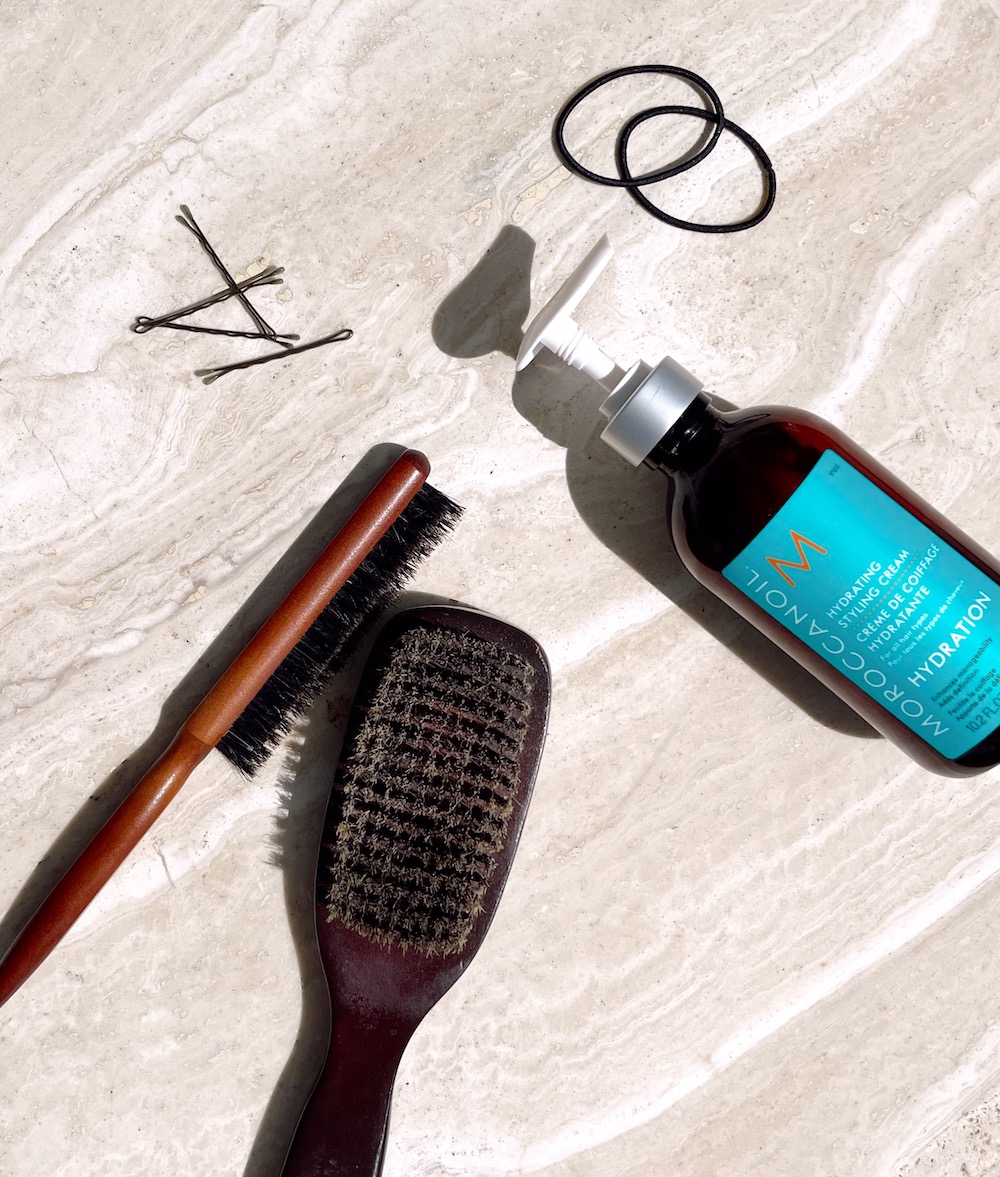
Products Needed to Create a Slicked Back Ponytail
To create the slicked back ponytail of your dreams, you’ll need a few basic supplies (so basic that you might already have them in your medicine cabinet!). See Hannah’s recommendations below for her go-to products that will keep your style in place.
Every product is curated with care by our editors and we’ll always give an honest opinion, whether gifted or purchased ourselves. If you buy something through our links, we may earn a small commission at no cost to you.
How to Style a Slicked Back Ponytail
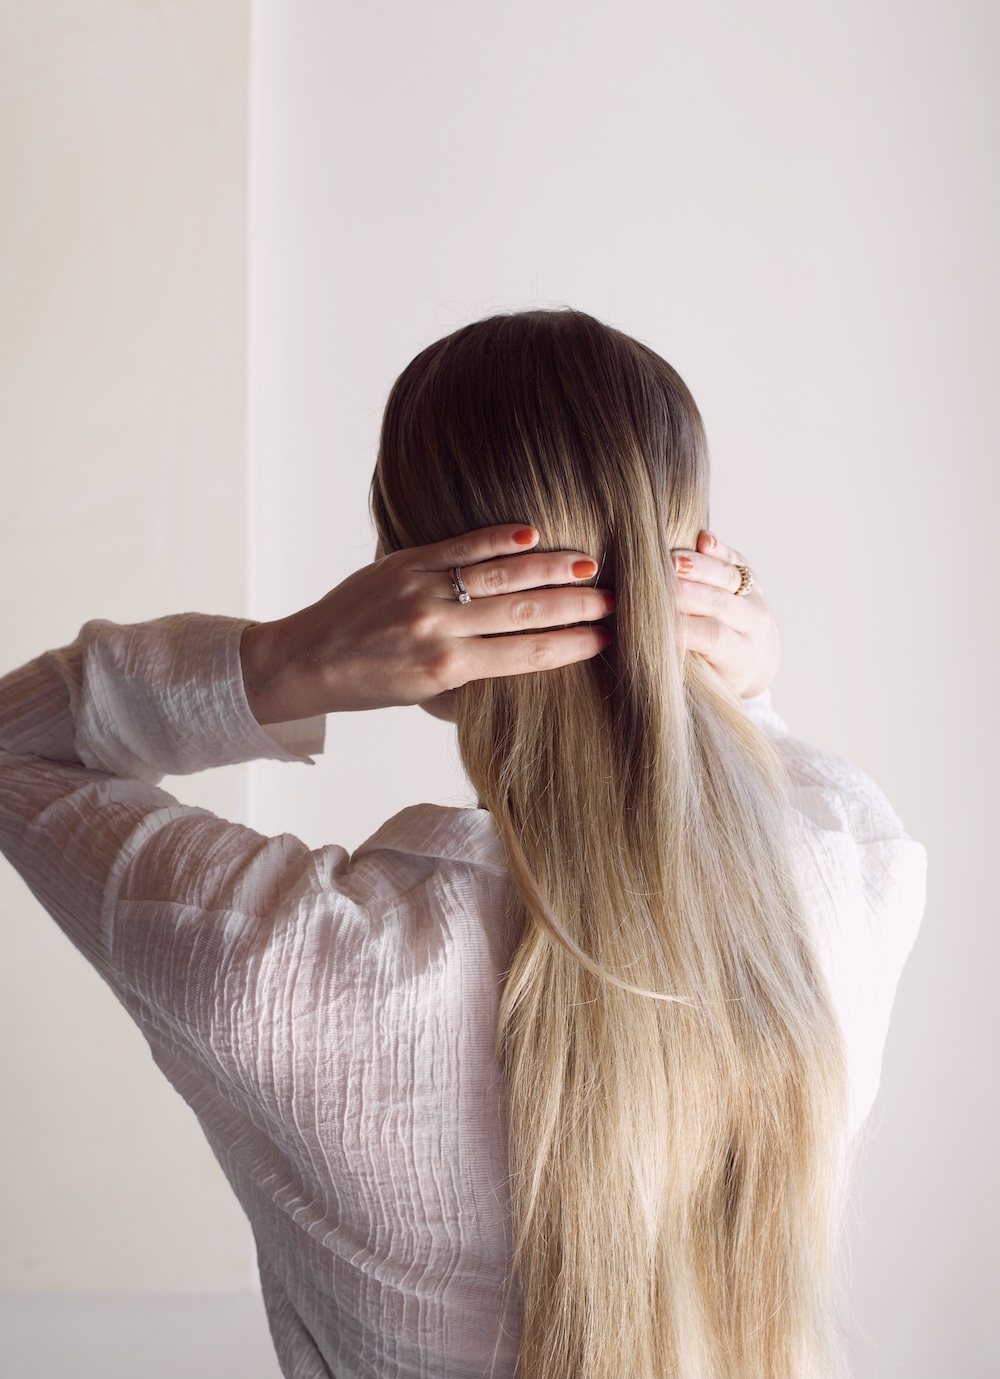
1. Start with brushed-out hair. Don’t worry if your hair is a day or two old. Dirty hair works great for this style.
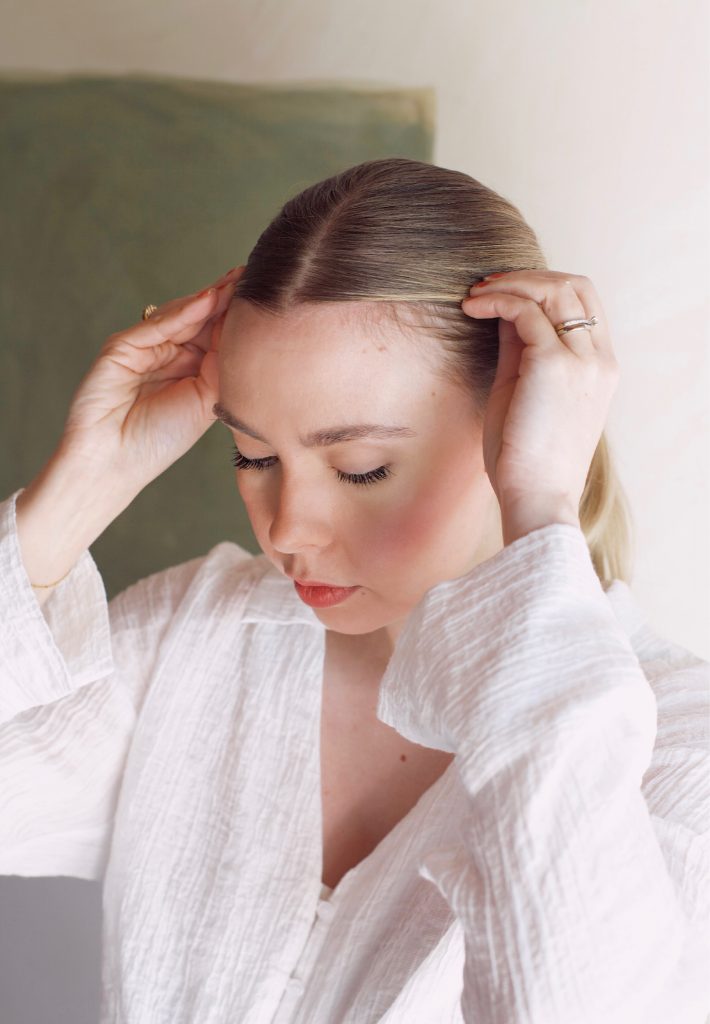
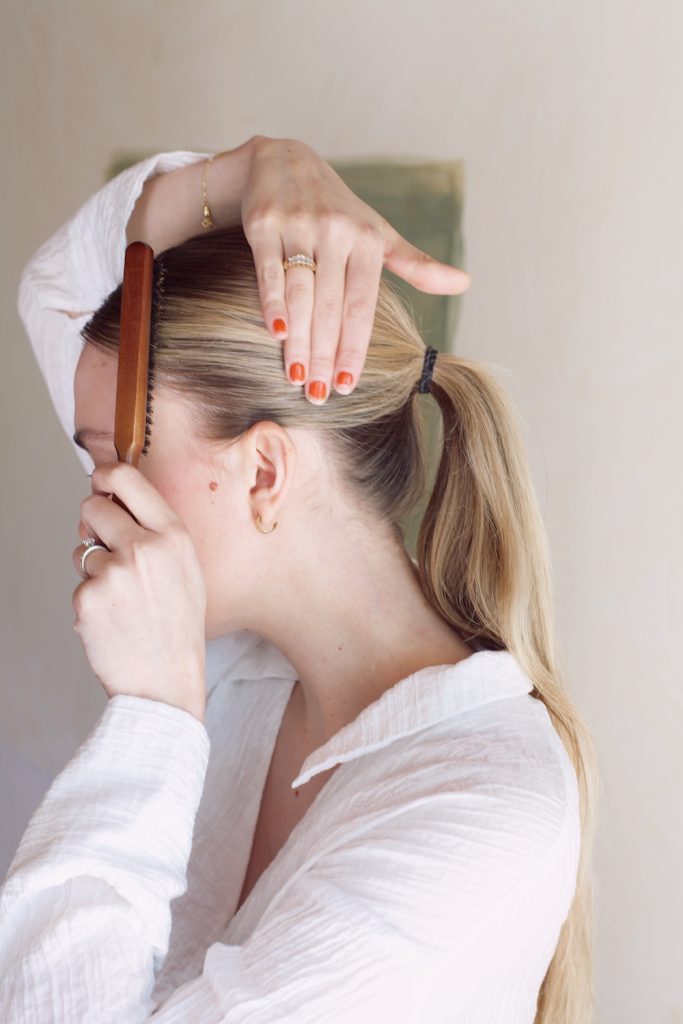
2. Decide on your part. For this look, a middle or side-part works best.
3. Apply your styling cream. Work a small amount of styling cream into your hands before smoothing through the root back toward where the pony will be. Remember: more product means a more slick and styled look. A small amount of product will feel more natural and soft—this can work better for an everyday look. Start with a small bit of product and add more as needed.
4. Smooth and gather hair. Using your bristle brush, begin to smooth and gather hair. You can gather high, low, or midways.
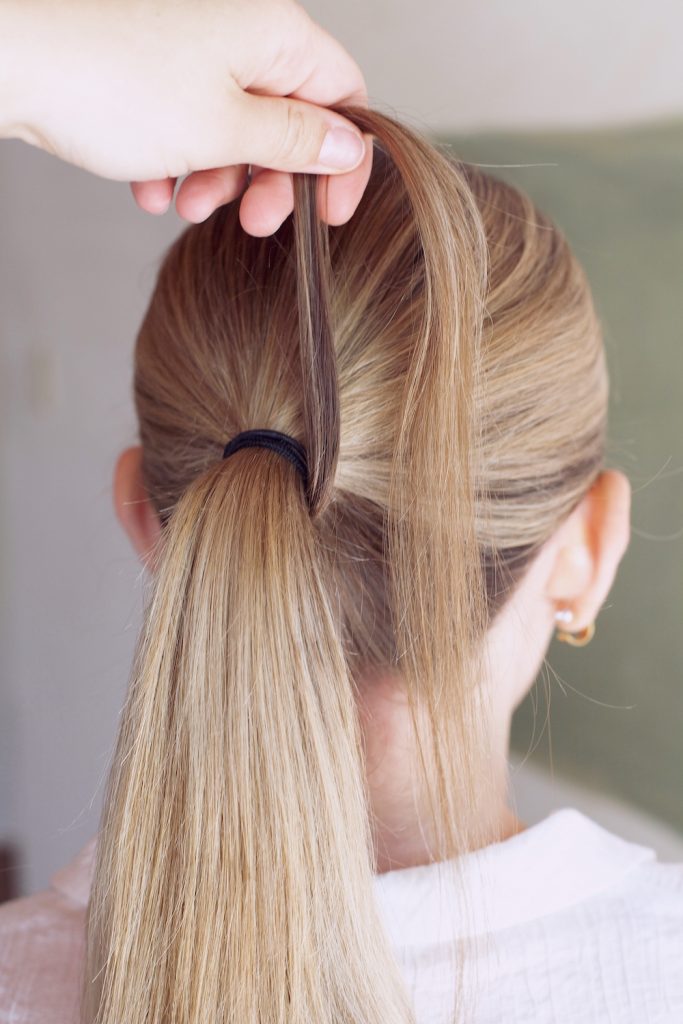
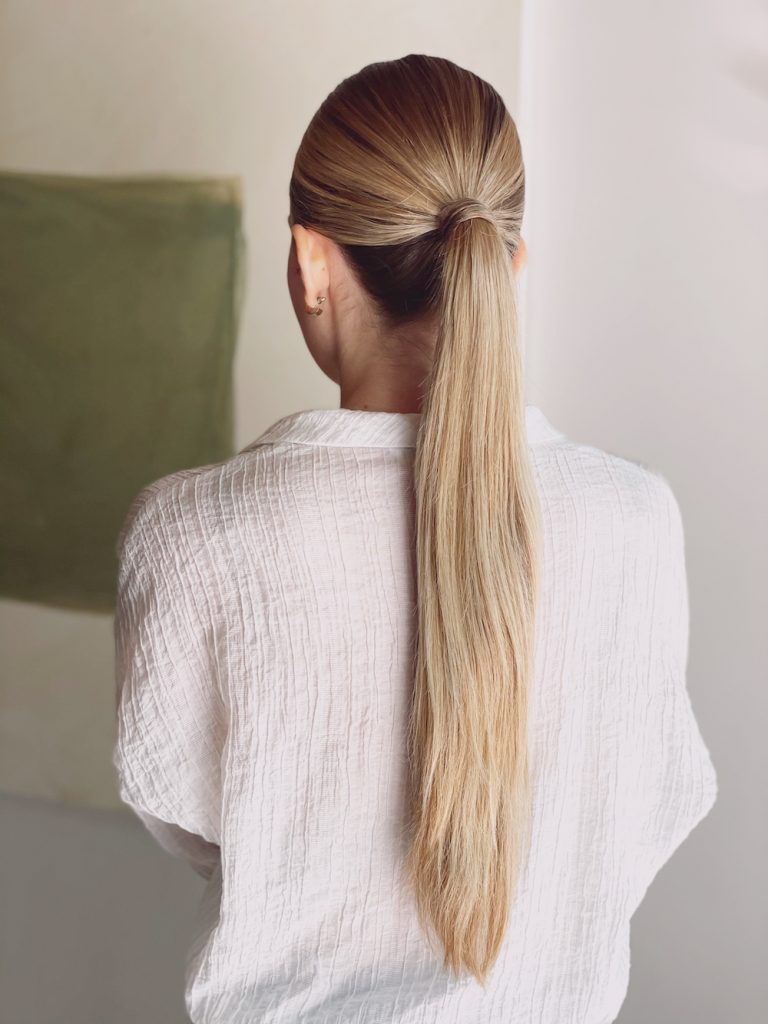
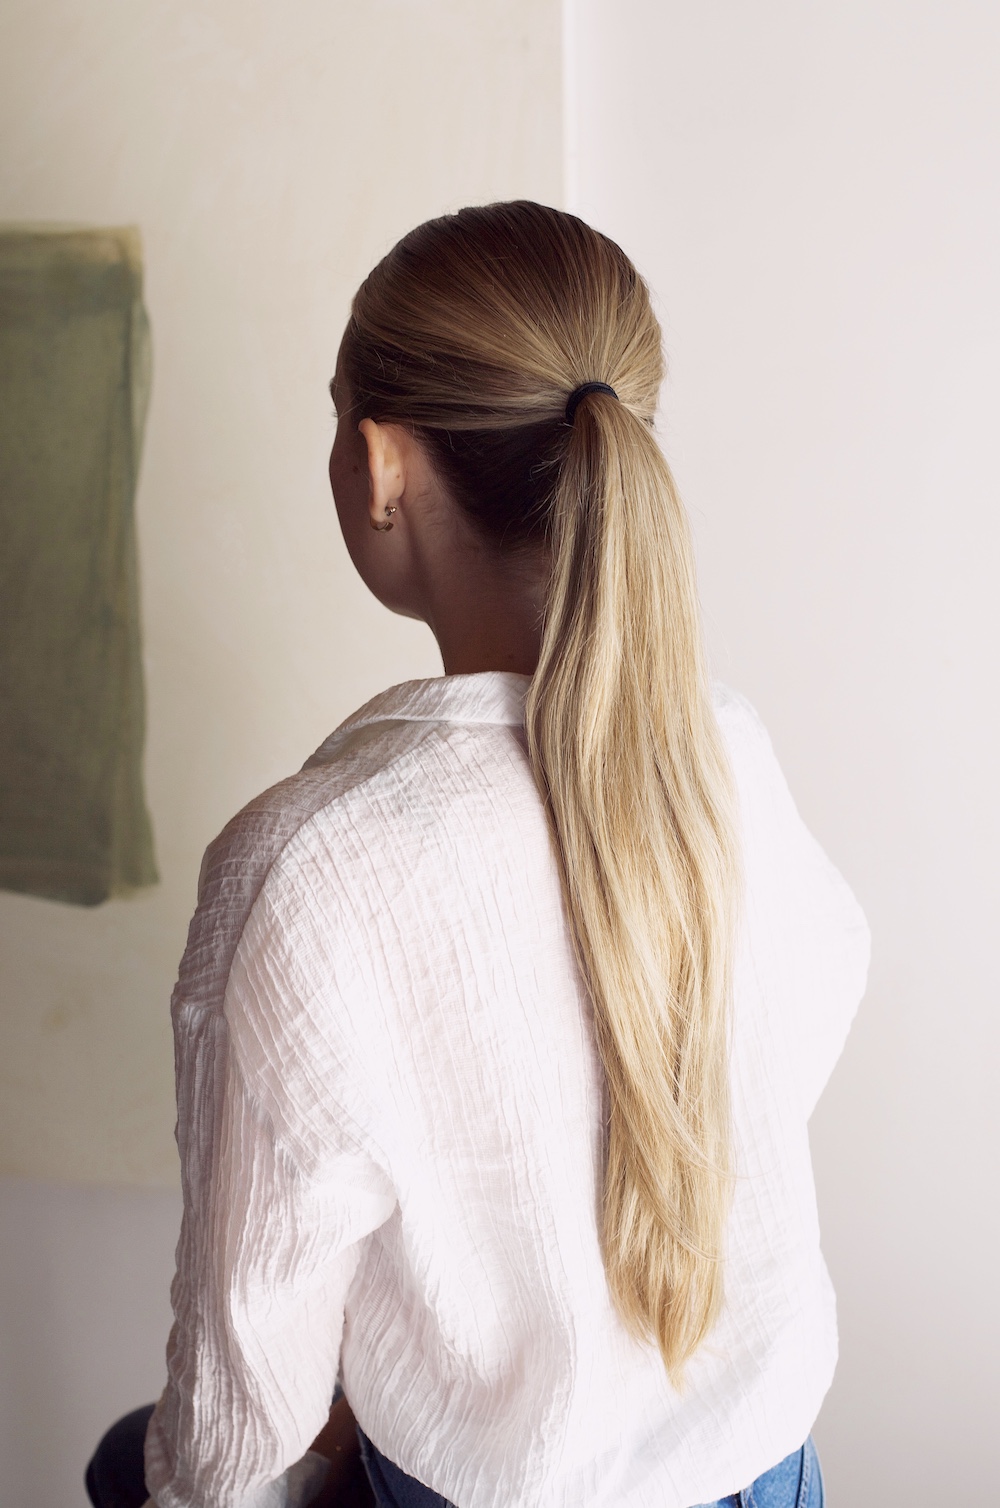
5. Secure your pony. Wrap your elastic around your ponytail to secure your style in place. You can leave the black elastic visible or wrap your pony with a small amount of hair from the underside of your ponytail for a more polished look.
Finish the look. Go back with a bristle teasing brush and a small amount of styling cream product or hairspray to smooth down baby hairs.
Tips for Making the Look Your Own
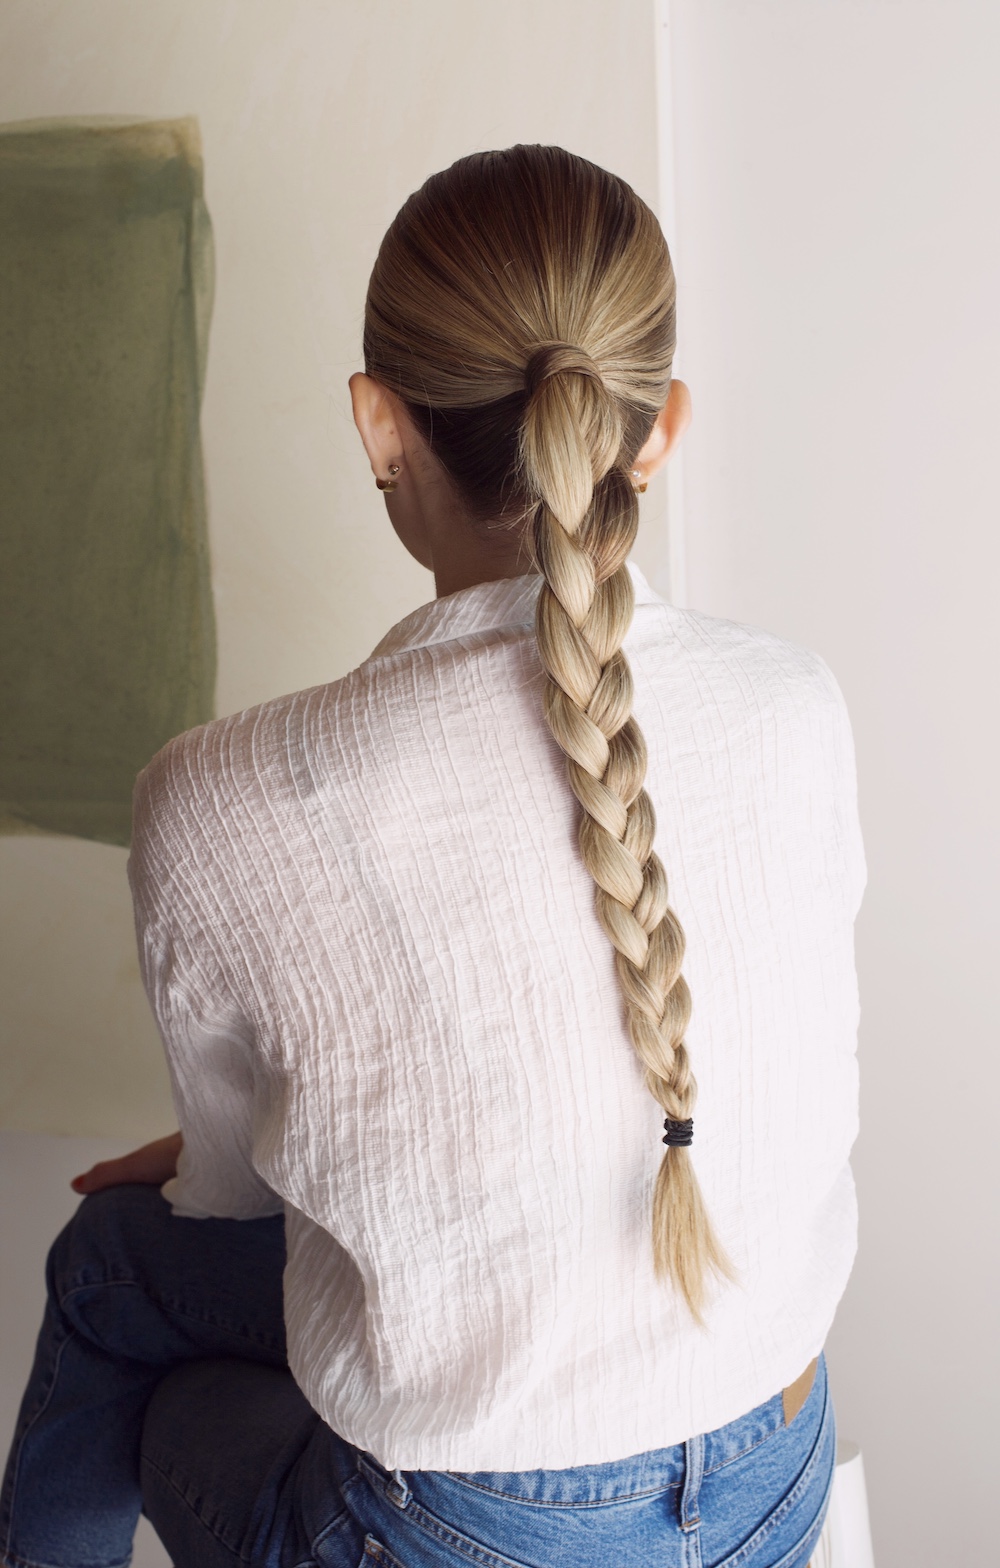
Braid it. Once the ponytail is in place, run a bit of styling cream through the length of your ponytail. Wrap hair into a braid until the end of the pony. Secure with an elastic. Curl the pony. While the root stays slick, it can be fun to add some extra volume to your pony. Once the ponytail is secured and in place, wrap sections of your ponytail around a curling iron. Lightly brush through. Make it ultra-slick. If you want an ultra-slick look and all-day hold, use a heavier-duty styling cream like Ouai Matte Pomade and work into roots as you smooth into your pony. Next, once your hair is gathered and secured, get out your straightener and smooth out your ponytail hair in sections.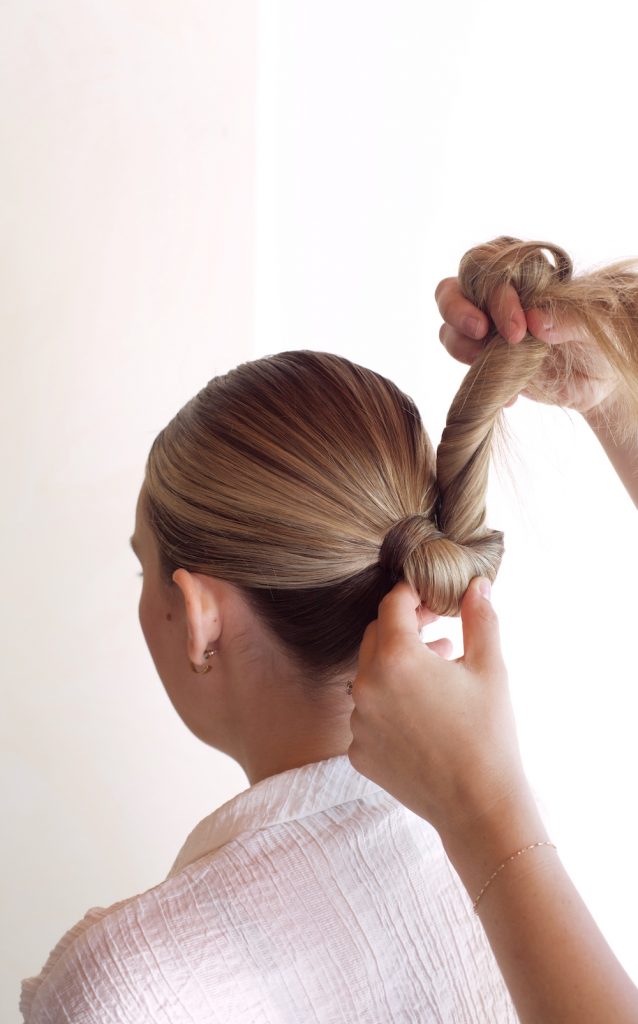
Slicked Back Ponytail: Tips and Tricks
Double up. If you have thicker and heavier hair, instead of wrapping one elastic around all of your hair, use two rubber bands. This allows for extra support and lift to your pony. Keeping the top section clipped out of the way, smooth the lower half into a pony. Gather that pony and the hair you left out on top, and follow the directions above to smooth the top. Wrap the second elastic around all of your hair, securing close to your head.
Apply hairspray strategically. Usually, dirty hair or a little styling cream is enough. However, if you have lots of baby hairs and flyaways, do a quick spritz of hairspray in the problem area. Using your bristle brush or comb, quickly work to smooth the hairs down before the hairspray dries.
Use your natural part. Since this is a more sleek look, it’s usually best to work with whatever part you already have going on. Changing the part with dry hair can cause funky bumps—the last thing you want with a sleek pony. Whether it’s a middle part, slightly off-center, or a side part, this look works with whatever you have going on.
Create extra shine. For extra shine, use a higher-hold styling gel or finish the style with a shine spray like the Kenra Shine Spray.
This post was originally published on September 14, 2016, and has since been updated.

 Tekef
Tekef 


