How To Do A Yoga Kneeling Pose Safely + The Top 10 Kneeling Poses
The post How To Do A Yoga Kneeling Pose Safely + The Top 10 Kneeling Poses appeared first on The Yoga Nomads.
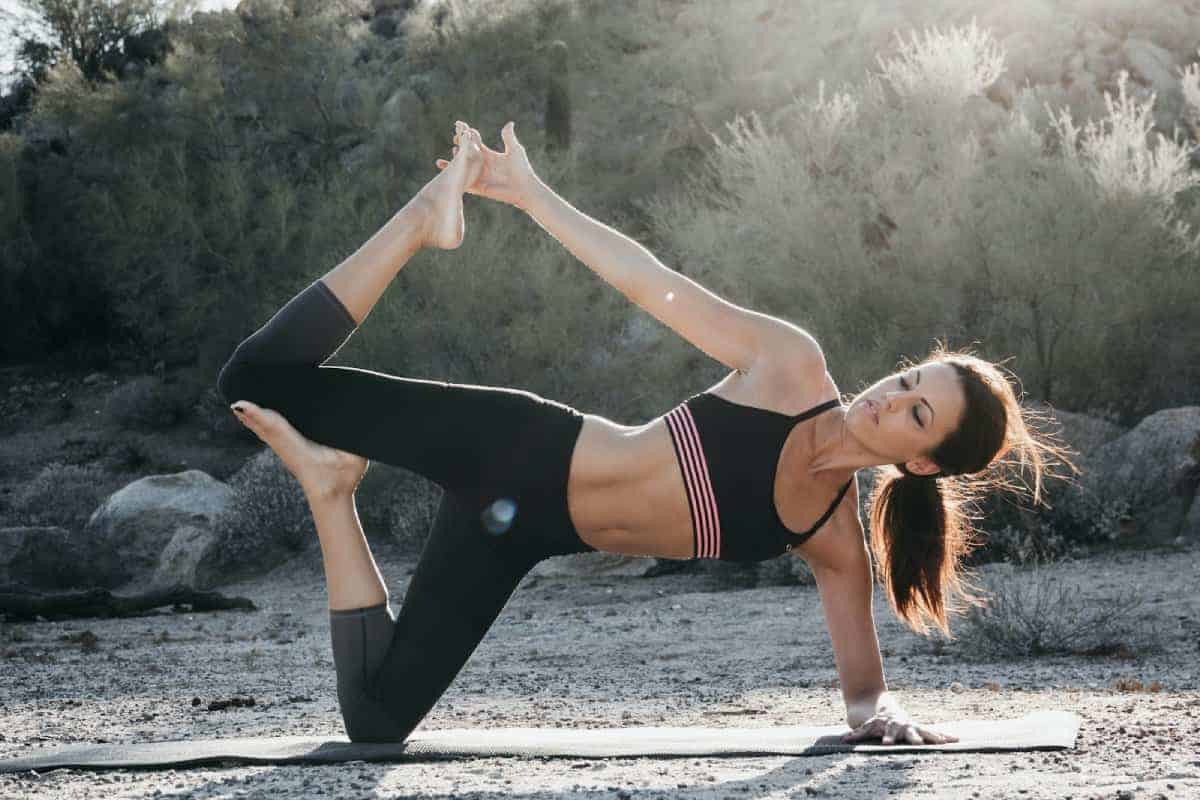
Do you have sensitive knees or find the kneeling position uncomfortable?
If so, you probably dread doing yoga poses like cat-cow, camel, or low lunge.
The kneeling position can stress the knee joint significantly, and these asanas feel uncomfortable and painful for many yogis.
However, if this is the case for you, you don’t have to skip every yoga kneeling pose. Instead, you can make this position safer and more comfortable in several ways, which we will cover in this article.
And be sure to read until the end as we’ll cover the 10 most common kneeling yoga poses in yoga and how to do them.
Let’s dive in!
How To Protect Your Knees In Kneeling Yoga Poses

Kneeling poses, like the Hero pose, involve a high degree of knee flexion, and asanas like Camel require you to put your entire body weight on these sensitive joints. So it’s no surprise that knee injuries are among the most common yoga injuries.
The key to taking care of your knee joints during kneeling yoga poses is to use extra padding. Here are three ways you can do this:
Use a thick mat

If you feel slight discomfort in kneeling yoga poses, switching to a thicker mat may be enough. Yoga mat thickness can range from 1mm to 10mm, so if you are using one that is just a couple of mm thick, this could be what is causing the painful sensation.
Now, it’s also worth noting that when yoga mats are too thick, it reduces stability and balance in standing poses. Thus, 6mm thickness is an ideal balance; it is thick enough to protect the knees but thin enough to keep you sturdy and centered in balance poses.
I use the 6mm Lululemon Workout Mat, which has a unique design where the center of the mat (where your knees usually are) is smooth, while the top and bottom have a raised grippy textural surface to increase traction and stability. Plus, as it’s double-sided, the other side has a smooth texture.
Use a folded blanket

For extra-sensitive knees, a thicker mat may not be enough support. So I recommend getting a dense yoga blanket that you can fold up and place under your knees whenever you come into a kneeling yoga pose.
Restorative yoga blankets are perfect as they are heavy, thick, soft, and comfortable. I like the Manduka Yoga Wool Blanket, made from 100% sustainable materials (75% Recycled wool and 25% Recycled synthetic fibers). It is exceptionally high quality and long-lasting thanks to the overlocked edge stitching that prevents fraying and the dense weaving that keeps it in shape after multiple washes.
Use yoga knee pads

An alternative to a blanket is yoga knee pads, a product designed to prevent pain and discomfort in yoga practice.
The Lululemon Stackable Foam Yoga Pads are small cushioned pads that you place under your knees in any kneeling pose for instant support and comfort. As they are stackable, you can use one, two, or three per knee, depending on your needs. They also have a suctioning design, so they stay firmly in place on your mat.
Additional tip – Respect your body’s limitations
Along with using prop support, being mindful and respectful of what your body can and cannot do is essential for preventing knee injuries in yoga.
For example, some poses require high knee flexion, but this is inaccessible for people with low mobility in the knee joint. If you try to bend your knee more than it can, you risk twisting the joint out of alignment.
So rather than pushing and pulling your body, reduce the degree of flexion. For example, in the Hero pose, sit on one or two blocks to elevate the hips and lower the bend in the knee.
In addition, move in and out of kneeling yoga poses slowly and carefully to avoid accidentally bending the knee too much too quickly. And in a low lunge pose where the front knee is bent, be careful not to bend the knee too much so that it goes past your toes. This is one of the most common causes of knee injuries.
10 Kneeling Yoga Poses And How To Do Them
Kneeling yoga poses are often practiced in the warm-up part of a yoga sequence, helping the body prepare for the standing postures. However, they can also be sprinkled throughout the practice as resting poses or cool-down postures at the end.
Let’s explore the most common kneeling poses in Hatha and Vinyasa yoga.
Hero Pose

In the Hero pose position, you sit on your heels with your feet together and knees fully flexed. This stretches and strengthens the knees, thighs, and ankles and has many therapeutic effects, like lowering high blood pressure.
If you are one of the many yogis that find this degree of knee flexion uncomfortable, place a pillow or bolster between your sitting bones and heels.
Thunderbolt Pose

Thunderbolt pose (Vajrasana) is similar to Hero’s and often assumed to be the same posture. However, the difference in Thunderbolt is that the feet are not together; thus, you sit in between your heels rather than on them. This, of course, increases the knee flexion (and the possibility for discomfort) even further.
To modify this asana, sit on a block or pillow rather than trying to bring the sit bones to the floor. Stack as many props as needed under your hips to find a comfortable position. For a deeper variation, you can try Supta Vajrasana, where you lean back onto your forearms.
Child Pose
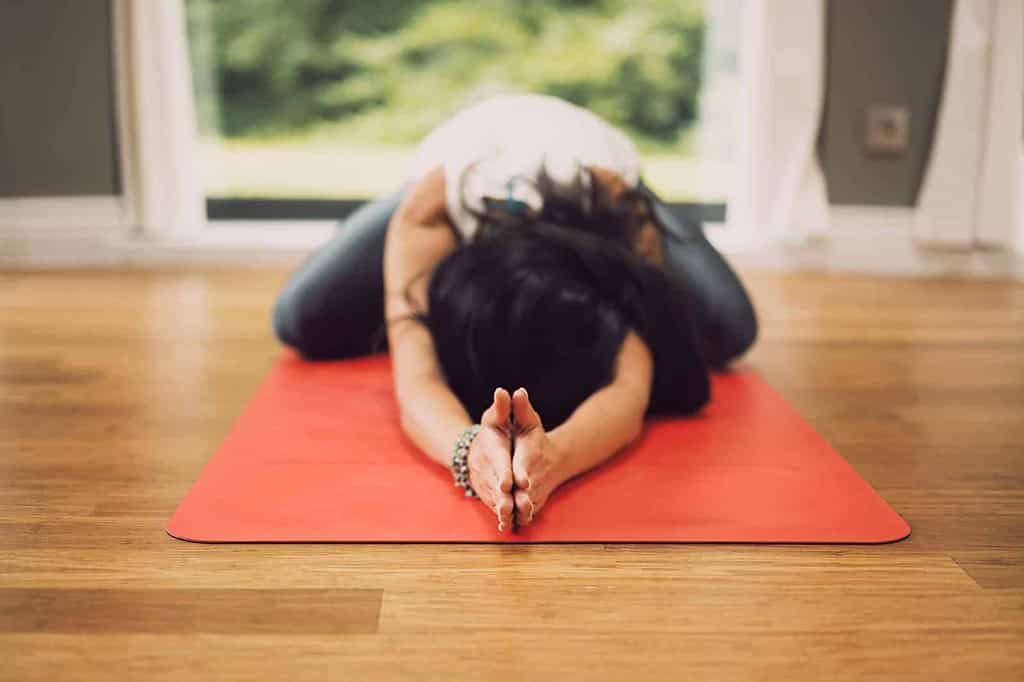
The common resting asana, Child pose, involves deep knee flexion, spinal flexion, and hip opening. You can do this posture with the knees together (which compresses the abdominal organs and stimulates digestion) or with the knees apart (for a deeper hip stretch).
When coming into the Child pose, start sitting on your heels in a Hero pose. Then, tilt forward from your hips to lower your torso on or between your thighs. Keep your hips pressing down to your heels as you come into the pose, and relax your forehead to the ground.
Cow Pose

Cow pose is a gentle backbend practiced in a tabletop position on the hands and knees. For any pose in a tabletop position, ensure your knees are directly under your hips, and your wrists are under your shoulders. From this position, tilt your pelvis to arch your back and open the chest, gazing forwards.
Cat Pose
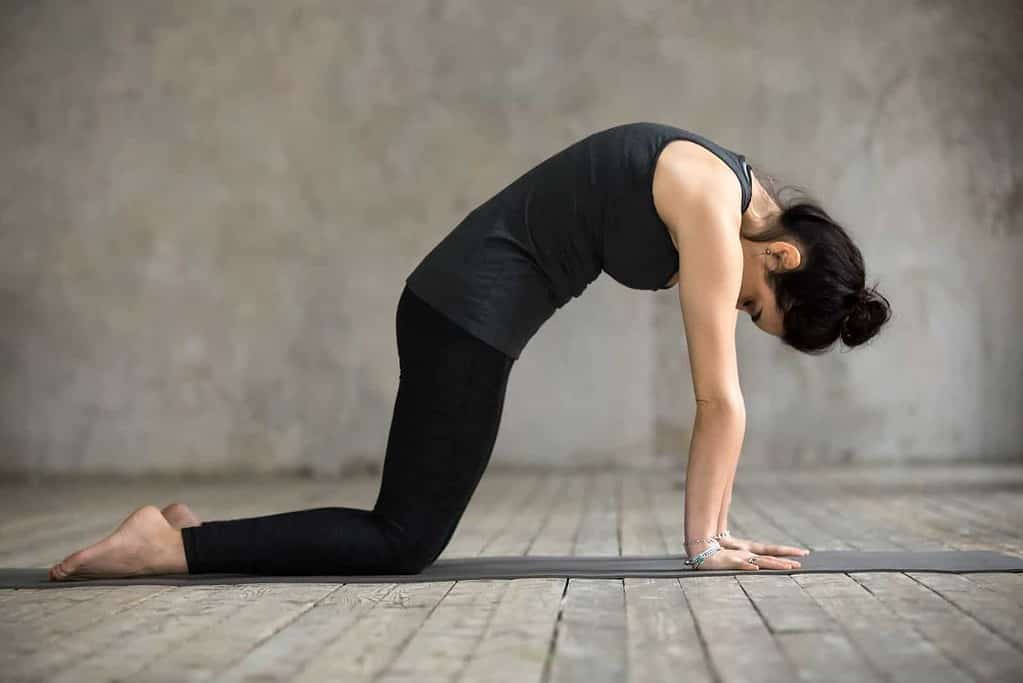
Cat pose almost always comes after cow pose, with cat and cow practiced together in a series of rounds. While the cow pose extends the spine and stretches the front body, the cat pose flexes it and stretches the back. From cow pose, tuck your tailbone to round your back and tuck the chin to your chest.
Balancing Table Pose

Balancing table pose is another asana practiced from the tabletop position. However, this particular pose works on engaging and strengthening the core muscles and improving balance and stability in the body.
This yoga pose involves balancing your weight on one knee and one hand, which increases the weight on that particular knee. Thus, I recommend using props to keep your knees safe.
Extend your right leg back and left arm forward from all fours. Keep the floating arm and leg straight and engage the core as you hold. Release, then repeat on the other side, extending the left leg and right arm.
Low Lunge Pose
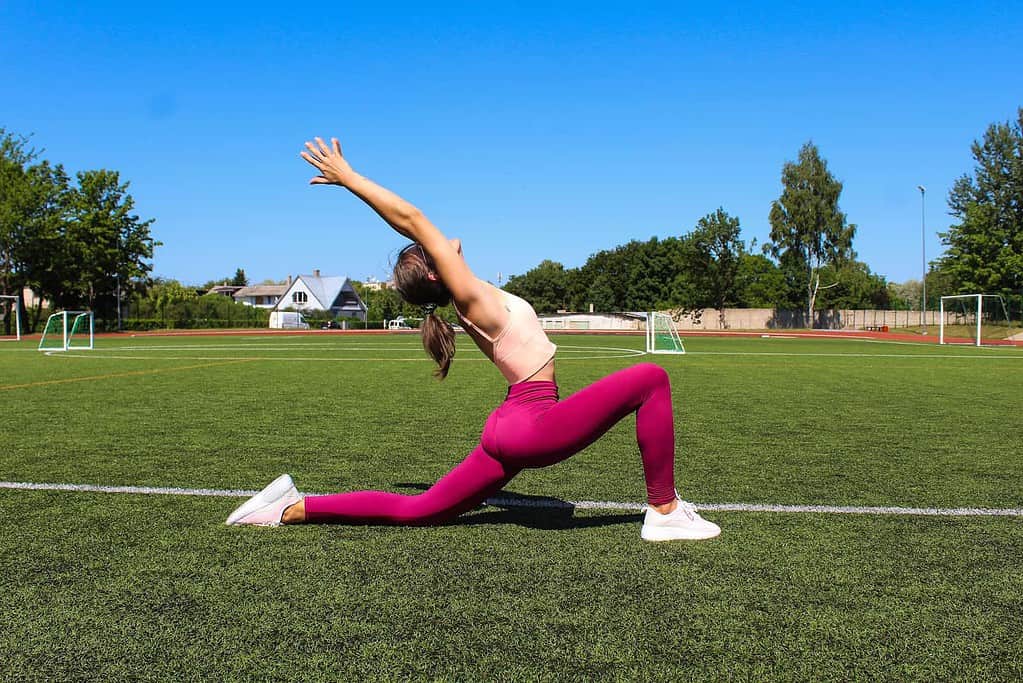
The low lunge is another yoga pose that requires you to put additional weight on one knee. It also involves bringing the other knee into a flexed position, so care and caution is essential when practicing the low lunge.
From a tabletop, step your right foot between your hands with the knee directly above the ankle. Untuck your back toes and engage your core as you straighten your spine and raise your arms alongside your ears.
Half Splits Pose

The half-split pose is a lovely hamstring stretch and a preparatory posture for the full splits.
From the low lunge, release your hands to the ground or two blocks on either side of the front foot. Press your hips back to straighten the front leg and fold your upper body over the thigh. Relax your head and neck and flex the toes towards you to deepen the stretch in the back of the leg.
Gate Pose

The gate pose is a side-bending asana with one knee bent and the other leg extended to the side. It opens the side body and stretches the muscles between the ribs, in the back, and hips while strengthening the ankles and feet.
Extend your right leg out to the side from a kneeling position with the hips lifted. Ensure the toes face forward (in the same direction as the hips), pressing the sole firmly into the ground.
Bring your right hand to the right thigh. As you inhale, reach your left arm up and over, stretching to the right side (the side of the extended leg). Look up to your top arm and breathe into the ribs.
Camel Pose

The camel pose is a deep backbend that stretches the chest, torso, neck, and quads while strengthening the back muscles, thighs, and knees.
Bring your hands to your lower back from a kneeling position with the hips lifted. Slowly lean back as you press the hips forwards, creating an arch in the spine. Next, pull your elbows towards each other behind you as you breathe into the chest. A more advanced variation is to bring the hands to the heels.
Final Thoughts on Yoga Kneeling Pose
Kneeling yoga poses aren’t just painful for yogis with previous knee injuries. It’s common for many people to have sensitive or bony knees, making it significantly uncomfortable to place their body weight over one or both knees.
However, the solution to this problem is pretty simple. Switching to a thicker yoga mat or using a blanket or knee pads can make kneeling poses safer, more enjoyable, and, thus, more beneficial.

 Konoly


