How to Do Warrior Pose 1, 2, and 3 in Yoga (Virabhadrasana Series)—Proper Form, Variations, and Common Mistakes
The post How to Do Warrior Pose 1, 2, and 3 in Yoga (Virabhadrasana Series)—Proper Form, Variations, and Common Mistakes appeared first on The Yoga Nomads.
 ShanonG
Warrior Pose is a staple asana in Sun Salutations, Ashtanga power flows, and Hatha yoga sequences. Virabhadrasana (Warrior Pose) is actually a 3-in-1 experience that includes Warrior I, Warrior II, and Warrior III, plus several variations of each style. As you stretch open your hips and build muscle in your legs, these poses also challenge the upper body by engaging the back and arms.
All of the Warrior Poses instill strength, balance, flexibility, and bold confidence to conquer any challenge that comes your way. Here is everything you need to know about becoming a bold yogi warrior with toned legs and a powerful foundation.
Prefer video? Here’s a complete tutorial on how to perform the 5 warrior poses:
What are Warrior Poses (Virabhadrasana)?
Warrior Pose is technically a series of 5 postures that provide similar benefits. They can be performed together or interwoven into any yoga flow.
Warrior I pose sets the stage, then Warrior II takes it to the next level so that you can ultimately lift into a powerful, balanced Warrior III (sometimes nicknamed “Balancing Stick”. There are also two variations of warrior that involve adjusting the upper body for more spinal stretching.
The 5 postures are:
Warrior I Pose: The most beginner-friendly posture, Virabhadrasana I is a standing lunge with your torso facing forward. Warrior II Pose: The next entry-level lunge position involves rotating Warrior I into a hip-and-chest-opening Warrior II position that further challenges your balance and strengthens the legs. Warrior III Pose (Balancing Stick): This intermediate asana is a bit more challenging than its predecessors because it requires balancing on one leg while bringing the body into a “T” shaped position. Humble Warrior Pose: Humble Warrior is a beginner-friendly variation of Warrior I that involves lowering the upper body forward and bowing the head down to the mat. This especially challenges the core and opens the shoulders. Reverse Warrior Pose: This side-bending arc stretches your torso while your legs remain in the deep low lung position of Warrior II.Inspired by the mythical Hindu warrior Virabhadra, this series reminds us that there is an inner warrior within all of us, but awakening that warrior requires surrendering our ego for the sake of humility and wisdom.
Pose Benefits
The affirmation for Warrior Pose is “I am strong,” and this provides many clues into the psychological, spiritual, and physical benefits of these poses. The Warrior asanas help:
Strengthen the lower body: The moment you enter any Warrior Pose, you will instantly feel your leg muscles working. This posture builds strength and stamina in the glutes, quads, and calves very quickly. The deeper your knee bends, the more your legs will work. Holding this posture for extended periods can create lots of lean muscle tone in the lower body. Open the hips: Warrior II and Reverse Warrior are the most hip-opening postures of the series because they challenge your hip flexors to stretch out to the sides. You can feel your groin and hips opening wider as you lunge deeper. Energize the entire body: Unlike restorative postures, Warrior Poses are extremely active and energizing. They activate blood flow throughout the body and awaken an inner fire. Humble Warrior is particularly stimulating because it involves a light inversion. Improve circulation: Warrior Poses naturally build heat and energy in the body, which sends blood and oxygen circulating from the tips of your toes to the top of your head. This series is excellent for improving blood flow and opening up the lungs. Improve focus and balance: Warrior III is a major challenge for your balance, yet all of these postures are technically balancing poses. The stability of your feet and legs will be tested. As you wobble and find your balance, you can find a keen mental focus that is very helpful both on and off the mat. Inspire confidence: These powerful stances naturally boost confidence. As you stand proudly and boldly in these strong asanas, you may feel a renewed sense of self-pride and courage. This is the way of the yoga warrior!Step-by-Step Instructions
While the Warrior Poses are often incorporated into a yoga sequence, they are not necessarily practiced in order. You can enter each Warrior Pose from a variety of positions, but these are the most beginner-friendly ways to explore your fierce warrior energy on the mat.
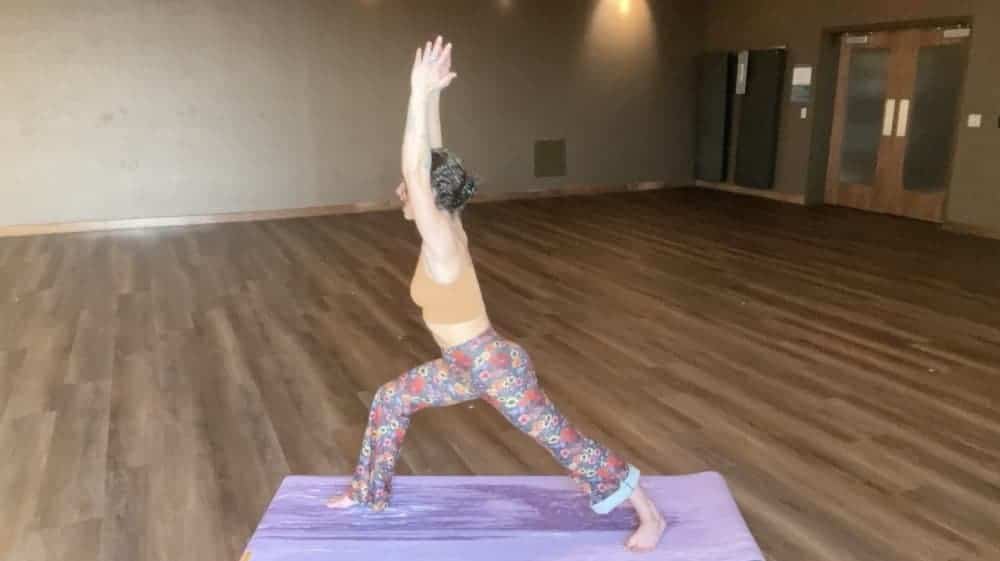
How to Do Warrior I Pose
 Start in a low Runner’s Lunge position with your front knee bent at a 90° angle and your back leg straight behind you with the toes tucked.
Next, flatten the outside edge of your back foot onto the mat. Adjust the toes of your back foot to face diagonally toward the corner of the room. Your ankle will be rotating as your foot turns in about 45°.
Notice your hips shift down and forward. Your legs are in two parallel lines. It should not feel like a tight rope.
Press into the floor with all corners of your feet, and activate the calves, knees, and quad muscles to create a very strong foundation. The inner thighs are pulling together to create resistance.
Flatten your back, engage your core, and bring your hands to your hips. On an inhale, begin lifting your torso up to a straight upright position. Exhale and roll your shoulder blades down and back.
Use your thumb to slowly adjust the hip crease back so that your hips are both facing forward, square to the front of the room.
Keep your hands on your hips or optionally bring them straight up alongside the ears. Avoid shrugging the shoulders up.
Breathe as you sink into the lunge. The front knee should not bend past 90° and you should continuously press into the outer edge of that back foot.
Hold for 5-10 breaths or 1-2 minutes, remaining fully engaged and strong throughout the entire lower body.
When you are done, lower down and step back into a Downward Facing Dog. Then, repeat on the other side.
Start in a low Runner’s Lunge position with your front knee bent at a 90° angle and your back leg straight behind you with the toes tucked.
Next, flatten the outside edge of your back foot onto the mat. Adjust the toes of your back foot to face diagonally toward the corner of the room. Your ankle will be rotating as your foot turns in about 45°.
Notice your hips shift down and forward. Your legs are in two parallel lines. It should not feel like a tight rope.
Press into the floor with all corners of your feet, and activate the calves, knees, and quad muscles to create a very strong foundation. The inner thighs are pulling together to create resistance.
Flatten your back, engage your core, and bring your hands to your hips. On an inhale, begin lifting your torso up to a straight upright position. Exhale and roll your shoulder blades down and back.
Use your thumb to slowly adjust the hip crease back so that your hips are both facing forward, square to the front of the room.
Keep your hands on your hips or optionally bring them straight up alongside the ears. Avoid shrugging the shoulders up.
Breathe as you sink into the lunge. The front knee should not bend past 90° and you should continuously press into the outer edge of that back foot.
Hold for 5-10 breaths or 1-2 minutes, remaining fully engaged and strong throughout the entire lower body.
When you are done, lower down and step back into a Downward Facing Dog. Then, repeat on the other side.
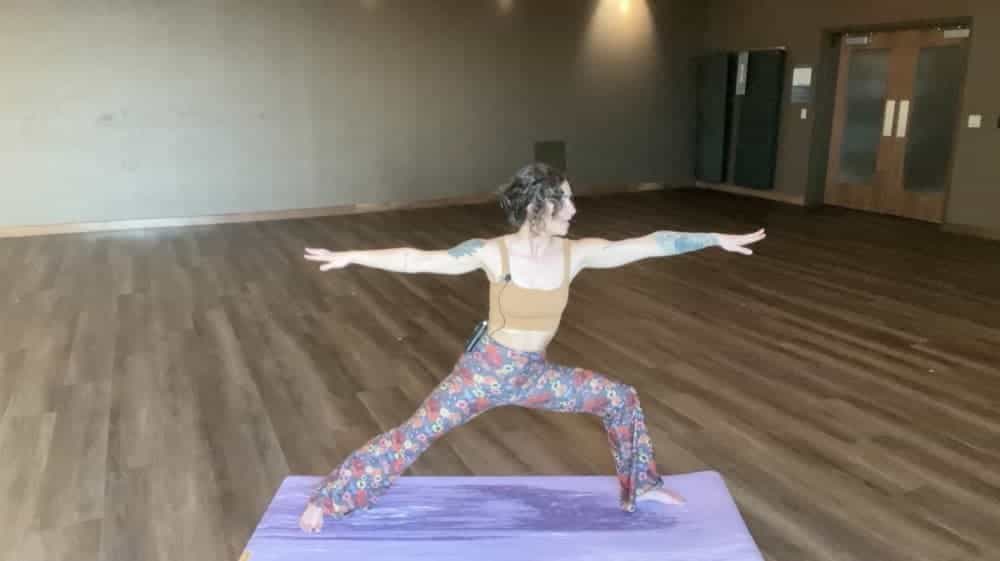
How to Do Warrior II Pose
 Start in a wide-legged stance with your toes pointing forward. Adjust your feet so the outside edges are parallel with the sides of your mat.
Rotate your left foot out 90° to face the side of the room.
Bring your hands out to the sides like a “T’ with your palms facing down.
Exhale and slowly bend your left knee until it it reaches a 90° angle, but no further. Keep your knee stacked above your ankle. All the muscles in your legs should be active and engaged. Keep your back foot grounded, rooting down through the outside edge of the foot.
Engage the core and lift your chest like a proud warrior. Keep your hips facing to the side. Glutes remain engaged.
Turn your gaze over your left fingertips and check that your shoulder blades are back and down.
Hold the posture for 5-10 breaths, keeping the knee bent and strong.
When complete, exhale and rotate your left foot forward again so both toes are facing in front of you. Repeat on the other side.
Start in a wide-legged stance with your toes pointing forward. Adjust your feet so the outside edges are parallel with the sides of your mat.
Rotate your left foot out 90° to face the side of the room.
Bring your hands out to the sides like a “T’ with your palms facing down.
Exhale and slowly bend your left knee until it it reaches a 90° angle, but no further. Keep your knee stacked above your ankle. All the muscles in your legs should be active and engaged. Keep your back foot grounded, rooting down through the outside edge of the foot.
Engage the core and lift your chest like a proud warrior. Keep your hips facing to the side. Glutes remain engaged.
Turn your gaze over your left fingertips and check that your shoulder blades are back and down.
Hold the posture for 5-10 breaths, keeping the knee bent and strong.
When complete, exhale and rotate your left foot forward again so both toes are facing in front of you. Repeat on the other side.
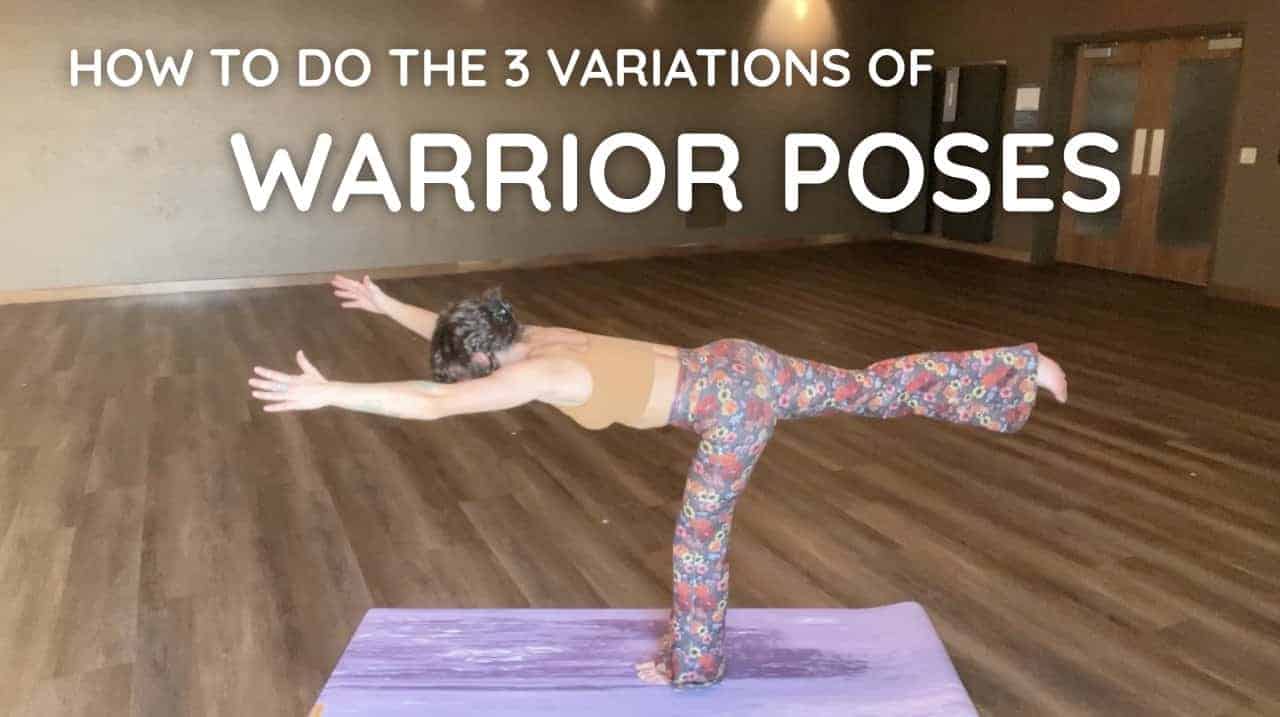
How to Do Warrior III Pose (Balancing Stick)
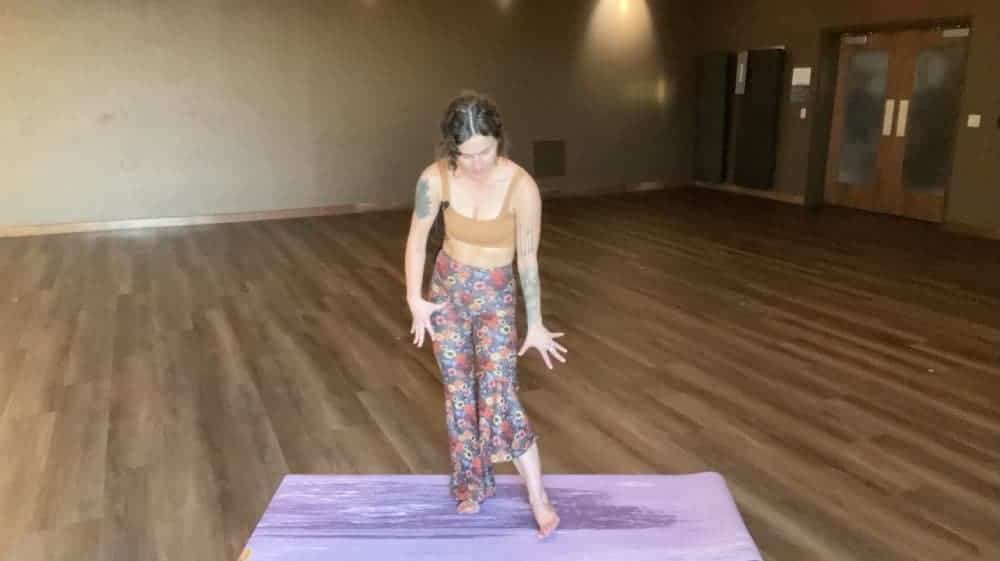
 Start in a Mountain Pose (Tadasana) with your feet hip distance apart.
Inhale your arms up beside your ears. Keep your hand’s shoulder distance apart and check that your shoulder blades are rolled back and down.
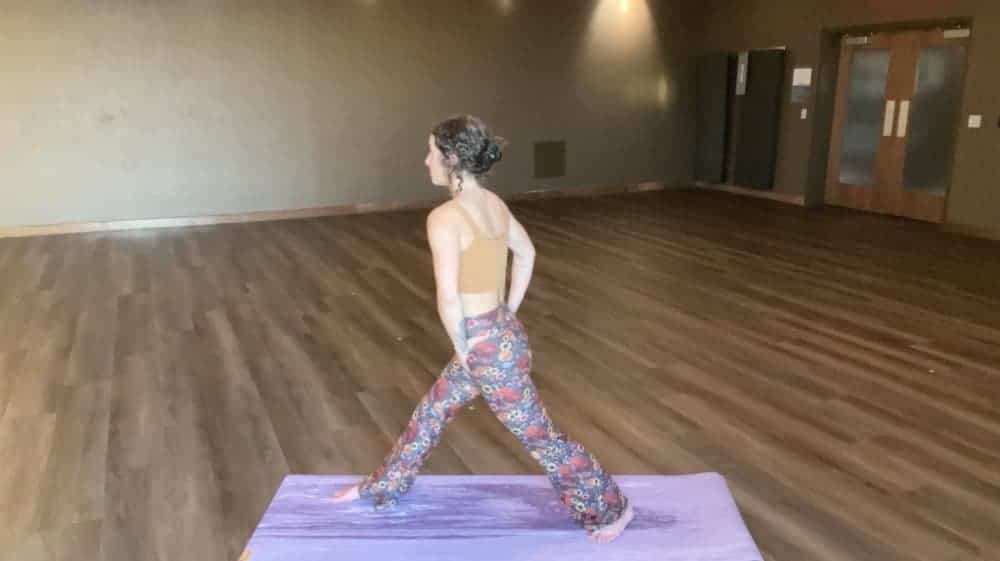
Step your left leg forward and create a strong foundation. Root down through the heel, pinky toe, and ball of your foot. Tighten your calf, quad, and glute.
Shift all your weight into your left leg as you slightly lift the right foot from the floor.
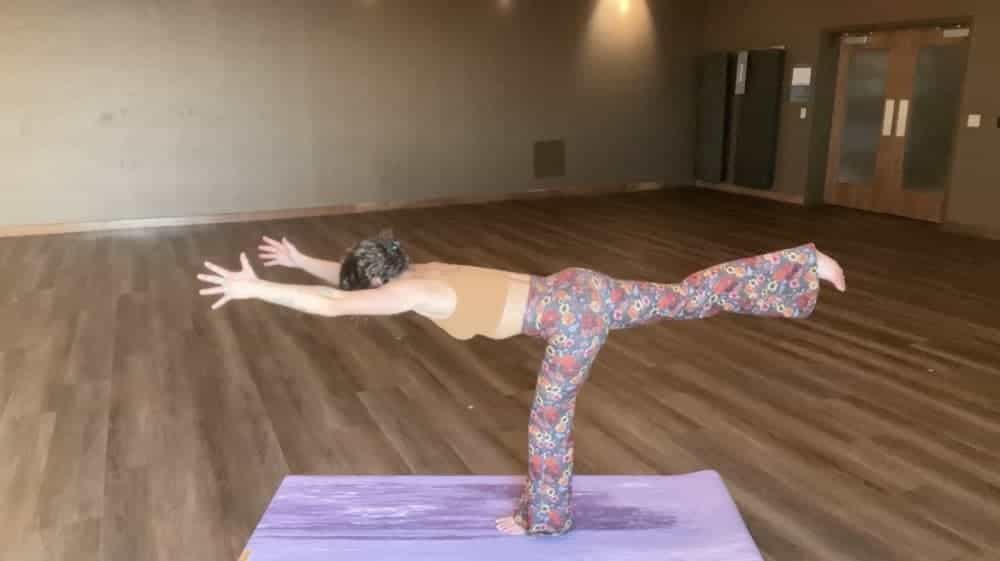
Maintain a microbend in the left knee as you begin to lower your torso forward extend your right leg straight back behind you.
Keep your core engaged and spine straight as your back leg lifts and your torso lowers. Your body should reach a capital “T” shape with every muscle engaged. Use your forward-reaching arms as counter-resistance to your back leg kicking behind you.
Adjust your hips so they come into one plane. You may need to lower the right hip downward so both hip bones point toward the floor.
Squeeze your muscles and breathe deeply for 20 to 30 seconds. If you wobble, it’s OK. Continuously reach forward and kick back at the same time.
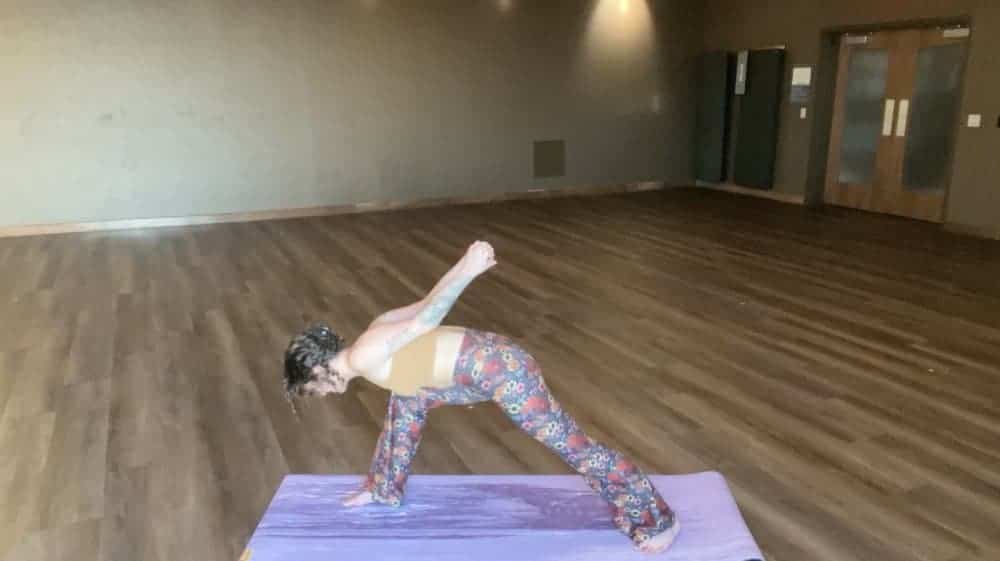
To release, exhale and lower the back leg down until your torso returns to standing.
Repeat on the other side.
Start in a Mountain Pose (Tadasana) with your feet hip distance apart.
Inhale your arms up beside your ears. Keep your hand’s shoulder distance apart and check that your shoulder blades are rolled back and down.
Step your left leg forward and create a strong foundation. Root down through the heel, pinky toe, and ball of your foot. Tighten your calf, quad, and glute.
Shift all your weight into your left leg as you slightly lift the right foot from the floor.
Maintain a microbend in the left knee as you begin to lower your torso forward extend your right leg straight back behind you.
Keep your core engaged and spine straight as your back leg lifts and your torso lowers. Your body should reach a capital “T” shape with every muscle engaged. Use your forward-reaching arms as counter-resistance to your back leg kicking behind you.
Adjust your hips so they come into one plane. You may need to lower the right hip downward so both hip bones point toward the floor.
Squeeze your muscles and breathe deeply for 20 to 30 seconds. If you wobble, it’s OK. Continuously reach forward and kick back at the same time.
To release, exhale and lower the back leg down until your torso returns to standing.
Repeat on the other side.
How to Do Humble Warrior Pose
 Begin in Warrior I with a strong foundation in your feet and legs.
Exhale and bring your hands behind you. Interlace the fingers and open the chest. Imagine your shoulder blades rolling down and back.
Engage your core and gently fold your torso down over your front leg. Keep your front knee bent and back leg active.
As you exhale, let your front hip roll outward and your torso fold even deeper between your legs.
Hold for 4-8 breaths.
On an inhale, tighten your core and slowly lift back up. Release your hands and return to Warrior I. Optionally, move through a sun salutation and repeat on the other side.
Begin in Warrior I with a strong foundation in your feet and legs.
Exhale and bring your hands behind you. Interlace the fingers and open the chest. Imagine your shoulder blades rolling down and back.
Engage your core and gently fold your torso down over your front leg. Keep your front knee bent and back leg active.
As you exhale, let your front hip roll outward and your torso fold even deeper between your legs.
Hold for 4-8 breaths.
On an inhale, tighten your core and slowly lift back up. Release your hands and return to Warrior I. Optionally, move through a sun salutation and repeat on the other side.
How to Do Reverse Warrior Pose (Peaceful Warrior)
 Begin in a strong Warrior II position with your arms straight out to the sides.
Keep the right knee bent at a 90° angle and stacked above your right foot. Adjust your stance as needed so you can comfortably hold the position. Keep the back leg engaged with the outer edge of your left foot grounded into the mat.
On an inhale, rotate your right palm to face up to the ceiling. Exhale and bring your left hand down to the back of your thigh or calf.
Feel a long stretch through your side body as you begin arching back and up. The right arm will reach and curve while the back arm slides downward.
Keep your hips as squared to the long edge of the mat as possible. Simultaneously, imagine your right ribs stretching up from your hip bones. Shift your gaze forward and up.
Hold for 5-10 breaths.
On an exhale, windmill the arms down and return to a Downward Facing Dog. Repeat on the other side.
Begin in a strong Warrior II position with your arms straight out to the sides.
Keep the right knee bent at a 90° angle and stacked above your right foot. Adjust your stance as needed so you can comfortably hold the position. Keep the back leg engaged with the outer edge of your left foot grounded into the mat.
On an inhale, rotate your right palm to face up to the ceiling. Exhale and bring your left hand down to the back of your thigh or calf.
Feel a long stretch through your side body as you begin arching back and up. The right arm will reach and curve while the back arm slides downward.
Keep your hips as squared to the long edge of the mat as possible. Simultaneously, imagine your right ribs stretching up from your hip bones. Shift your gaze forward and up.
Hold for 5-10 breaths.
On an exhale, windmill the arms down and return to a Downward Facing Dog. Repeat on the other side.
Tips for Mastering the Pose
Every variation in the Warrior series requires strong activation through the legs. If you want to build a robust foundation, focus on these top tips for grounding, lengthening, and strengthening.
Tip #1: Root through the outer edge of your feet
Collapsing into the arch of your foot can quickly ruin your Warrior Pose and potentially harm your knees. The secret to a strong Warrior is a keen focus on the outer edges of the feet.
Imagine the edge of your foot rooting downward so that your ankle bone is slightly rotated out. This outer edge forms a rectangle of engagement with the big toe mound, toes spread apart, and strong heel anchoring all sides of the foot.
No matter how deep you go, keep all of those anchor points pressing actively into the mat so your foot feels strong and your arches are lifted. The back foot is where a lot of the magic happens in these lunge-like positions.
Tip #2: Check your hip rotation
The location of your hips dramatically affects your alignment in every yoga posture. In Warrior variations, your hips can easily rotate in funky angles that need to be adjusted. The rotation of your hips affects everything: your core engagement, your legs, the angle of your joints, and your pelvic tilt. Once your legs are in place, always check your hips.
Hips Square to Short Edge of Mat: Warrior I, Warrior III (Balancing Stick) and Humble Warrior all require keeping your hips “square” to the front of your mat. This means that both hip bones are facing forward toward the short edge of your mat.
Hips Square to Long Edge of Mat: Warrior II and Reverse Warrior are performed with your hips facing the long edge of the mat. As you go deeper into these poses, imagine your hips staying “square” to the side like you are standing in a wide-legged position.
Tip #3: Keep your heart open
The Warrior sequence focuses a lot on building leg strength, but we cannot forget about the proud warrior chest. Remember to roll your shoulders back and down as if putting your shoulder blades in your back pocket. Feel your chest expand and your heart open upward. It helps to broaden your clavicle (collar bones) and gaze upward.
Tip #4: Create resistance
Ironically, creating resistance in our yoga poses helps reduce resistance in our lives. This is because the counteracting forces of a strong posture yields more balance and stability. You can create this productive resistance through a body-mind connection.
In Warrior I and II, imagine your inner thighs pressing toward each other as if you are squeezing something between them.
In Reverse Warrior, use the back arm to reach down while the front arm reaches up and over your head. Imagine a big resistance band between the two arms requiring you to push your hands in opposite directions.
In Warrior III, resistance is especially helpful for maintaining your balance. Imagine that someone is pulling your hands and your feet away from each other. Actively reach your hands forward while you stretch your toes back.
Common Mistakes
Warrior Pose looks simple, but it can easily become an uncomfortable if you don’t properly align your body
Common Mistake #1: Turning your back heel too much
The rotation of the back foot is the major difference between the Warrior Poses and a regular lunge. If you turn your back heel out too far, your hips won’t be able to “square” up and support your weight. Alternatively, if you rotate your toes too far, your ankle may start screaming at you.
How to Fix It: Imagine a 45° to 60° rotation in the back foot. For most yogis, this will result in the back toes pointing to the corner of their mat. Adjust your foot as needed until the outer edge can comfortably root into the floor.
Common Mistake #2: Bending your knee too far
Most yoga poses follow the 90° knee rule: Never bend your knee past your ankle! In Warrior Pose, bending too far forward can injure your knee joints and ligaments.
How to Fix It: Engage your quad and lift slightly out of the pose until you can see your big toe. Use a mirror to adjust your foot forward or back to ensure a perfect 90° angle between your thigh and calf.
Common Mistake #3: Overarching the low back
Warrior Pose I and II, as well as Reverse Warrior, have backbending elements. But it’s important to remember that the back arching should focus on the upper body. As you open your chest and roll your shoulders down, the upper back should feel a nice stretch without causing any pain or tension in the lower back.
How to Fix It: Don’t stick out your booty! Tuck that pelvis under and keep your glutes engaged. Imagine your tailbone reaching toward the floor.
Flex your abdominals to add extra support and ensure that your low back stays protected. In Humble Warrior, it’s extra important to keep the abs engaged so that your spine stays straight as you bow forward.
Variations
If you aren’t quite ready for the full expressions of a fierce warrior, try out a few yoga props to find your stability and build your strength. Remember, alignment is always more important than forcing your body into a full “picture perfect” pose.
Block-Assisted Warrior Pose
A yoga block can be used in every form of Warrior to ease any strain on your joints or help you find more balance. Here are a few ways a block can make your Warrior experience a little more accessible:
Use a block for stability and lifting under your front foot in any Warrior pose. Use stacked blocks under your bent knee for support in Warrior I or II. Place two blocks under your hands for balance in Warrior III.Stable Warrior III
If you’re having trouble balancing in Warrior III, you can use a wall to stabilize yourself. This intermediate posture requires a lot of leg and core strength, so there is no shame in using a wall to support you as you work toward the full expression.
Face a wall at arms-length away and place your hands directly in front of you. Step your lower body back until your torso is lowered down and your body makes a perfect 90° angle. Root in through the right leg, exhale deeply, and slowly lift your left leg, straightening as much as possible. Focus on strengthening the standing leg and keeping the hips square to the floor. Breathe and hold. As you find balance, slowly experiment with removing a hand from the wall and standing on your own. Repeat on the other side, adjusting your stance as needed.Safety and Precautions
Warrior Pose is a stimulating, muscle-building posture that should NOT be practiced by anyone with:
Injuries to the knees, legs, hips, neck, or back Problems in the ankles or feet Circulatory issues or high blood pressure Balance difficulties Any pain during the posturePreparatory Poses
Warm up for Warrior with these preparatory asanas:
Mountain Pose (Tadasana) Runner’s Lunge Forward Fold (Uttanasana) Wide-Legged Forward Fold (Prasarita Padottaanasana)Counter Poses
Relax your hips and legs after Warrior Pose with these counter postures:
Downward Facing Dog (Adho Mukha Svanasana) Forward Fold (Uttanasana) Single Leg Forward Bend (Parsvottanasana)Key Takeaways: A Strong Warrior Starts with Rooted Feet and Squared Hips
The most important thing to remember in any Warrior Pose is to create a strong foundation. Make sure that the big toe mounds and outer edges of your feet are firmly rooted in the mat. Then check that your hips are properly squared before progressing.
Namaste!