I’m building a new PC — here’s how I chose the components for it
Picking the right components for a gaming PC can be a tricky process. Here are some of the most important choices you might have to make.
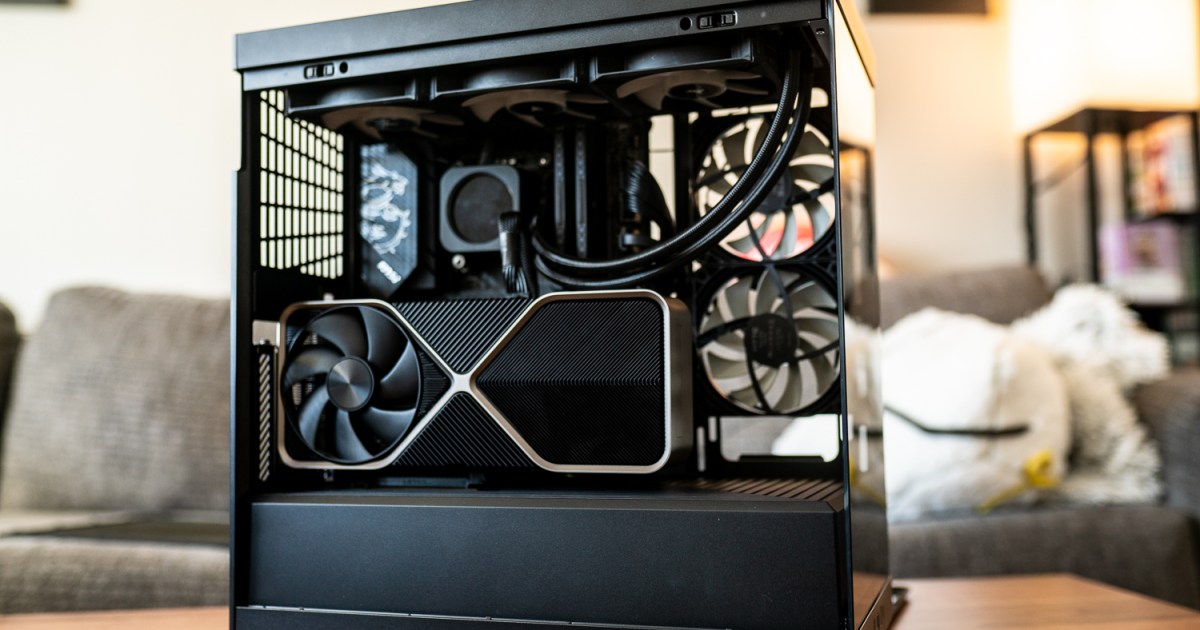
Building a new PC is an exciting time for a gaming enthusiast — even more so when it’s been a long time and you’ve been working with outdated hardware. However, it can also be a pretty intimidating process if you’re new to it, and as your gaming experience will be affected by these choices for the years to come, it can be hard to choose which parts to buy.
Having gone through this process myself, I’ve made all these choices very recently. Below, I’ll show you what’s worth thinking about when you build your own PC, and why I ultimately picked the components that I did.
Budget and use case
 Jacob Roach / Digital Trends
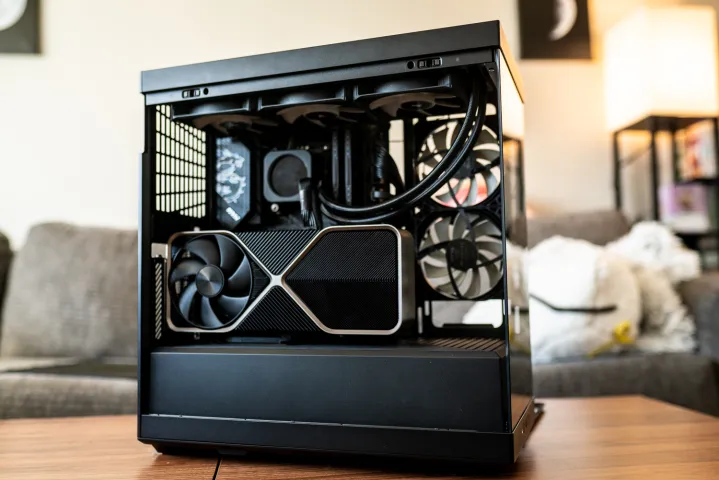
Your first major choice. How much are you willing to spend on your PC and what do you need it for? Personally, I use my computer both for gaming and for work, but my work is not very taxing on the PC (except those days when I somehow end up with an absurd number of tabs open at the same time), so gaming is what I focused on.
Fortunately, building a PC for gaming is a lot more straightforward than if you were to, say, use it for AI workloads or content creation. Some of the choices almost make themselves, but you still need to be mindful of them, such as the PSU and the motherboard.
Your main limitation here is the budget. Building a PC for $1,000 is a lot different than building one for $3,000, and while both can work with some quite demanding games, the $3,000 build will fly through everything at max settings.
For my own build, I’ve fallen victim to the common pitfall of spending a little more here and there just to get something better, such as a slightly better GPU model with improved cooling. On its own, that didn’t cost me much, but all of those little choices add up, and while the resulting PC will last me for years, I definitely went over my initial budget.
If you don’t want to make that mistake, remember that a lot of the time, tiny changes like that will not make or break your PC; a GPU with a higher frequency, for instance, can cost up to $50-$100 more, but the performance gains are negligible.
Without further ado, let’s go over some of the components.
Processor
 Jacob Roach / Digital Trends
Picking the CPU was a bit of a no-brainer for me this time around, and this was actually the first component that I fully settled on. I abandoned Intel (which I’ve used in my previous build) in favor of AMD’s best processor for gaming — the Ryzen 7 7800X3D.
It’s simply the fastest gaming CPU right now, largely thanks to the 3D V-Cache. If you’re in the market for a PC with gaming and productivity in mind, however, you might want to shift back to Intel and sacrifice some frames per second (fps) to gain those extra cores, as the 7800X3D only comes with eight.
Aside from the 7800X3D, my two other options were the last-gen Ryzen 7 5800X3D and Intel’s Core i5-13600K. Ultimately, while the Core i5-13600K is around $130 cheaper, the 7800X3D beats even Intel’s flagship Core i9-13900K in gaming performance, so I went with the option that suits my build better.
I spent a little time thinking about the 5800X3D. It’s still a solid option, and right now, it’s extremely affordable. However, buying last-gen AMD CPUs locks you to the now-dead AM4 platform, as AMD has shifted from the AM4 to the AM5 socket with Zen 4. By buying a Zen 4 processor, you can be sure that you’ll be able to upgrade it in a few years’ time.
On another note, this is also part of why I chose AMD over Intel this time around. Intel’s current-gen Raptor Lake CPUs are most likely the last ones to use the LGA1700 socket, meaning that any upgrades will be limited to the rumored Raptor Lake refresh.
Choosing AM5 means upgradeability in the future, so it’s a solid choice. However, if you’re on a tighter budget, the 5800X3D is still the best processor for gaming from the previous generation, and it does have the benefit of cheaper motherboards and DDR4 RAM. Right now, for pure gaming purposes, I would recommend AMD over Intel almost every time.
Graphics card
 Jacob Roach / Digital Trends
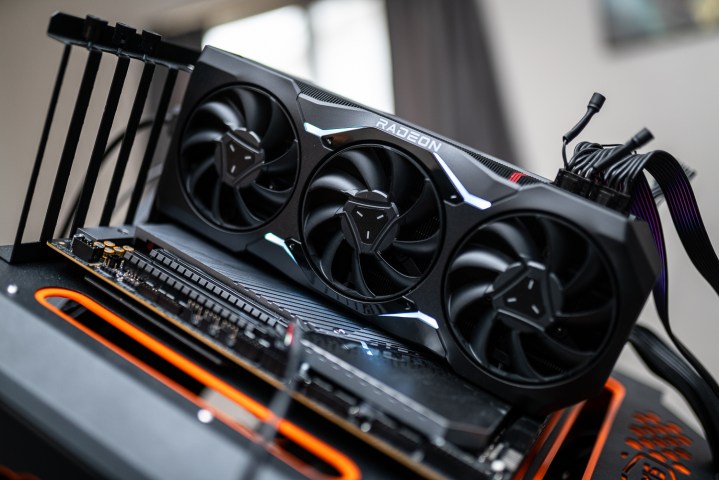
I’ve waited for a pretty long time to build a new PC, and the graphics card played a major part in that delay. Even now, with my build all planned out, I’m not certain that I’m happy with my choice. The problem is that, given the current GPU prices and the performance gains offered by some of the top graphics cards, it’s just not easy to pick a card without feeling like you’re settling for the lesser of two evils.
The GPU sets the tone for the rest of your build, and you may spend anywhere from $200 to $1,600 to get the graphics card of your dreams. Ultimately, it all comes down to what you want to get out of your PC. As I played with different builds, I moved the bar around until it ended up pretty high. I knew that I wanted a 1440p gaming build, so cards along the likes of the RTX 4060 and the RX 7600 weren’t even on my radar.
Initially, my hope was to pick an AMD GPU for this build, but it proved to be a more difficult choice than I expected. The thing with AMD right now is that, for a high-end build, two options make some sense: The RX 7900 XTX and the last-gen RX 6950 XT.
I knew that I wanted a current-gen graphics card, so the RX 6950 XT — while a great deal at $650 — was out. For many gamers, however, it’s still a completely viable option. You could even drop down to the RX 6800 XT if you wanted to save money.
Choosing between the RX 7900 XTX and the rivaling RTX 4080 took me a long time, and I even toyed with the idea of getting the RTX 4070 Ti, as the 4080 is overkill for my current 1440p needs. Ultimately, as the prices of the AMD flagship and the RTX 4080 are similar where I live, I decided to go with Nvidia once again. That’s not only due to the price but also because I plan on upgrading to a 4K display at some point soon.
If you’re dealing with the same dilemma, check out our reviews of the 7900 XTX and the RTX 4080 to see some unbiased benchmarks of the two cards. While the 7900 XTX keeps up in raw performance with the RTX 4080, it falls behind drastically in ray tracing, and the Nvidia option also offers Deep Learning Super Sampling (DLSS 3), which, while not perfect, is pretty great to have.
At this price point, I decided that the RTX 4080 made more sense. I’ll just have to wait and see if I have any regrets about this decision down the line. However, both the RX 6950 XT and the RX 7900 XTX make for solid options, and you should check out our GPU buying guide if you’re not sure what to pick.
Cooling
 Jacob Roach / Digital Trends
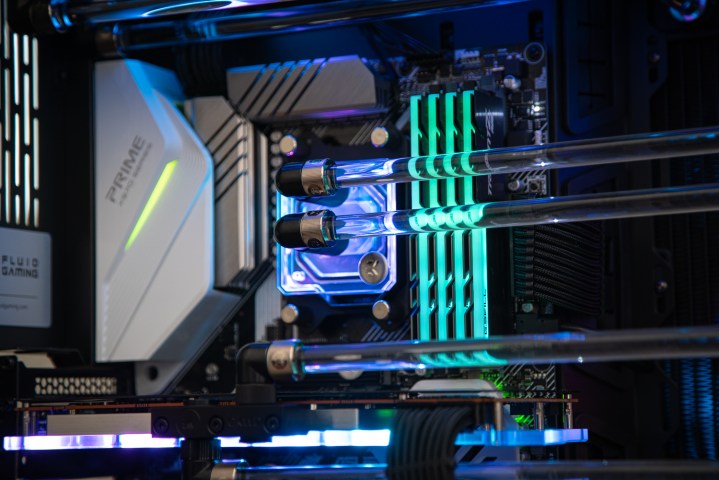
Cooling a reasonably beefy PC is no small feat. You want to make sure that all of those components are feeling nice and comfortable regardless of what you’re doing. At a certain point, it makes sense to abandon buying a standard CPU fan in favor of liquid cooling, and that is what I did in this build. I would recommend most people do the same thing if they’re buying the 7800X3D, as it can run pretty hot; the GPU only makes matters worse.
Liquid coolers tend to be more efficient at dissipating heat than air coolers, so in a build that generates a lot of it, they’re pretty much necessary — especially if you plan to overclock. You will, of course, still have some fans running in your PC case to optimize airflow. Neglecting cooling means subpar performance, and, in the worst-case scenario, a breakdown of some components.
As far as liquid coolers go, there are all-in-one (AIO) coolers and custom loop coolers. The former is a sealed cooling system that comes pre-assembled and filled with coolant. You can’t really modify them, but they’re easier to install and manage. Custom loop, on the other hand, means that you’d be buying each component separately — the pump, the reservoir, the radiators, the whole thing. You can customize these to perfection, but they’re pricey and a lot of work.
Out of the three options, I went with an AIO cooler — the Fractal Design Lumen S36. However, if you’re building a PC in the $500 to $1,500 range, it’s better to skip liquid cooling and buy a CPU fan alongside a few PC case fans.
Everything else
 G.Skill
Once you’ve picked those three things, you’re all set in the sense that everything else is like matching up various puzzle pieces. The rest of your build needs to fit the CPU, the GPU, and the cooler. However, many people pick components in a different order, such as choosing the PC case first, and that’s perfectly fine, too. For me, the performance was more important than the aesthetic.
Motherboard
Picking the motherboard is a logical choice at this point. Fortunately, for gamers, there’s really no need to buy one of the more expensive Z790 or X670 motherboards unless you have very specific needs, such as additional slots or ports. You might want to pay a little extra for Wi-Fi, just in case, and pick a cheaper model that suits your needs. However, be mindful that it needs to fit your PC case and that it needs to align with all of your other components, such as the graphics card. In my own build, I went with a B650 board from Gigabyte.
PC case
Once you’ve picked the form factor of your motherboard, you’ll know the kind of PC case you can buy. Remember that it doesn’t just need to fit your motherboard, but your GPU might be a concern as well. Although I’ve seen small form factor builds with an RTX 4090 or an RTX 4080, I personally wouldn’t dare stuff such a behemoth inside a tiny case with limited airflow.
If you’re like me and you’ve gone with a liquid cooler, be mindful of whether it’ll fit your case or not, as not every case can accommodate it. AIO coolers are typically either 240mm, 280mm, or 360mm — read the fine print when you shop for a case and check whether it’ll be spacious enough. Then, there’s the question of aesthetics.
I like RGB builds, although they’re not everyone’s cup of tea, but I definitely wanted a bit of bling in my new PC. The case that fit the bill was one of the best PC cases overall, the Fractal Design Meshify 2 Lite RGB. It’s subtle enough to not resemble a disco ball, but it’s still shiny. More importantly, there’s plenty of extra airflow thanks to the four fans it comes with, and you can add even more if you feel like it.
Power supply
I’ve left this almost for last, but you shouldn’t let your power supply become an afterthought. Not only does it need to fit your case (it usually will, but it never hurts to double-check these things), but it also needs to be strong enough to handle all of your components running at their maximum power consumption, and then some.
Instead of adding things up one by one, I used Newegg’s PSU calculator. The 850-watt PSU from MSI that I ultimately picked is plenty for this build, but if I wanted to future-proof, I would’ve gone with a 1000W option instead. You can do the same — if you can see yourself upgrading your PC down the line, pick a PSU that’s a little too strong for your current needs.
In addition, make sure to look for an 80 Plus rating on the PSU. This is a certification for efficiency, and it’s generally a good indication that you’re buying a power supply that won’t die out on you in six months.
RAM
These days, choosing a motherboard and a processor locks you to a certain type of memory — DDR4 or DDR5. DDR5 RAM was really pricey when it first came out, but with the prices at their current level, you might as well go for DDR5 if you’re using a platform that supports it. It’s a small expense, but it’s often worth it. However, if the prices are drastically different, you won’t miss out on much if you choose to stick to DDR4 this time around. In any case, I recommend 16 to 32GB RAM for a gaming build.
Of course, picking an AMD Ryzen 7000 processor takes that choice away from you — you’ll need to buy some of the best DDR5 RAM, as the AM5 socket doesn’t support DDR4 memory.
Any PC is a good PC
I play around with different builds on a weekly or monthly basis just to stay up to date with what’s out there and what works best together. I also enjoy various PC building communities, and because of that, I know how easy it is to go over budget — there’ll always be someone out there telling you that you should spend just a little bit more to have something a little bit better.
Ultimately, as you build your own PC, keep in mind that these small choices rarely matter all that much. The main things to consider are whether everything fits well together and whether you’re picking the right components for your budget. It’s usually best to make sure that all the components are at a similar level — for instance, don’t bother saving $1,600 to buy an RTX 4090 and then put it with a Core i5-11600K CPU.
The end goal is to enjoy the PC you built and not to have a monster that plows through every game on the market. I definitely got a little bit carried away with my build, but no one needs a high-end PC to play at high settings.

 MikeTyes