The Crucial Step You're Missing With Fruit Pie
A deep-dish, homemade fruit pie is a deal maker. It’s a great housewarming gift, an acceptable apology, and a good way to make friends. A hefty slice sporting a thick layer of cherry filling (or blueberry, depending on your...
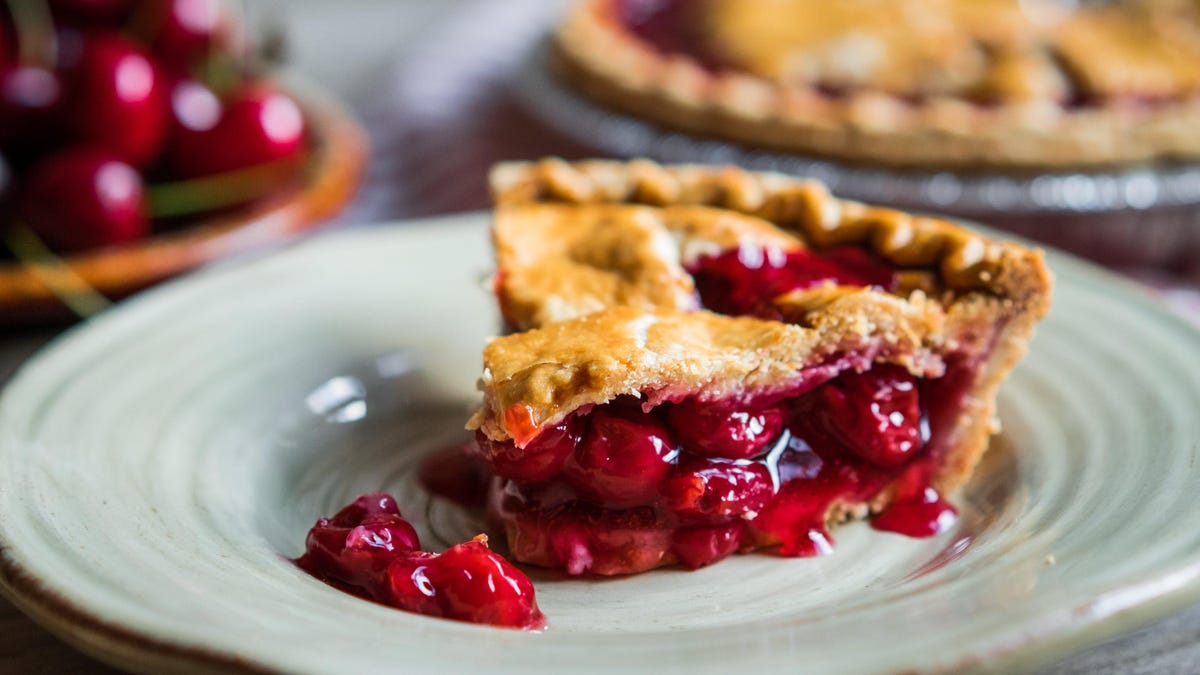

Photo: Alena Haurylik (Shutterstock)
A deep-dish, homemade fruit pie is a deal maker. It’s a great housewarming gift, an acceptable apology, and a good way to make friends. A hefty slice sporting a thick layer of cherry filling (or blueberry, depending on your fruit love language) can make anyone reconsider whether they’re actually “too full for dessert.”
That’s what makes the disappointment of cutting into a watery-bottomed fruit disaster all the more poignant. You shouldn’t have to put your pie in the oven and worry it’ll be fruit soup when you take it out. You deserve better. The key to removing the guesswork from your pie baking is to cook your filling first.
Why you should cook your fruit filling first
The two recurring issues with pie recipes that use a raw fruit filling are a soggy lower crust and the formation of a giant air pocket between the fruit and the upper crust. The sloppy bottom is the result of trapped juices released from the fruit while baking and using too little thickening agent (usually cornstarch or a flour mixture). Recipes usually consider an average amount of fruit juices but they can’t predict the variables in species of fruit, frozen versus fresh, or whether it was an especially rainy season in your region. I’ve had pies that literally pooled up with fruit juice at the bottom because I was unable to predict how much of the thickening ingredient I needed.
The upper crust air pocket is your pie’s other special magic trick of disappointment. Let’s say you fill a pie with a heap of raw apples and lovingly drape the top crust over them. When your pie hits the oven the first thing to cook and set will be the top crust, since it’s the most exposed, and comparatively thin. The apples will take longer to cook. Over time the fruit will shed water and shrink. The cell structure will break down and the filling will shrink even more. Meanwhile, the crust will hold its shape even as the apples cook away, fooling your guests into thinking it’s packed with fruit when really it’s packed with air.
The best way to precook your filling
Precooking your fruit filling is the best way to ensure your pie will be exactly as you intend it, and it also provides some other perks. You’re in charge of how thick the filling will be, you can make it days in advance (weeks, if you store it in the freezer), you can more precisely adjust the flavor, and the bake time is quicker.
To do it, place the desired amount of fruit in a medium to large pot. Over medium heat, add two tablespoons of water and, if desired, some sugar. The water might seem like a confusing addition, but this small amount will eventually evaporate and, more importantly, keep the fruit on the bottom from burning.
Stir occasionally as the fruit continues to cook. After about five minutes, most of the water will release, the juice will be bubbling, and you’ll be ready to add your thickening ingredient. I usually use a cornstarch slurry. Once you’ve mixed in your thickener, bring it back to a boil. This tells you what it will look like when it comes out of the oven, so you can decide if you like the consistency. If you want it to stand up when you slice it, add more thickener (it will stiffen up a tad more once cool). If you prefer a looser texture, stir in one tablespoon of water at a time until you’re happy. Once the filling is cooled completely, stir in additional spices or flavorings. No more unpredictable puddle of juice, and the filling has already reduced, so no danger of a giant air pocket. You have the perfect filling, with no surprises. (Clutch move: If you think you’ll miss the pop of barely cooked fruits, reserve a half cup of uncooked berries or fruit slices and stir them in at the end for a perky texture.)
G/O Media may get a commission
Don’t forget to adjust baking time when using pre-cooked filling
Feel free to cover and store it in the fridge for up to five days, put it in the freezer for up to six months, or use right away. When you are ready, fill, prepare, and bake the pie as you normally would but: adjust your bake time. You can knock off about 20 minutes because the filling is already cooked, so you’re essentially reheating it inside of the crust. Once the crust is a lovely brown shade and you can see the filling gently bubbling at the air vents, it’s done! Allow it to cool and get ready to slice into the most fruit-packed pie of your life.

 Hollif


