Turn Your Trader Joe’s Flowers Into Beautiful Arrangements—10 Tips From A Pro
You won't believe these grocery store creations. The post Turn Your Trader Joe’s Flowers Into Beautiful Arrangements—10 Tips From A Pro appeared first on Camille Styles.
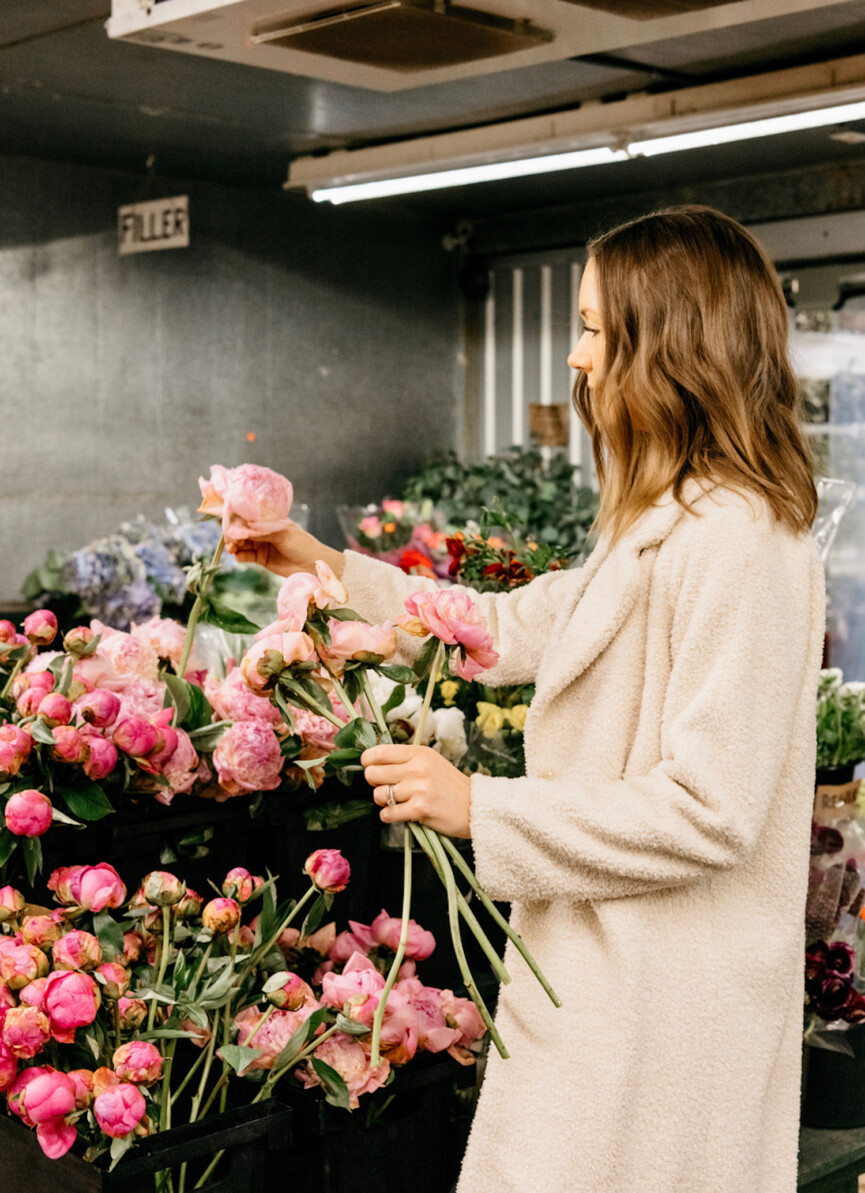
One of my favorite little luxuries has to be fresh flowers. A small bouquet on my desk or kitchen table brings a smile to my face every time I look at them. I used to not buy them, simply because it seemed like a waste, but over time I’ve learned that that’s the gift of fresh florals. Their beauty is fleeting, so it makes every moment special. I always grab a bouquet with my weekly groceries at Trader Joe’s.
My love of grocery store flowers recently stumbled into my Instagram scroll as a reel from @a_trader_joes_florist popped up in my page. The video featured a gorgeous bouquet with fluffy pink garden roses that looked completely stunning, and way more elaborate than any bouquets I made myself. I was floored when I realized it was an entire page dedicated to Trader Joe’s floral arrangements. Instant follow.
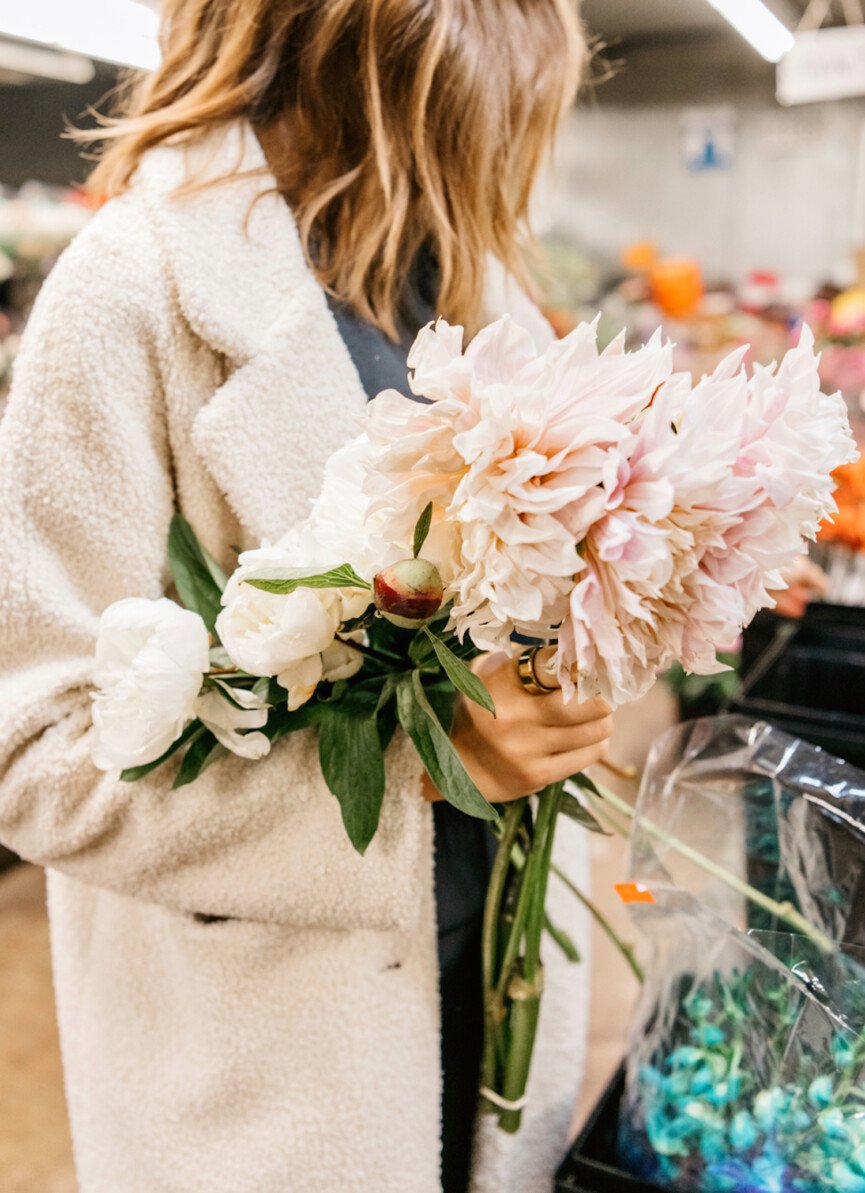
Trader Joe’s Floral Arrangements: How to Design Blooms on a Budget
Rachel is the florist behind the inspiring account. Sharing her love of floral arranging on Instagram started as a hobby, and has now blossomed into a page with more than 200,000 followers. It’s amazing how she turns grocery store flowers into professional looking arrangements, and her goal is to encourage others to try it themselves. “Flowers are ephemeral, so some of the pressure to get it ‘right” is gone,’ she shares. “They’re not going to last forever, so just have a good time, because you’ll get to make another one. It’s a nice thing for day-to-day life.”
Rachel generously shared all of her tips and tricks for crafting beautiful Trader Joe’s floral arrangements. Read on for all things floral design—from picking, prepping, arranging, and keeping your flowers fresh.
Choosing Flowers
Get to Trader Joe’s Early
The early bird gets the worm, as they say, and Rachel suggests getting to Trader Joe’s right as they open to get the best flowers for the day. “My Trader Joe’s gets new flowers every day, so it’s helpful to get there as soon as they open,” she says. Check in with employees at your own Trader Joes and ask them when they get in their flower shipments and how often they refresh the floral aisle. “Trader Joe’s employees are generally very friendly and are more than happy to fill you in on when new flowers are coming in,” Rachel continues.
Browse With an Open Mind
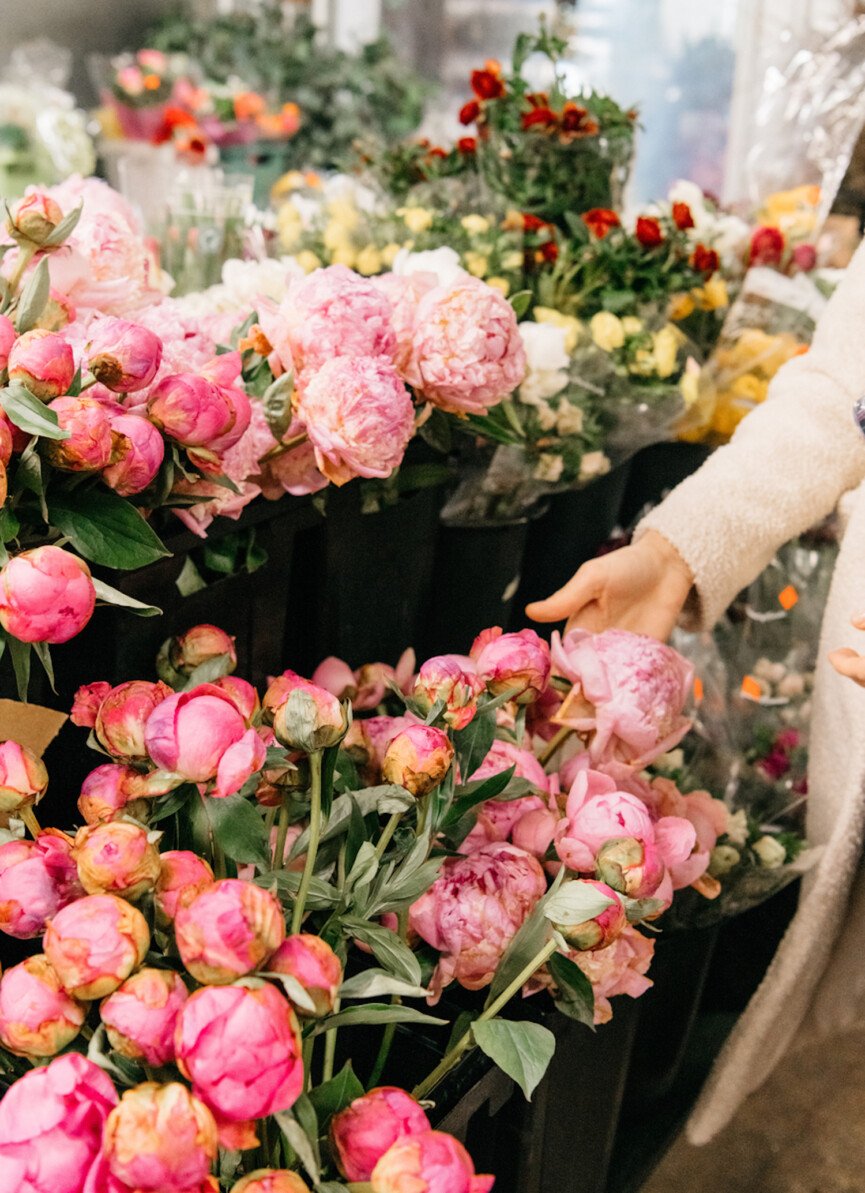
While you may think the first step to floral arranging is deciding what kind of bouquet you’d like, it’s a little different when it comes to grocery store flowers. “I have a harder time if I go into Trader Joe’s with a specific assignment or idea,” Rachel says. “It’s a supermarket, so you never know what will be available.” Instead, it’s best to go into your Trader Joe’s with an open mind. Rachel suggests browsing the aisles without a concrete plan first, and notice what catches your eye.
“I usually start with a bunch or two that I like. Perhaps they look incredibly fresh, it’s a color that I like, or it’s a unique flower that I love. I start there and put that in my cart,” she states. She’ll then reach for other bouquets that complement the main flower. It’s a wonderful opportunity to let your creativity shine. Don’t be afraid to put a bunch of bouquets in your cart and mix and match them to see what looks good.
Color, Texture and Scale
Rachel has a rule of three she considers while browsing. “Color, texture, and scale are the three things I look for when arranging,” she shares. A great example of three flowers that encompass these are ranunculus, spray roses, and calla lilies. “The ranunculus are soft and delicate, the spray roses have more structure, and the calla lilies have the most structure. The sizing works, too. It gives you a fun range,” she says.
Rachel has made many bouquets with these three flowers, and they’re always a hit. “I’ve done arrangements of these in bright pink, deep purple, and bright orange and it comes together really well,” she exclaims.
Go Monochromatic
If you’re not sure where to start with your arrangement, go monochromatic. “If everything’s the same color, you can think more about the texture and scale as you’re beginning,” Rachel suggests. Be on the lookout for florals with similar colors like pinks, peaches or purples and don’t fret if they’re not exactly the same color. “Flowers are pretty! Your arrangements are never going to look terrible. It’s like anything else—the more you do it, the better you get. Keep having fun!” Rachel encourages.
Prepping Flowers
Remove All the Leaves
Before tossing your flowers into a vase, it’s important to prep the flowers first. Rachel suggests getting your flowers into water as soon as you get home and leave yourself plenty of time for preparing and arranging. “Prepping the flowers is the most time consuming part,” she shares.
Once you’re ready to prep the flower, the first step is to take off the leaves. “I take off all of them. You can leave some at the top if you like, but you should definitely take off the bottom leaves,” Rachel says. Letting leaves sit in water causes bacteria to grow and can emit a foul odor, so it’s best to toss them.
Trim the Stems
Trimming the stems at a 45 degree angle will keep your flowers happy and hydrated. If you’re placing your flowers in a vase, Rachel has a hack for making sure you trim them at the correct height. “If you flip the flowers upside down next to your vase, you can see where the stems line up at the top, and you can then trim them there,” she shares.
While you’re trimming, Rachel also suggests keeping the stems and leaves right over the packaging the flowers come in. “It might be obvious, but open the packaging and keep the trimmings over the plastic. At the end of your arranging, you can wrap it up and toss it for easy clean up.”
Arranging Flowers
Start on the Outside and Work Your Way In
When arranging flowers for a vase, Rachel suggests starting with the flowers that lay at the edge of the vase and work your way in. “When I start filling in the middle, I’ll keep those stems a little longer, to create a dome shape at the top,” she explains. Once your flower bouquet starts to take shape, Rachel uses greenery to fill in the holes. “I save greenery for the end as a small accent. Traditional florists will typically use greenery as a base for the flowers to sit in, but I personally like less greenery and more flowers.”
Be Gentle With Stems
Rachel will also make bouquets as gifts for loved ones, and even has a tutorial for trimming a paper Trader Joe’s bag to use as wrapping. For these kinds of bouquets, she arranges flowers on a flat surface. “I’ll place two flowers in a criss cross shape, then put one flower in the middle and I’ll continue layering them,” she says. “You have to be gentle. The stems do get tangled since you’re crossing them over each other. If you have a tulip stem, or something more delicate, you don’t want it to get crushed.”
Taking Care of Your Flowers
Refresh Every Two Days
Flowers are living things, and taking care of your bouquet will help keep them fresh and blooming for as long as possible. Rachel suggests checking in with your flowers every 48 hours. “Change the water and trim the stems every two days—it’s super important,” she says. This is also a great time to pull certain flowers that may be struggling. It’s normal for certain blooms to last longer than others, and removing the ones that are worse for wear will help the fresher flowers last a bit longer.
Add Flower Food
Your flowers will come with a small packet of flower food, and Rachel highly recommends it. Just don’t use it all at once. “Flower food works. You don’t have to put the whole packet in at once,” she shares. Instead, add a little bit every time you change the water and trim the stems. “I’ve found that adding flower food doesn’t affect how long the flowers last, but how much they open,” she states. “If you put the flower food in, the blooms will open more, even though they’ll last about the same amount of time without it.”

 Fransebas


