Contour Your Lips Like *This* For Instant Pillowy Volume
The before-and-after comparison is pretty striking.
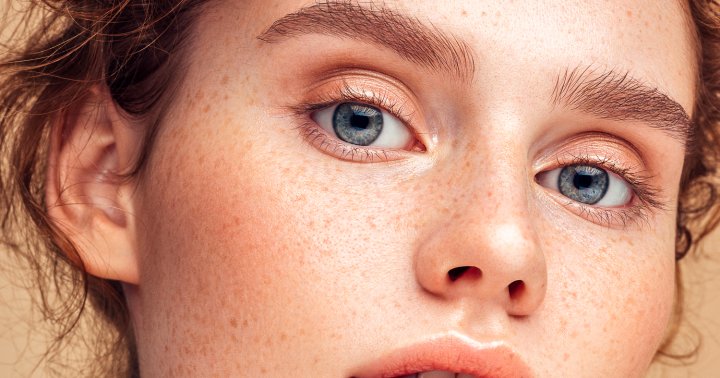
A sweep of contour can add natural dimension to your features, fashion a chiseled bone structure, and literally change the shape of your face. But why should we reserve these techniques just for the cheekbones? Lip contouring is very much a thing, as you can totally manipulate light and shadow to secure any lip look you please. Just like a stroke of bronzer can carve your jawline, a few techniques can accentuate or soften your Cupid’s bow, enhance your lip shape, and make your pout appear even fuller.
For those intimidated by the word contour, fear not: Lip contouring is far more low stakes and easy to master. In fact, makeup artist Rachel OCool shares an easy tutorial on TikTok, and the before-and-after comparison is pretty striking.
How to contour your lips for extra volume.
For the contour, you actually don’t need any lip products. Instead, OCool suggests grabbing a “small, tiny, flat brush” and a cool-toned brown eyeshadow. This Line/Smudge Brush from Jenny Patinkin should work like a charm, and we love this Cool Crew Nude palette from PYT Beauty. Choose a shade that is one to two shades deeper than your natural skin tone, so you can create the illusion of a darker shadow.
Once you have your product, “super lightly just go around the perimeter of your lip,” OCool says. Start with your lower lip, tracing the bottom with swift strokes and focusing the pigment towards the center. You don’t want to overline your lip too much—the pigment should still connect with your natural lip line, just hanging ever so slightly below. But by tracing that darker line, you’re helping create dimension below your lower lip, which will make your pout appear fuller.
To line your top lip, OCool references a tip she learned from celebrity makeup artist Lisa Eldridge: Start from the corner of your lip (right where your top and bottom lip connect) and trace upwards until you hit the Cupid’s bow. Repeat on the other side, then buff the shadow gently with your finger. Starting at the corner helps you overline the lips just a tad, as you’re widening the area where your top and bottom lips connect.
To add some extra oomph, OCool takes her shadow and draws a straight line in the middle of her bottom lip—this accentuates her natural crease through the center of her lip, which makes both sides look especially pillowy. She then draws two more lines on her top lip, right underneath her Cupid’s bow, to help those natural lip creases appear more pronounced. “It makes your lips look really plump,” she says.
Finally, grab your lip products: Trace the perimeter of your lips with your favorite lip liner and top it off with any lip color you fancy (you might want to dab, not swipe, so you don't smudge your precise shadow lines). And there you have it! Full, luscious lips with just three makeup products and some strategic contour skills.
Bonus tip
Dab some highlighter (a lighter shade of lipstick, gloss, or what have you) in the center of your lips for even more poutiness.
Naturally plumping your lips may take some more effort on the lip care front (hot tip: Never underestimate a good lip scrub), but makeup can certainly help you create some volume, albeit temporarily. If you want your pout to appear larger and pillow-soft, try using shadow to create depth and dimension. A few precise lines, a pop of creamy lipstick, and you’re golden.

 Konoly


