I built my own gaming keyboard for the price of buying one — and it’s so much better
Gaming keyboards continue to get more expensive. It's time to ditch mainstream brands and build your own keyboard that will last a lifetime.
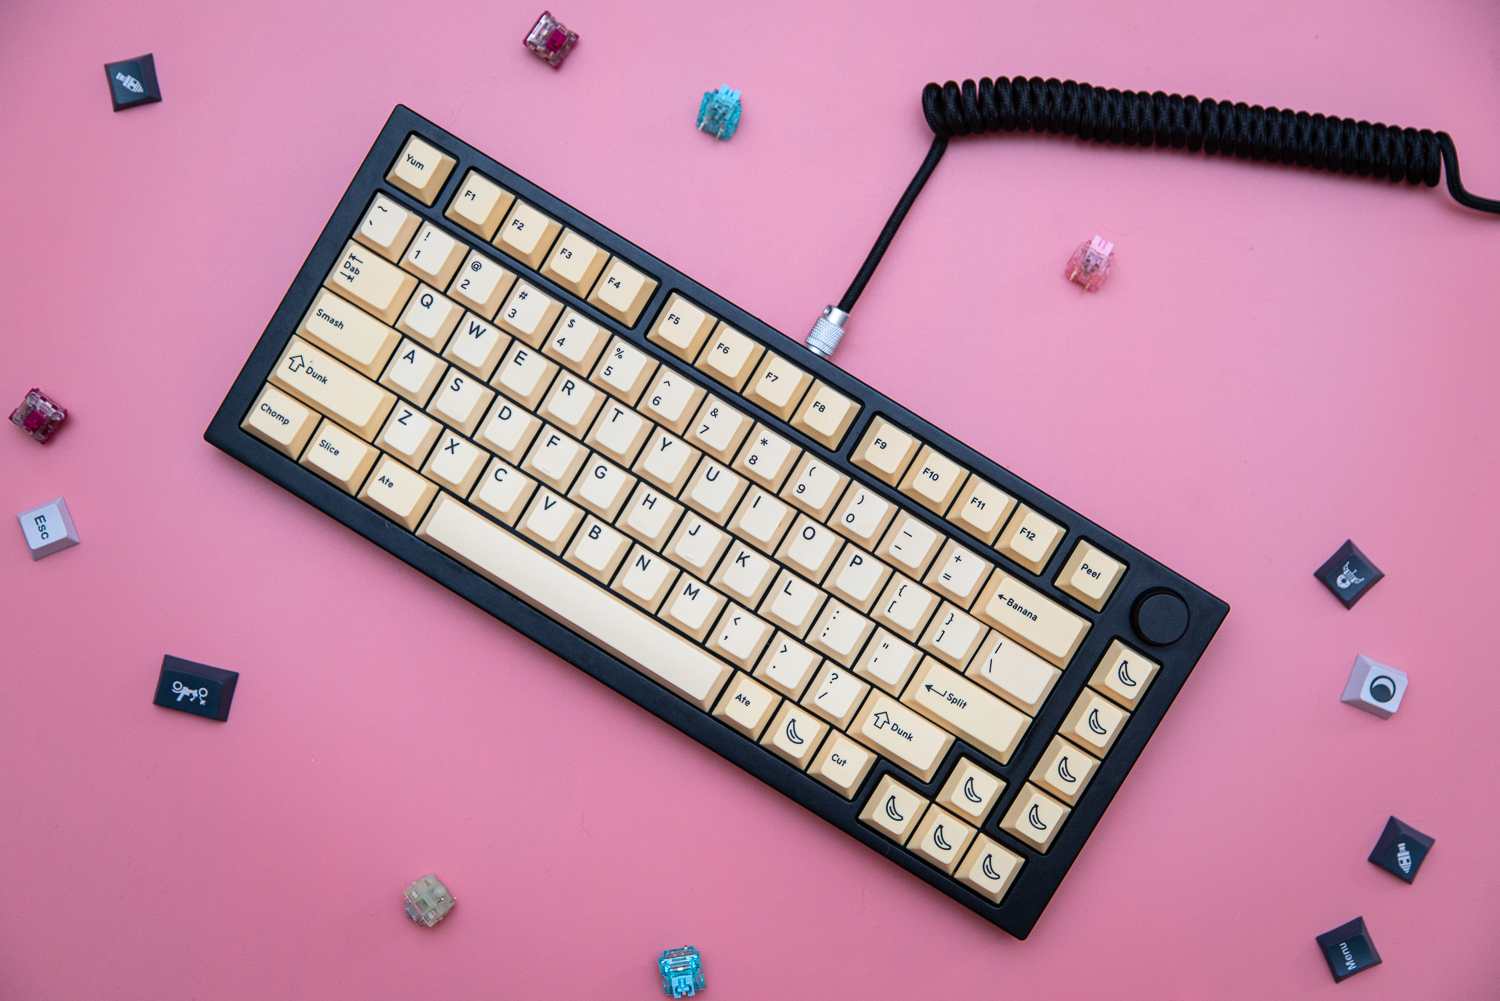
I’m fed up with mainstream gaming keyboards. They’re just too expensive for what you get. My frustration to find something I really loved led me to finally bite the bullet and build my own. It’s a hobby that’s billed as niche and prohibitively expensive, but that’s not the case. You can build a keyboard for the same price as buying one from a mainstream brand, and you’ll come out with a much better result.
Keyboards are complex beasts, despite how simple they appear. Once you open the can of worms that is custom mechanical keyboards, you’ll quickly become an expert in minor differences between keycaps, switches, and everything in between. If you want a keyboard that can put even the best mechanical keyboards to shame, you need to build your own.
Building your own keyboard isn’t that expensive
 Jacob Roach / Digital Trends
There’s one reason most people stick with mainstream keyboards: building your own is too expensive, or at least that’s how the story goes. Although it’s tough to build a keyboard for the same price as something like the HyperX Alloy Origins Core, it’s not much more than buying a high-end gaming keyboard.
My personal keyboard (above) cost me about $250. That’s a lot, but not much more than the wired Asus ROG Strix Flare II Animate, and the exact same price as Logitech’s popular G915 TKL. And you’re getting a lot more for your money. If a mainstream brand like Corsair, Logitech, or Asus released a keyboard that could go toe-to-toe with one you built yourself, it would be $400 or $500. Easy.
But in that way, building a keyboard isn’t akin to building a PC. It’s not about making something cheap and scrappy. Building your own keyboard is about piecing together something that’s unlike anything you can find in the keyboard world — from the amazing customization that’s offered to the high-end build quality.
There are more options than ever for building your keyboard now, too. For years, we were restricted to Cherry MX switches and their derivatives, as well as kits that would cost several hundred dollars on their own. An influx of newer brands like Akko are selling parts for much less, vastly lowering the barrier to entry. There’s never been a better time to dive in.
Pick your base
 Jacob Roach / Digital Trends
Building your keyboard starts with a base. If this is your first time, I’d highly recommend starting with a DIY kit so you can get your keyboard up and running right away. These kits come with all of the basic components you need, and they almost always allow you to modify the kit with your own parts after the fact.
Here are a few kits I recommend:
Glorious GMMK Pro — The go-to DIY kit for building your own keyboard with excellent features and build quality. This is what I use. Akko ACR Pro 75 — An excellent DIT kit with an acrylic frame, and significantly less than the GMMK Pro. Drop CTRL — Very well built and will last for years, but more expensive than it should be. Glorious GMMK — A basic version of the GMMK Pro with fewer features but the same excellent build quality.From $50 to nearly $200, DIY kits cover quite the range of prices. And for good reason. Before buying your DIY kit, there are a few things you’ll want to keep in mind.
The first is how the plate is mounted to the frame. Most cheaper kits and nearly all mainstream mechanical keyboards use a plate mount — that is, the keyboard plate is attached directly to the frame. More premium kits like the Akko ACR Pro 75 and GMMK Pro use a gasket mount instead, which puts a small gasket between the switch plate and frame. I prefer a gasket mount because it provides a slightly softer typing experience. You may encounter a few other mount types, but most are variations of a standard plate mount.
Otherwise, consider what form factor you want. I don’t like full-size keyboards, so I gravitate toward 60% or 70% options, but it all comes down to personal preference. You have a lot more options when building your own keyboard, so take some time to look around for a form factor that you like.
Finally, look at the material the keyboard is using for the plate. You can usually swap out the plate later, so don’t worry too much about getting it right immediately. You can find aluminum, copper, and even acrylic plates, and they all provide a slightly different sound and typing experience.
Once you have your kit, it’s time to turn your keyboard into, well, a keyboard with some switches.
Switches make the difference
 Jacob Roach / Digital Trends
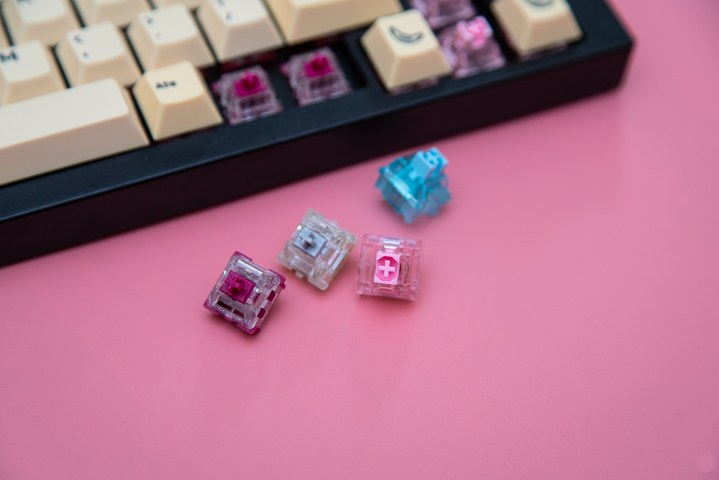
The key switches you use are incredibly important when building your own keyboard, so it’s important to research the switches that are right for you. Look up typing examples on YouTube, read reviews, and try not to get too in the weeds on specs. You can usually order testers for a few dollars to try out the switches before you buy them, too.
Overall, switches break down into two types: linear and tactile. You’ll want a linear switch for gaming and a tactile switch for typing, though you can certainly switch between gaming and typing with either. It comes down to preference, as is usually the case.
Here are some switches I recommend for gaming:
Akko Wine Red linear switches — A perfect alternative to Cherry MX Red switches. Glorious Lynx linear switches (lubed) — A super light linear switch that’s hand-lubed. Gateron Oil King linear switches — A much heavier switch that’s great for heavy-handed gamers and typists.And for typing fanatics:
Glorious Panda tactile switches (lubed) — Hand-lubed tactile switches that have an extremely satisfying thonk while typing. Drop Halo Clear tactile switches — Heavier switches that have a clear bump early while pressing. Definitely for heavy-handed typists. Kailh Speed Bronze clicky switches— A clicky switch that’s very loud. Great if you love clicky keyboards, but bad for the office.Hand-lubed switches are the way to go if you can get them. Factory lubrication is super inconsistent, so you’ll want to seek out switches that have been lubricated by hand if you can. You can also buy a kit to do it yourself, or you can ditch lubrication altogether. Some people prefer the typing experience with unlubed switches anyway.
The main thing to pay attention to is how many pins the switch has. You’ll typically find 3-pin and 5-pin switches, but they’re basically the same. 5-pin switches add a couple of plastic posts to stabilize the switch, but you can snip those bits off if your keyboard can only accommodate a 3-pin switch.
Make it your own
 Jacob Roach / Digital Trends
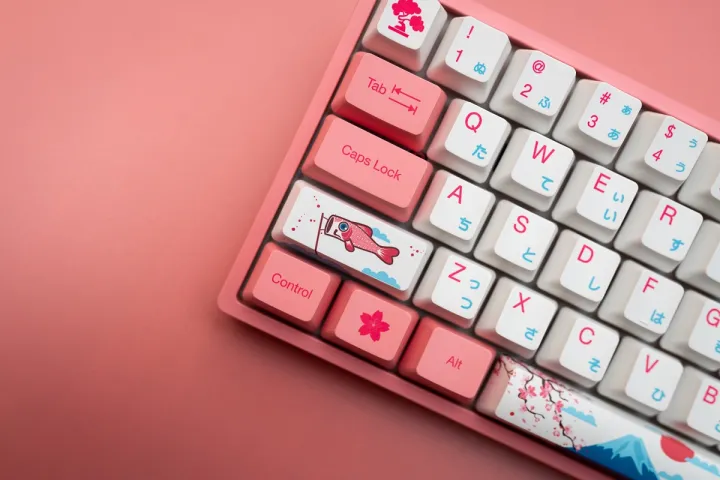
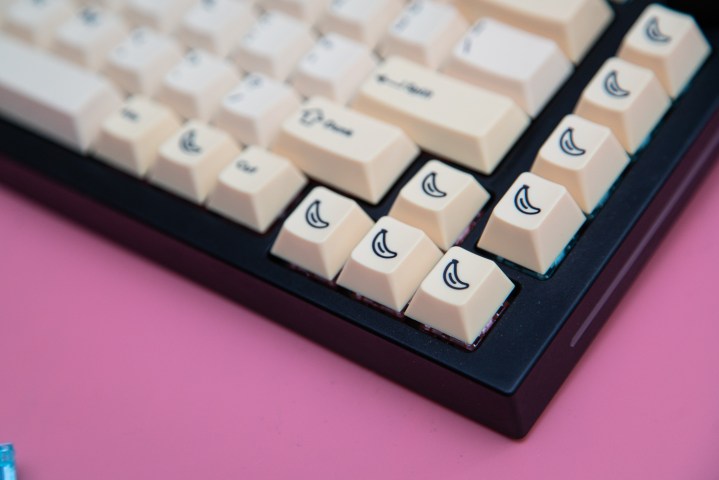
Now for the fun part: making the keyboard yours. Style points matter when building your own keyboard, so take some time to find the keycaps you like, a cable that fits your theme, and lighting that brings the whole thing together.
Keycaps are a personal endeavor, and many sets are limited edition drops that you only have a brief time to buy. Instead of recommending specific sets, here are a few places I recommend shopping for your keycaps:
Drop — Expensive, but fantastic switches with a lot of personality and unique shapes. If you have the money, this is where you want to shop. Osume — Minimalist keycaps that are only available in limited edition runs. They look and feel fantastic, but are a bit expensive. Akko — Akko keycaps are inexpensive and not quite as nice as the top two options, but you’ll find several unique designs you won’t see anywhere else. Amazon — Amazon is a great place to shop for inexpensive keycaps, but you may have to deal with quality issues like fuzzy legends or durability depending on the set you choose.There are a few things to keep in mind when choosing your keycaps. First, try to go for PBT keycaps if you can. ABS keycaps have better color, but they wear down over time. PBT keycaps will last longer, but feel free to use ABS if you want something with a little more flare. Try to shoot for thicker keycaps if you can find them, too.
Outside of the material, look into how the keycap legends are attached. You want either dye-sublimated or doubleshot legends, if possible, as they offer the best protection for the legends over a long period of heavy use. Laser-engraved keycaps are also an option if you want RGB lighting to shine through, though they’ll wear out much faster.
Finally, look at the keycaps you’ll need for your keyboard. A lot of kits have different form factors for function keys like Ctrl and Alt, so you may need to purchase a separate set if yours doesn’t come with the proper sizes.
Outside of keycaps, your cable brings the look of your keyboard together. There’s nothing special here to note outside of picking up the right cable for your keyboard. Both Glorious and Drop have several coiled cables with different color options, though they’re a little expensive. If you’re trying to save, you can always use any old cable.
A journey, not a destination
 Jacob Roach / Digital Trends
I’ve only scratched the surface of the world of building your own keyboard. Much like building a PC, you can continue to upgrade, swap, and customize your keyboard over time. That’s the idea. Build something now for your budget and needs, but know that you can always make changes down the line.
Nothing you do is set in stone, which adds so much value to your upfront purchase. Again, you’re not just buying a single product — it’s a platform that you can build on in the future.

 Tfoso
Tfoso 


