It’s time to stop settling for a noisy gaming PC
It's easy to settle for a loud gaming PC after getting everything set up, but with a little tweaking, you can make your rig run cooler and quieter.
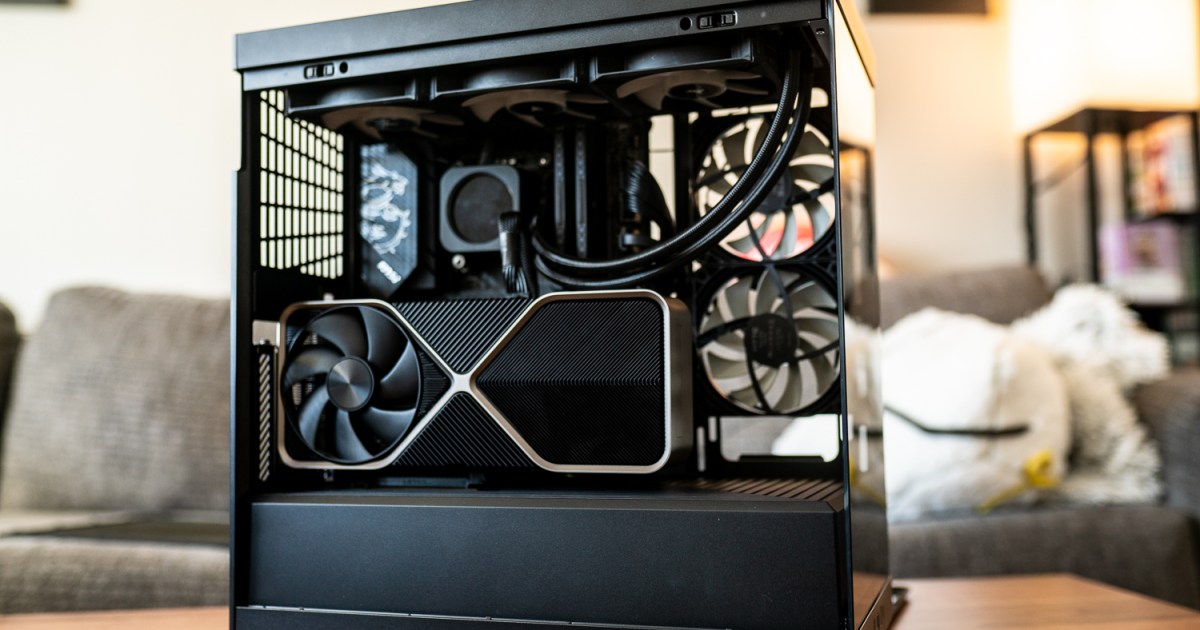
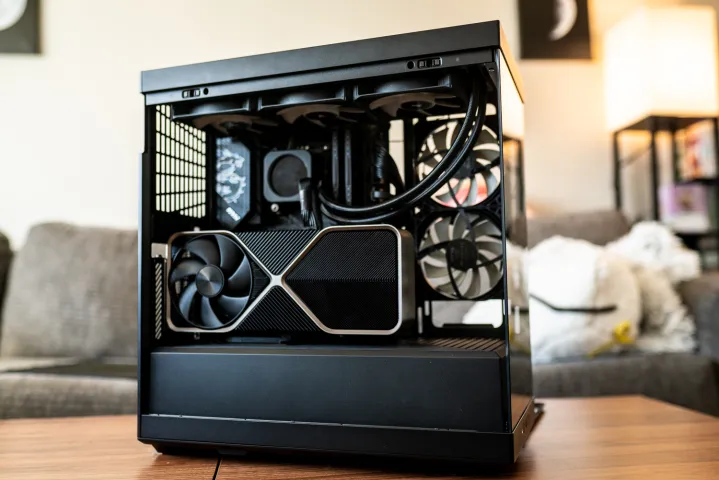 Jacob Roach / Digital Trends
I wouldn’t blame you if you’ve learned to live with your loud gaming PC. I certainly have in the past. You spend all the time picking out your parts, putting everything together, and setting up all of your software. Once you’re done, it’s easy enough to throw on a pair of headphones and drown out the screaming fans in your case while you get sucked into a game. But there is a better way.
With a little bit of planning, a touch of software tweaks, and a sprinkle of know-how, you can make your gaming PC run cooler, quieter, and more efficiently. Although upgrading some hardware can make a difference in how loud your gaming PC is, there are plenty of things you can do right now, for free, that will transform your setup.
An airflow primer
 Nvidia
Let’s make sure everyone is on the same page about how airflow works in your PC. Most of the airflow is focused on your processor because it will often be the hottest component in your rig. Other components like your RAM and SSD usually come with their own heatsinks (or in the case of SSDs, use a heatsink on your motherboard) and passively transfer heat away from the component and into your case.
Your graphics card comes with its own cooling apparatus, which also dissipates hot air through a heatsink and into your case. The goal with airflow is to bring fresh, cool air into your case while exhausting all of the hot air hanging around.
This matters for your fan configuration. You want to balance how many intake and exhaust fans you have. In general, you want to have either one more intake fan or one more exhaust fan than the other. For example, you could have two intake fans and three exhaust fans. Tweaking this balance affects the positive or negative air pressure in your PC case — our dedicated PC airflow guide gets into the specifics on that.
 Jacob Roach / Digital Trends
For the purposes of noise, understanding your fan configuration is relevant in two areas. First, the orientation of your fans matters. A PC with five fans properly configured for intake and exhaust will massively outperform a PC with 12 fans all set to exhaust. When choosing your fan placement, keep in mind how air is traveling into, through, and out of your PC.
The second area that’s relevant is airflow movement. If you split your exhaust fans between the top and bottom of your case, for example, you aren’t moving air as efficiently as a single airflow path. This makes the fans work harder because they’re essentially fighting each other, and it leads to a louder PC. The goal is to keep a clean line of air through your PC, so resist the urge to throw fans on every possible mount and call it a day.
Fan choice matters
 Jacob Roach / Digital Trends
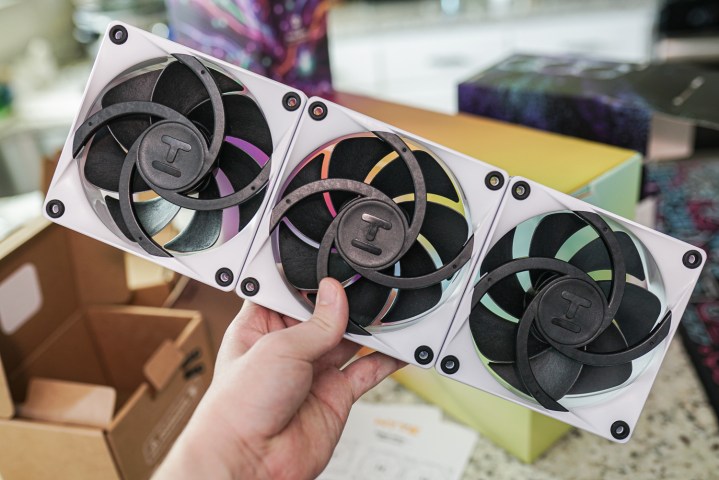
There are a handful of specs to keep in mind when choosing fans for your PC, all of which affect noise. Here are the specs to keep in mind:
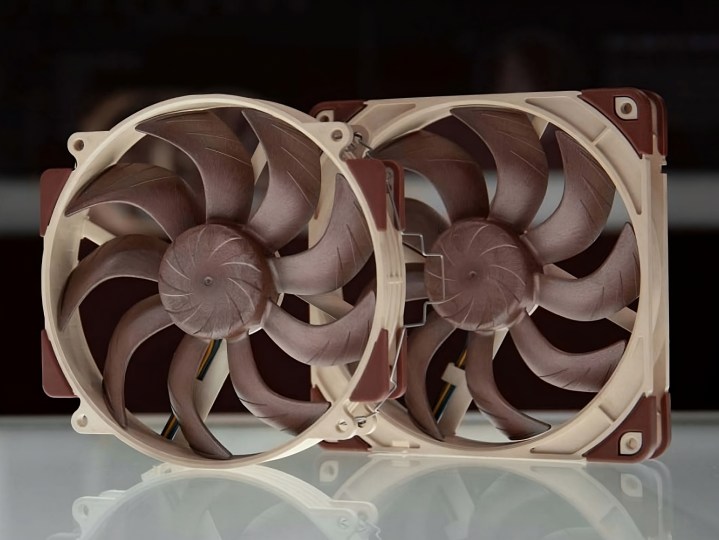
Fan size Number of fans Fan speed Airflow Static pressureLet’s work down the list. Depending on case capability, you’ll find multiple different sizes of fans. The most common sizes are 120mm and 140mm, but you’ll find fans down to 80mm and up to 220mm, as well. The larger the fan is, the slower it needs to move for equivalent airflow. For example, a 220mm fan doesn’t need to move as fast as a 120mm fan to move the same amount of air, so the larger fan will be quieter.
That only matters if you’re looking at an individual fan, and that’s where the total number of fans comes into play. If you put more fans in your PC, there’s less strain on any individual fan. There’s a bit of a trade-off here, however. Fewer fans means your PC will get louder at its maximum load, but it will be quieter when it’s idle. More fans means there’s less variance in noise, but there’s a constant hum, even when nothing is going on.
 Noctua
Another high-level spec is fan speed. Most case fans you find use Pulse Width Modulation (PWM) to adjust the fan speed within a range, and a larger range is better. For instance, the is almost twice the price of . However, it comes with a range of 360 to 2,200 RPM, while the AF120 operates between 400 and 1,850 RPM.
A wider range gives you more granular control over the noise levels from your PC. I’ll dig into that more a bit later.
Finally, we have airflow and static pressure, which I’m going to round up together. Airflow is how much air the fan can move at its maximum, taking into account both size and speed. Higher is generally better, but it depends on the fan’s size and speed. If you take two fans that are the same size with the same maximum speed, the one that has higher airflow is more efficient, and therefore better for noise.
Static pressure is a bit tricky. This is a measure of how much air pressure the fan can produce. You’ll find either high airflow or high static pressure fans, each trading off one component for the other. High static pressure fans are good at squeezing air through tight spaces, such as a radiator, while high airflow fans are better when there’s no obstruction.
 Jacob Roach / Digital Trends
That’s a lot of information, but we can put it all together by looking at two fans from Hyte. The company offers its FA12 and FP12 fans. The FA12 is a cheaper, high-airflow fan with a relatively lower maximum speed and weak static pressure, as you can see from the specs above.
 Jacob Roach / Digital Trends
Contrast that with the FP12. You can see it has a much wider range of speed and much higher static pressure. It has higher airflow, too, though not nearly as much as its raw speed advantage would suggest. These two fans showcase the balancing act between speed, size, static pressure, and airflow.
When optimizing your PC for noise, look for fans with a wide speed range that are optimized for their placement in your case. For instance, you’ll want higher static pressure on intakes if they’re drawing air in through tight passages and a dust filter, while you’ll want higher airflow for exhaust fans removing air without much resistance.
You don’t need to get too granular here, however. Pick a kit of fans with good specs that fits the look of your build, keeping in mind all of the things that affect airflow. You may need to make a few trade-offs, but you’ll at least understand what you’re in for.
Cases, CPUs, GPUs, and more
 Cooler Master
This guide is focused on optimizing the noise in your PC already, but I wanted to briefly touch on other components for when you make an upgrade. First, your case. Your case choice has a massive impact on noise, both due to size and airflow. For size, smaller cases will generally run louder than larger ones. Airflow is more nuanced.
You want a case with free access to fresh air when optimizing for noise. For example, the looks great, but it has very poor intake access with the front fans squeezing air through a narrow channel on the side of the case. By comparison, the has a large, unobstructed mesh filter at the front of the case, giving your fans clear access to fresh air.
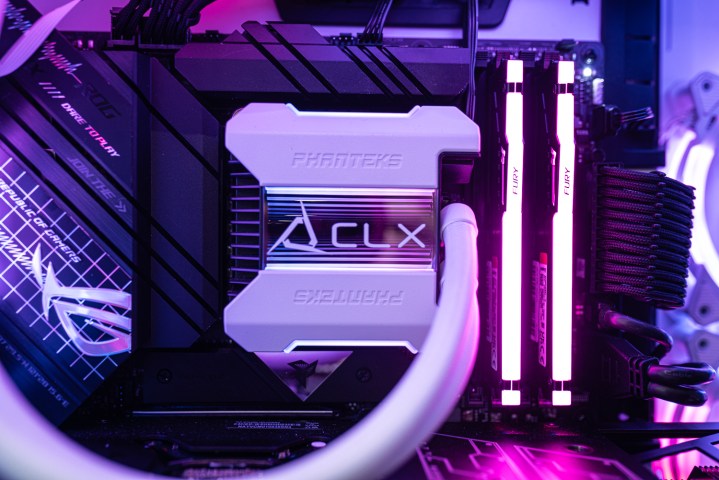
Outside of the case, there’s the matter of air or liquid cooling for your CPU. You’ll see plenty of spirited debate about which is quieter, but the cooling method is less important than you might think. What’s important is pairing the right cooler with the right CPU.
 Jacob Roach / Digital Trends
A modern, high-core-count CPU like the Core i9-14900K almost demands a liquid cooler because of how hot it can run. However, a modest CPU like the Ryzen 5 7600 can get by with something like the without much issue. In the context of noise, remember everything that I’ve covered with fans applies here. Throwing a 360mm all-in-one liquid cooler on your CPU means adding three additional fans to your case, while a standard air cooler usually only means adding one.
Finally, your graphics card. These days, most graphics cards do a good job of dispelling heat, and many even have a mode that shuts off the fans completely. If you’re optimizing for noise, look for a graphics card that can shut the fans off when the GPU is idle, and ensure that you aren’t placing the fans right up against a side panel. That can be particularly problematic with a vertical mount in cases like the NZXT H510.
Bringing it together
 Jacob Roach / Digital Trends
We’ve covered airflow, fans, and your other components, so it’s time to bring everything together. As mentioned, it’s a good idea to pick a kit of fans that you like, particularly all from one brand. I’m partial to Corsair, Lian Li, and Hyte fans, but choosing fans all from the same brand will make your life much easier.
Rather than hooking all your fans up individually, connect them all with a fan hub such as this hub. If you have an AIO cooler from Corsair, Lian Li, or another brand, you may already have a hub available.
Once you have your fans hooked up and your PC is detecting them, it’s time to set a fan curve. There are a lot of different ways to set a fan curve, either through software provided by your fan manufacturer like Corsair iCue or through your BIOS. I recommend Fan Control for anyone who doesn’t have software they’re already using — and we have a dedicated guide for using Fan Control.
 Digital Trends
Before making a curve, you need to figure out what sensor you’re basing the curve off of. In general, you don’t want to use the sensors on your actual CPU. Instead, use the sensors from your motherboard for case fans, and the sensors for coolant temperature from an AIO liquid cooler for your CPU. If you’re using an air cooler, you can use the CPU as a temperature sensor, but you’ll want to adjust the response time of the curve accordingly (more on that shortly).
I create two curves: one for my CPU and another for my case fans. Once you have the curves ready for tweaking, it’s time for a process of trial and error. Use a tool like HWMonitor and look at the temperatures under specific conditions. Note the range of temperatures when your PC is idle, when it’s at full load, and when you’re doing a common task such as playing a game.
The goal is to find breakpoints in temperature. For instance, if your CPU never gets above 45 degrees Celsius at idle or when doing light web browsing but goes above 60 degrees when playing a game, you’ll want to add a point on your curve around 50 degrees where the fans can start ramping up.
 I’m using Hyte Nexus to set a fan curve here, but you can apply the concepts elsewhere. Jacob Roach / Digital Trends
When optimizing for noise, I like to keep my curve very gradual at first before ramping up aggressively at the upper end of the temperature range. For my particular PC, that means running the fans below 25% speed until my coolant temperature reaches 45 degrees. From there, the curve gets gradually more aggressive. This keeps noise in check while still allowing the fans to ramp up if things get too hot. That’s what works for me, but you’ll need to experiment with your own components.
There are a couple of things to keep in mind when dialing in your own curve. If you notice your fans commonly transitioning to a higher speed when nothing particularly noteworthy is happening, that’s a sign you either need a more gradual curve, or that you need to move up the temperature at which the fan speed ramps up.
Similarly, if you find yourself commonly hitting the upper end of your fan curve, that’s a sign the curve is too aggressive and that you need your fans to spin up faster when temperatures are lower. It’s a balancing act, so keep an eye on your temperatures over the course of a few days and make adjustments to your curve accordingly.
If you want the quietest PC possible, you’ll need to trade cooling prowess.
Another aspect to consider when adjusting your curve is the response time, which is particularly important if you’re basing your curve off highly variable temperatures like the CPU package. The response time is how quickly the fan speed adjusts when moving up the curve. For me, I like to keep a fast response time because my temperatures are within a narrow window. If you have highly variable temperatures, a slower response time is better so that fan speed changes aren’t abrupt.
If you want the quietest PC possible, you’ll need to trade cooling prowess. There’s no way around that. The goal is have your fans spinning as slow as possible while keeping temperatures in a reasonable range. Each component is different, but as an example, I want my Ryzen 7 7800X3D sitting around 40 to 45 degrees at idle and not going above 75 degrees under load. You’ll need to adjust those ranges based on your components.
Outside of setting a proper fan curve, you can assist in keeping your PC quiet by having lower ambient temperatures — the temperature outside of your PC case. That not only means keeping the room your PC is in a bit cooler but also ensuring that your PC has plenty of access to clean air. Don’t obstruct the intakes, and make sure to keep your dust filters clean so that airflow is as clear as possible.
Experiment with undervolting
 Jacob Roach / Digital Trends
Your airflow is optimized, you have the best fans, and you’ve carefully dialed in your fan curve. But for some reason, your PC is either too loud or too hot. Let me introduce you to undervolting. This is something you can do to reduce the power draw of your CPU and/or GPU, leading to less heat, and therefore, less fan noise. The big deal with undervolting is that you’ll only see a miniscule drop in performance (or no drop at all) while saving a lot in the thermal department.
Undervolting a GPU is more common, and it’s fairly simple to do. We have a dedicated guide on how to undervolt your GPU, in fact. As we’ve see with recent graphics cards like the RTX 4070 Super, you often don’t need full power to achieve peak performance. The cards are highly efficient, allowing you to trim the power budget quite a bit.
CPU undervolting is more involved, and it’s more likely to lead to instability in your system. We have a guide on how to undervolt your CPU, but your milage will vary depending on which CPU you’re using. For instance, Intel’s most recent CPUs are very sensitive to power, so even a minor undervolt can result in a significant drop in performance. It really depends on what CPU you have, though.
If you have an AMD CPU, things are easier with Precision Boost Overdrive (PBO). You can set a maximum temperature within PBO, and it will automatically adjust voltages. With a recent AMD CPU like the Ryzen 7 7800X3D, you can often bring this down to around 70 degrees with a negligible drop in performance, all while keeping the CPU much cooler under load.
Keep it cool, keep it quiet
 Jacob Roach / Digital Trends
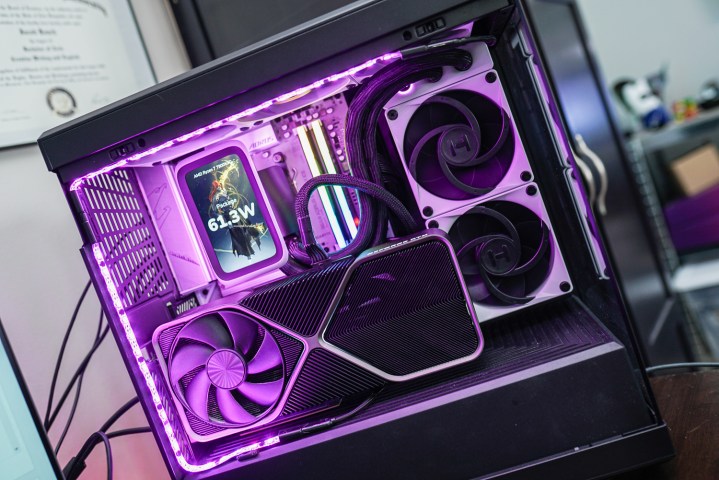
Finding a balance between cool temperatures and quiet operations isn’t easy, but it’s worth exploring. It’s easy to settle for a loud gaming PC and just assume that’s the way things need to be. But you can easily optimize for temperatures and noise by understanding airflow, placing your fans correctly, and configuring your curve for the ideal fan speed during each workload.
If you want to optimize your PC now, setting a fan curve, experimenting with undervolting, and placing your fans properly can make a world of difference. Don’t discount your hardware, however. When it comes time to upgrade, put an emphasis on noise when choosing your fans, case, CPU cooler, and even your CPU. When you bring software configuration together with hardware, you’ll have a PC that can stay quiet in most situations while keeping temperatures in check.

 Tfoso
Tfoso 


