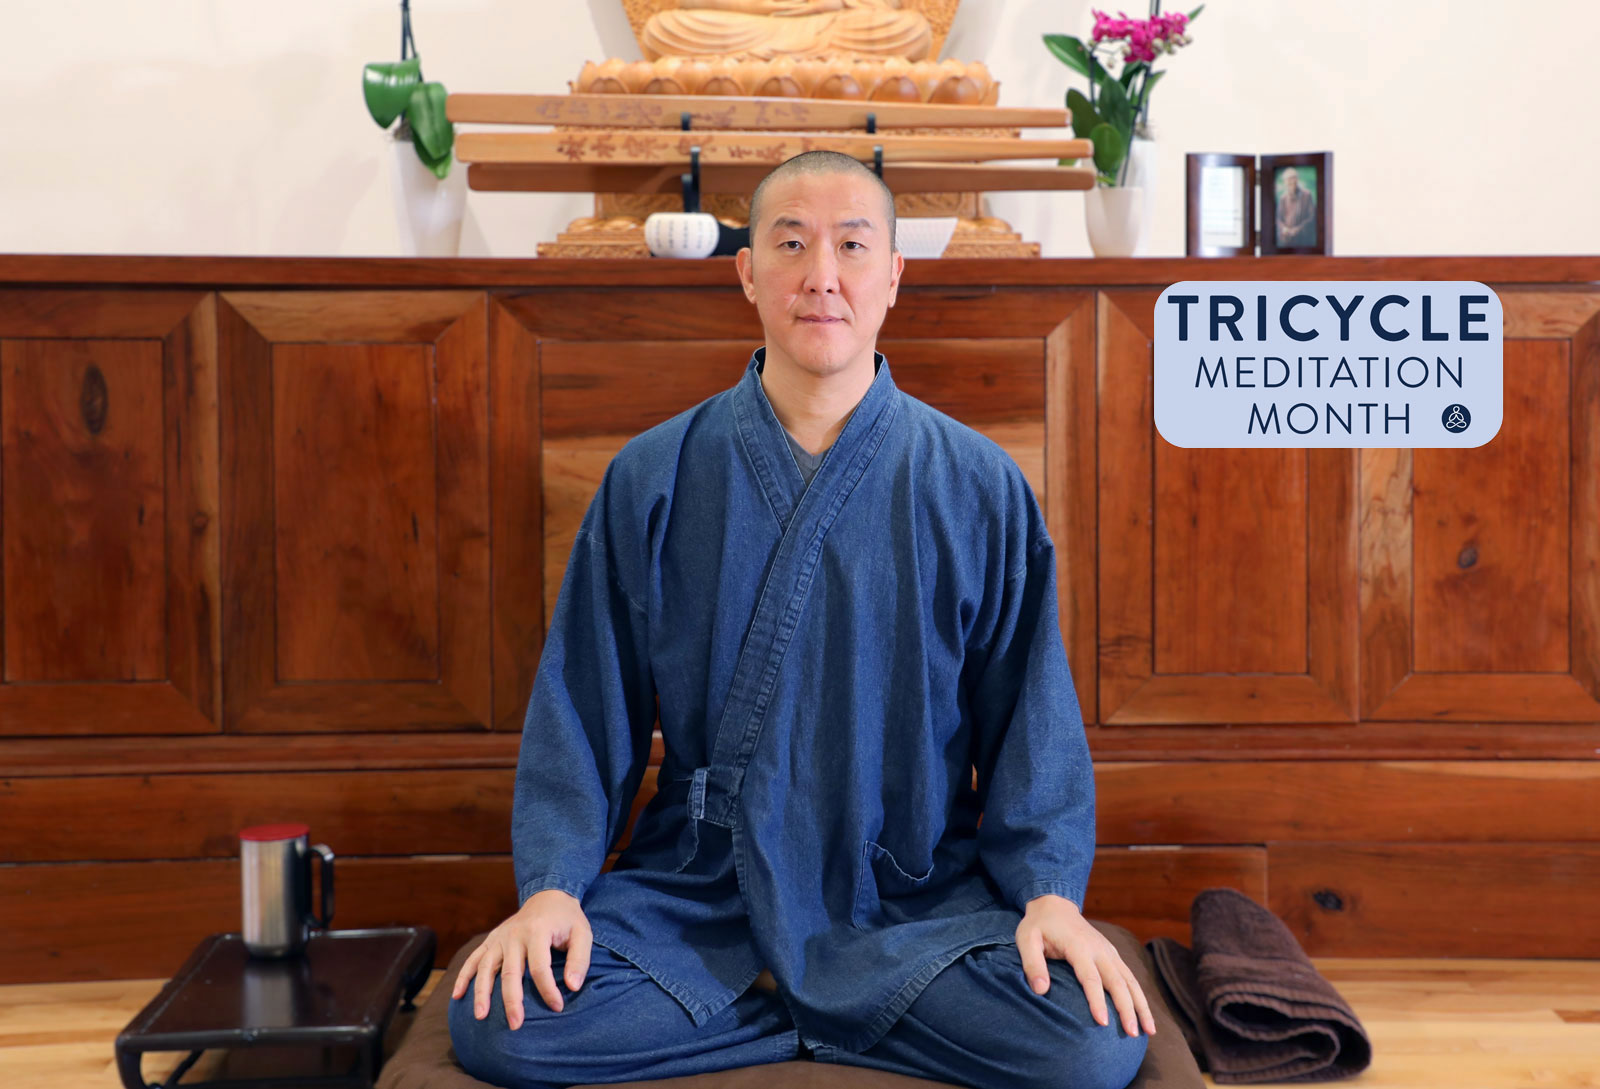
I Got A "Baby" Brow Lift & My Eyebrows Have Never Looked Fuller
My face framers have never looked better.
 Konoly
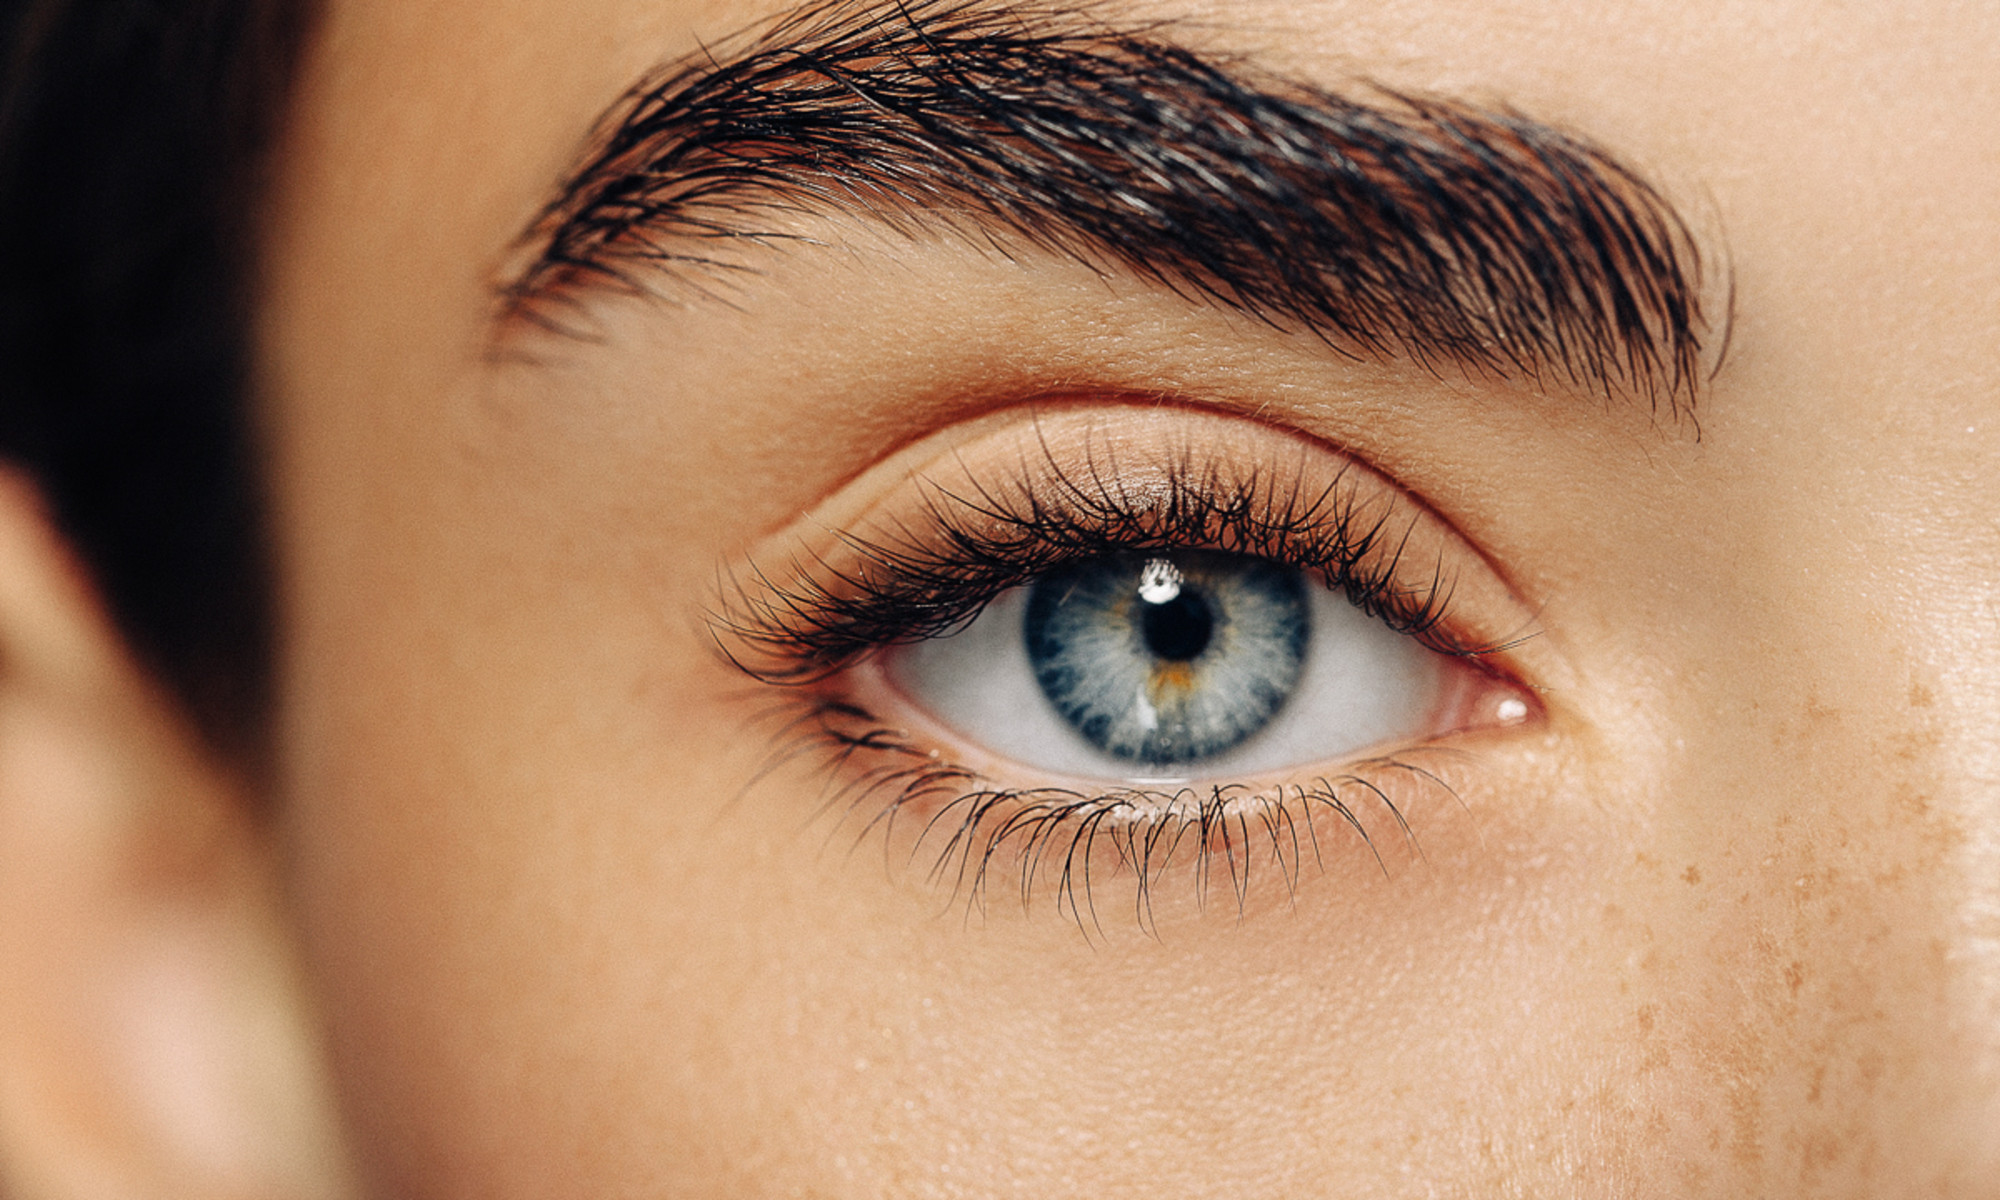
Your brows can literally change the shape of your face, and it doesn’t take much effort to alter the course. A mere pluck, pencil, or tint can accentuate your features, open the eyes, and liven up your appearance.
So when you see the term “baby lamination,” don’t think it won’t have much of an effect. In fact, my own brows have never looked fuller—and the subtle procedure maintains the health of those sensitive hairs.
First, let’s go over the process of regular brow lamination. Think of this treatment as a chemical relaxer or perm for your brows: “[It’s] a brow styling technique that involves the process of the use of a perming and fixing solution to chemically straighten out the brow hairs and achieve a perfectly-set shape with a gel like finish,” says celebrity brow stylist Melanie Marris, founder of Brow Code.
Once the hairs are more malleable, the artist can move them to cover gaps or scars, fluff them out to make them wider, or, in my case, brush them to add volume and lift. Essentially, it’s like using an extra-strength brow gel that doesn't go away with a face wash.
However, just like when one gets a perm or relaxer, that chemical process can take a toll on your strands over time—the brow hairs are especially vulnerable to brittleness and breakage, given that they are typically much finer and more sensitive.
Enter, “baby” lamination, a process that only treats the first inch or so at the start of the brow. “The area which normally grows in an upward direction is laminated, and the rest of the brow is left natural,” Marris explains. “This lamination method results in a subtle, more understated effect for everyday wear, while still achieving a clean, polished appearance.” And because you only treat a portion of the brow, the process doesn’t impair as many precious hairs.
She compares the treatment to babylights, which entails super-soft, tiny, and finely woven-in highlights for a very natural hair color. It refers to the width of the highlight, similar to how baby lamination refers to the placement of the perming solution.
That being said, you could generally think of “baby” lamination as any softer, step down procedure. For example, celebrity brow artist Kristie Streicher, founder of KS&CO, offers a “brow lifting” service that involves a gentle keratin solution to relax the hairs and lift them upward (essentially, a lamination). When I received the treatment, however, she took note of my thin, sensitive arches and decided to leave on the solution for only a fraction of the allotted time, so as to not cause breakage. I consider this a “baby” lamination as well, since it involves tweaking the process with brow health in mind.
I still reaped the benefits of a regular brow “lift” or lamination—the treatment just better fit my own, sensitive hairs. And let me tell you: My brows have never looked fuller.
While regular lamination has been popular for ages, “We’re finding there is currently a huge trend in baby lamination at the moment,” Marris adds, perhaps as folks prefer flexible, softer brow looks as opposed to flattened, straight arches. The baby lamination gives you a bit more freedom with your brows and keeps them healthy—which, in turn, makes them appear even fluffier.
The process generally looks like a regular brow laminating session: First, your technician will apply a perming solution to help break down the bonds within the brow hairs so that they can be morphed into a new shape or style. Only with the “baby” version, they will only apply the solution to the first inch (or ⅓) of the brow.
Following the application, your technician will cover the brows with cling wrap for five to eight minutes (or in my case, three to five) to ensure the brow hairs are fixed in an upright position. Then they will remove the cling wrap and remove the solution with a dry cotton swab.
Next up comes the fixing solution, which helps set and form the brow hairs into shape. They will again apply cling wrap for five to eight minutes before removing the cling wrap and any excess solution with a dry cotton tip.
The final step is a keratin application that helps to restore moisture in the brows and skin. According to Marris, this is a crucial step: “[It] ensures that your brow hairs receive the nutrients they might be stripped of during the perming process,” she notes. Her own keratin nourishing formula—found in her easy, at-home Lustre Lamination Kit—features hair-healthy players like vitamin E, panthenol, argan oil, and castor oil.
“We also highly encourage a proper brow care regimen post lamination treatment of any kind,” she says. “The lamination process can dry your brow hair which is why after care when using this service is key.” Consider brow growth serums and oils (like Brow Code’s Nourishing Growth Oil or KS&CO’s Aforé Oil) your BFFs.