10 Yoga Poses for Immediate Stress Relief
Yoga teacher-approved. The post 10 Yoga Poses for Immediate Stress Relief appeared first on Camille Styles.
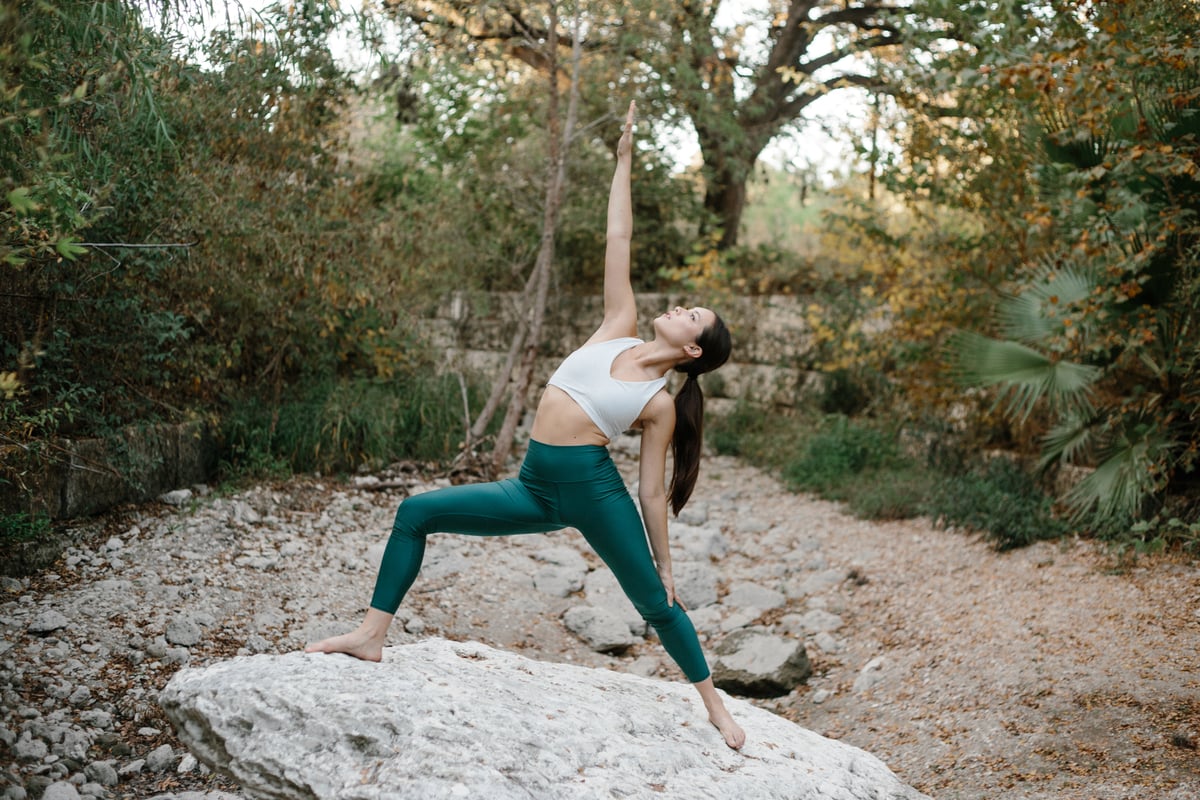
The combination of breathwork, postures, and movement in yoga—which stimulates what is often referred to as the “mind-body connection”—is like a happy pill for your brain every time you perform them together. Practicing yoga can prevent the hypothalamus from being overreactive, optimizing your body’s response to stressful stimuli. If you’re not comfortable going to a yoga studio to take a class yet, don’t worry. Ahead, our go-to expert, Kate Waitzkin is sharing easy yoga poses for stress relief to help kickstart your practice.
Featured image by Riley Blanks Reed.
Yoga and Stress Relief: The Perfect Pair
Most of us feel that our modern world’s abundance of stimuli can cause higher levels of stress than humans were designed to handle. We also know the long-term side effects of unmanaged stress can wreak havoc on your brain and body—think inflammation, digestion, headaches, muscle tension, and more. With all of this knowledge, finding a regular practice proven to reduce stress can truly change your life.
By continuing to bring your heart rate, blood pressure, and respiratory rate down—as relaxation does over time—you begin to reap the benefits and can better handle the micro-stressors we encounter every day.
Below, Kate breaks down ten poses that will help calm your mind and body so you can feel more relaxed, clear-headed, and happier overall. You can do these yoga poses first thing in the morning, at the end of a long day, or on your lunch break if you need an extra boost of stress relief from the comfort of your own living room. When practiced regularly, they can work wonders to relieve stress and anxiety.
1 of 7
Reclined Bound Angle
Come to rest on your back in the center of your mat with your knees bent and your feet flat on the floor about hip-width apart. Rest your arms alongside your body with your palms open toward the ceiling. Slowly bring the soles of your feet together and allow your knees to open out toward the sides of your mat. You may feel a sensation on your inner thighs, but if you feel any strain in your groin or lower back, place a block (or pillow) under each knee or thigh to support your legs. Stay here for two to three minutes, taking slow deep breaths in and out through your nose.
To come out of the pose, use your hands to support your legs as you draw your knees together and rest your feet on the floor.
Benefits of This Pose
Physically this posture opens the chest, abdomen, and pelvis and brings mobility to the hips. Combining this posture with deep, steady breathing focused on the exhales is also calming for the nervous system.
Reclined Twist
From the previous posture, draw both knees in toward your chest on an exhale. Extend your arms out to a T shape with palms facing up. Shift your hips a few inches to the right and drop both knees to the left until they rest on the floor. Do your best to keep both shoulders connected to the mat. If your right shoulder is lifted significantly off the floor and it feels like your arm is “hanging” in space, place a folded blanket under the legs/knees.
Stay here for one minute, gently come back to the center, and repeat on the second side taking your hips to the left and legs to the right.
Benefits of This Pose
This posture relieves tension and restriction in the muscles of the back, along the sides of the body, and between the ribs. As these muscles begin to relax, the breath is able to move with more freedom.
To come out of the pose, gently roll to one side and slowly press yourself up to a seat.
Child’s Pose
Come onto hands and knees/all fours. Bring your big toes together and your knees wider than your hips. Press your hips back toward your heels and fold forward over your legs. If your forehead does not comfortably touch the mat, place a block or a folded blanket underneath your forehead. You may also place a folded blanket between your seat and your heels for more support.
Extend your arms forward, but allow your elbows to bend and your forearms to rest down on the mat. Allow the full weight of your body to release into the floor. Stay here for 10 deep breaths.
To come out of the pose, bring your hands outside of your knees and gently press yourself up to a seat.
Benefits of This Pose
This pose gently stretches the lower back and may relieve tension in the shoulders and neck. As your external focus and attention are turned inward, the mind begins to quiet as you allow your body and mind to rest.
Supported Downward Facing Dog
Come back onto hands and knees/all fours. Place a block on the highest level in line with the center of your chest. Bring your knees directly under your hips and your hands slightly forward of your shoulders. Make sure your wrist creases are parallel to the front edges of the mat, spread your fingers wide, and press your palms evenly into the mat. Tuck your toes under and lift your hips up and back into Downward Facing Dog.
Bring your forehead to rest on the block. You may need to adjust the placement and/or height of the block until you can fully rest the weight of your head on the block while keeping the natural curve of the neck. Press the top of your thighs back and your heels down. If you feel any strain in the lower back, take your feet wider and/or bend your knees.
Take slow, deep breaths and stay here for one to two minutes. To come out, lower your knees to the floor and rest in Child’s Pose for a few breaths.
Benefits of This Pose
This posture opens the back of the body and may help to relieve tension in the upper back, neck, and shoulders. Allowing the head to rest on the block offers an opportunity for the mind to become quiet and reflective.
3 of 7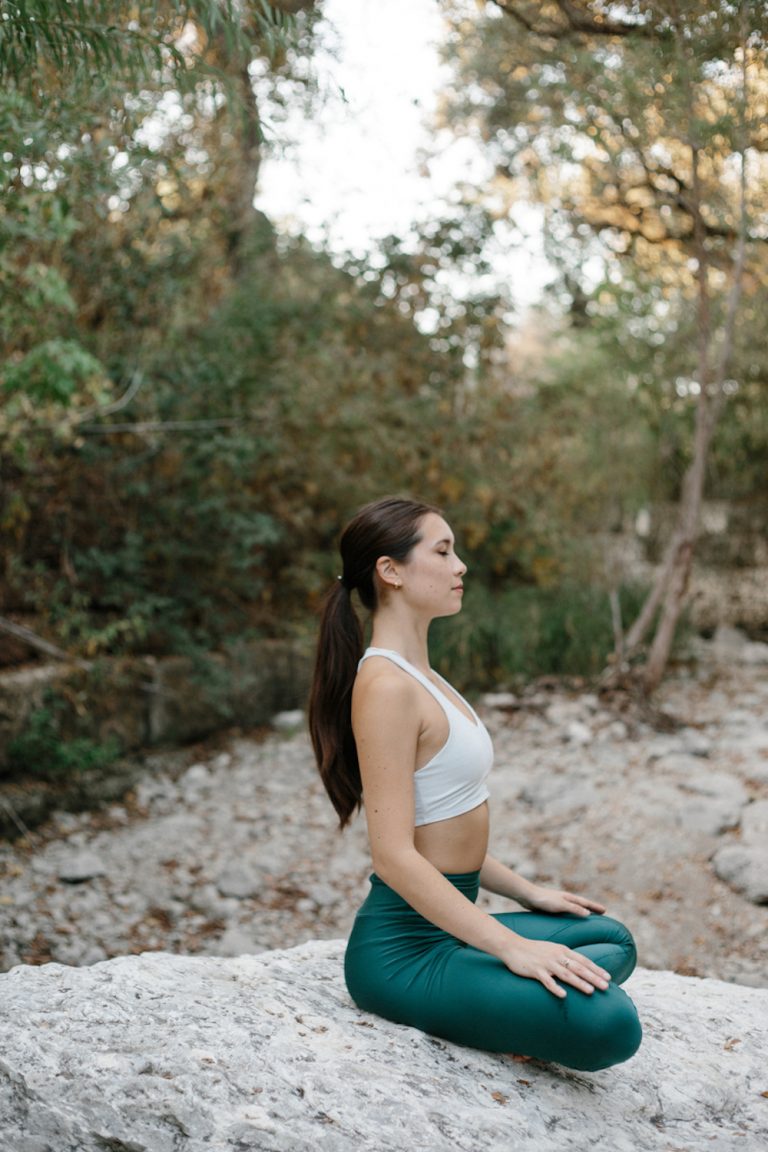
Wide-Legged Forward Fold
Return to Downward Facing Dog without the block. Step your right foot forward between your hands, then turn your feet to face the long left side of your mat. Your feet should now be parallel with the short edges of your mat. Place your hands on the floor (or on blocks) directly under your shoulders.
Stay here or, for another variation, clasp your peace fingers around your big toes or hold your outer ankles and bend your elbows out to the sides. Allow the crown of your head to release toward the earth as you gently lift the tops of your shoulders away from your ears, keeping the back of your neck long. Evenly distribute the weight between the front and back of your feet.
Stay here for 5-10 breaths. To come out of the pose, turn toward the front of your mat, returning to a lunge with your right foot forward. Step back to Downward Facing Dog, then lower your knees and come to rest in Child’s Pose once again.
Benefits of This Pose
Similar to Downward Facing Dog, this pose opens the back of the body and may help to relieve tension in the upper back, neck, and shoulders. Holding the head below the heart in this position aids in quieting the mind.
Half Pigeon
From Downward Facing Dog, bring your right knee forward toward your right wrist. Gently, place your knee down on the earth just behind and slightly to the right of your wrist. Lower your back knee down. For some, the front shin may be parallel with the front edge of your mat, but for most (including me!), the right shin will be on a diagonal with the heel closer to your left hip or pubic bone.
Be sure your back leg is extending straight back. Gently draw your left hip forward in space and your right hip back. Ideally, both hip points are shining forward equally. If you find your weight is shifting onto your right seat, place a folded blanket under your right sit bone. As you feel ready, begin to fold forward and place your forehead on a blanket. If you feel any discomfort in your front knee, slowly come out of the pose and take a Reclined Figure Four shape on your back.
Remain here for one to two minutes. Mindfully make your way back to Downward Facing Dog and repeat the pose on your left side. To come out of the pose, mindfully make your way back to Downward Facing Dog, then lower your knees and rest in Child’s Pose for a few breaths.
Benefits of This Pose
This pose increases hip mobility and offers to ground your energy as you rest close to the earth.
4 of 7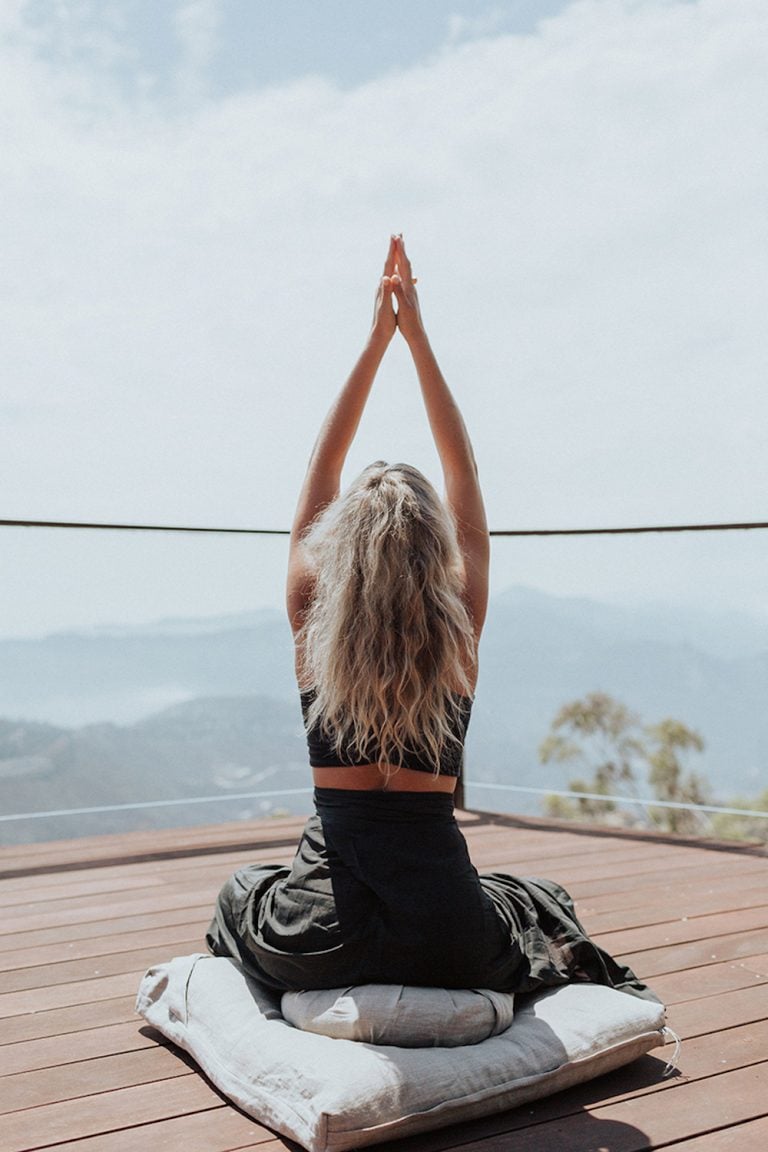
Sphinx
From Child’s Pose, transition forward onto your belly and prop yourself up onto your forearms. Bring your elbows directly under your shoulders and your hands in line with your elbows. Separate your feet to hip-width and press the tops of your feet down into the mat as you spread your toes wide. Gently roll your inner thighs open toward the ceiling and lengthen your tailbone down towards your heels—this will help to bring spaciousness to your lower back.
Hug your outer ankles in toward your midline and reach back through your toes. Energetically, draw your lower belly up and away from the floor. (It may not actually lift off of the floor, but the action of drawing up and in will help to bring stability to your lower back.) Slide your chest forward and up while allowing the tops of your shoulders to soften down away from your ears as you relax your neck and jaw.
Close your eyes and stay here for 10 deep breaths. To come out of the pose, slide your elbows out to the sides and rest your right cheek on the mat. Press yourself back into Child’s Pose for a few breaths.
Benefits of This Pose
This pose opens the lungs, chest, and shoulders and stimulates the abdominal organs. The nervous system may begin to calm as you make contact with the earth and breathe deeply in this shape.
5 of 7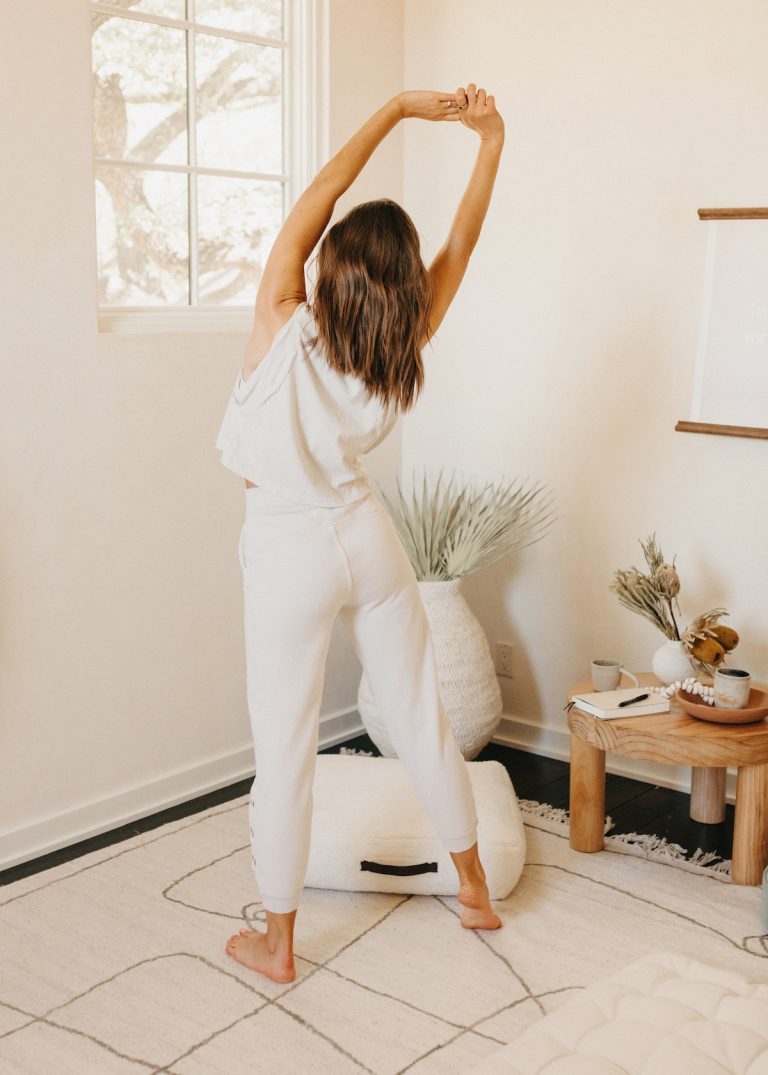
Standing Forward Fold
From Child’s Pose, transition into Downward Facing Dog, then walk your hands toward the back of your mat. Separate your feet slightly wider than hip-width apart and parallel to the edges of your mat. Bend your knees generously until your belly comes to rest on your thighs. Do your best to distribute your weight evenly between all four corners of your feet. Allow your hands to rest on the floor or on blocks. Allow your head to hang heavy as you shift your gaze softly to the space between your heels.
Stay here for ten deep breaths. To come out of the pose, bring your hands to your hips. Lead with your chest and rise halfway up on an inhale. Pause here for a full cycle of breath, then slowly rise to stand on your next inhale. Drop your chin toward your chest for a few breaths as you come to stand upright.
Benefits of This Pose
This pose may reduce fatigue, support the digestive process, and helps to calm and quiet the mind.
Legs up the Wall
Place your support—a bolster or folded blanket—about six inches away from the wall, with the long edge facing the wall. Depending on your height, you may need to adjust this distance. Sit sideways on the support with your knees bent and one hip and shoulder near the wall. Slowly lean back onto your elbows as you swing your legs up the wall, then bring your shoulders and head down to the floor. The back of your pelvis/hips and low back should be supported by the bolster, and your sitting bones should “spill” over the edge of the bolster nearest the wall. Gently draw your chin toward your chest so the back of the neck stays long.
Stay here for five minutes (or longer if you are comfortable!). To come out of the pose, bend your knees and rest your feet on the wall. Gently roll to one side and slowly press yourself up to a seated position. Tip: This pose may be done with or without the support. If done without, be sure that your tailbone and hips are grounded on the floor, not lifting up, which may require you to move further away from the wall.
Benefits of This Pose
This legs-up pose is known to reduce the effects of stress as it quiets the mind while also relieving tired legs, feet, and backaches, supporting circulation throughout the body.
6 of 7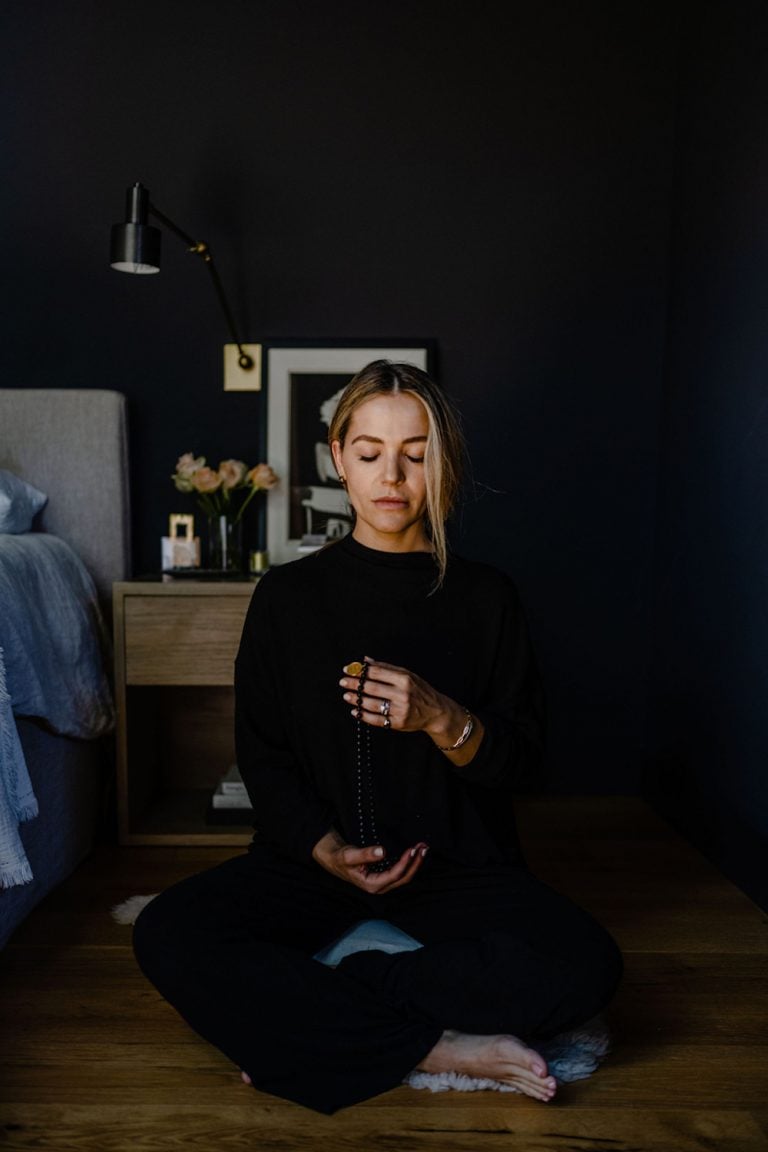
Supported Deep Rest (Corpse Pose or Savasana)
Begin by folding a yoga blanket or a large towel in half. Starting at the long edge, create a tight roll. Place the rolled blanket/towel about two feet away from the bottom edge of your mat. Lie flat on your back, placing the rolled blanket underneath your knees. Separate your legs slightly wider than hip-width apart and allow your feet to naturally fall open to the sides. Place your arms alongside your body with your palms facing up. If your head is not comfortably resting on the floor with your chin gently drawing down toward your chest, consider placing a folded blanket underneath your head.
Release your lower jaw away from your upper jaw and allow your tongue to soften away from the roof of your mouth. Soften your forehead and your awareness to settle gently onto your breath.
Stay here for 5-10 minutes. To come out of the pose, bend your knees, bringing your feet to the rolled blanket. Gently turn over onto one side and stay for a few breaths. Use your hands to press yourself up to a seat. Take a few breaths here with your eyes closed noticing how you feel. When you feel ready, gently open your eyes.
Benefits of This Pose
Allowing the body to release effort and rest in deep relaxation calms the mind, reduces fatigue, and may release tension that causes stress in the body.
This post was originally published on October 5, 2020, and has since been updated.

 Koichiko















.jpeg&h=630&w=1200&q=100&v=a905e78df5&c=1)

