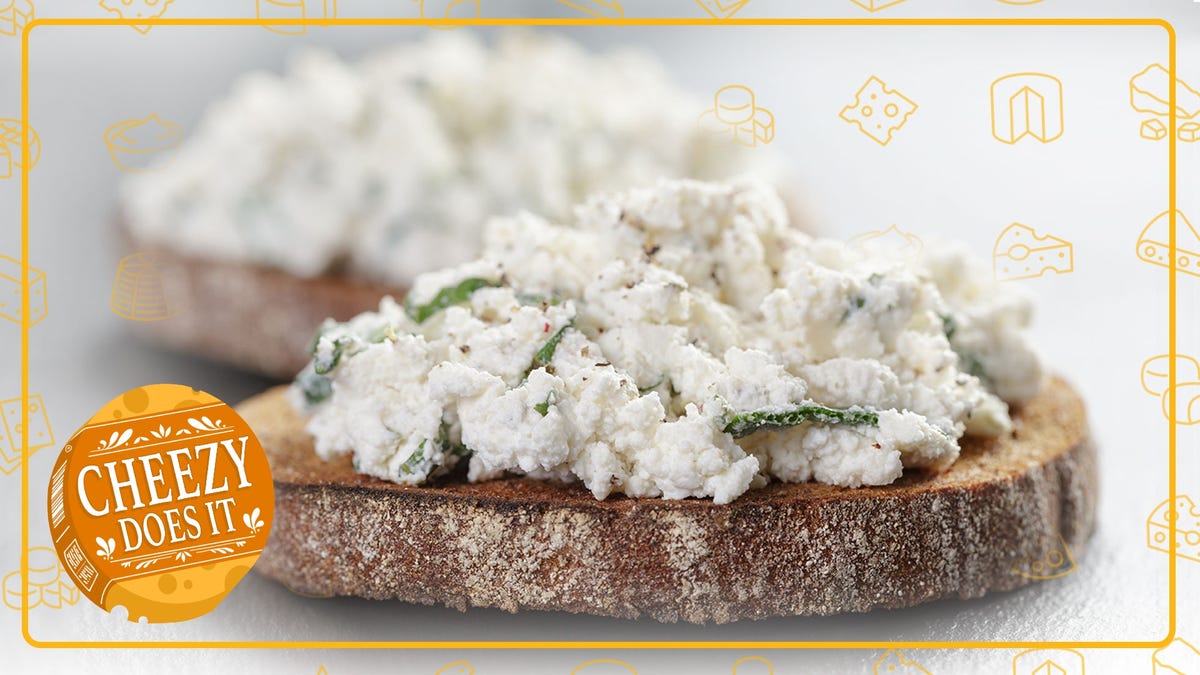
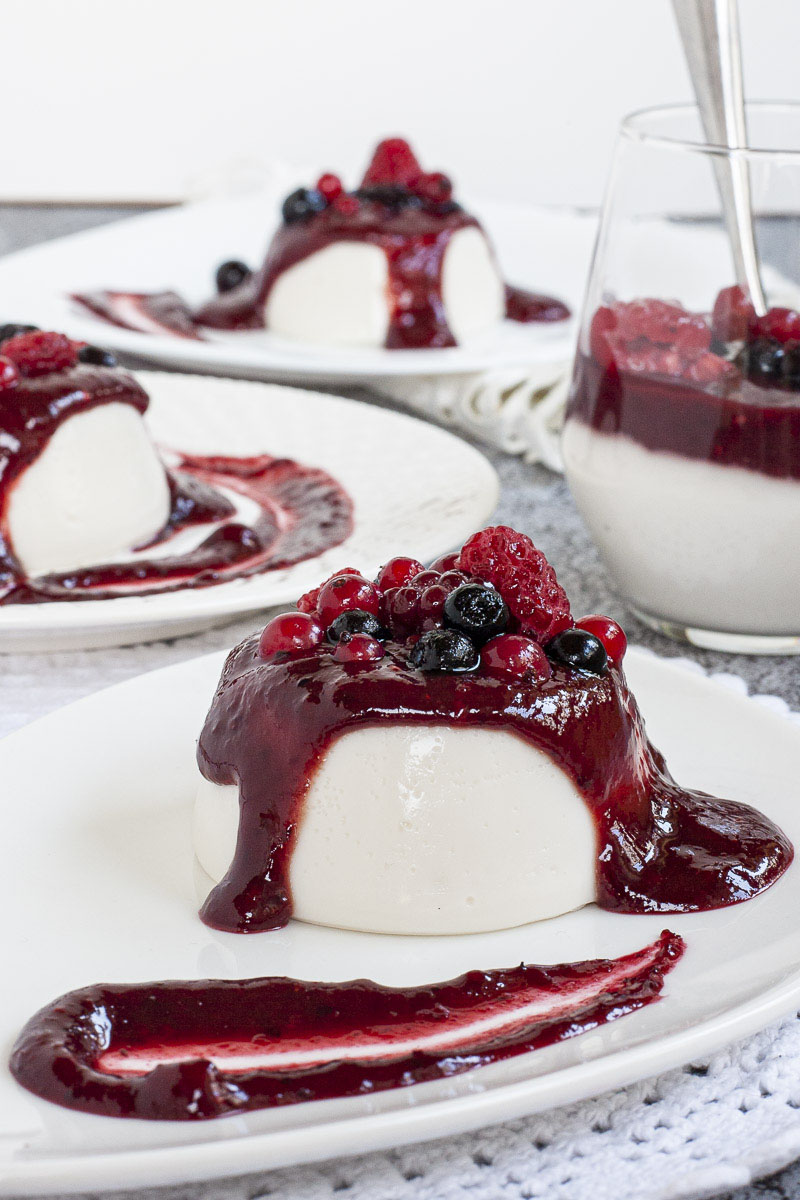
Turn Creamy Ricotta Into a Hard Grating Cheese
Ricotta doesn’t get enough airtime. It’s a perfect food, capable of handling both savory and sweet, and it lives in that space between smooth and silky and toothsome. I challenge you to find a cheese with as much potential...
 BigThink
Ricotta doesn’t get enough airtime. It’s a perfect food, capable of handling both savory and sweet, and it lives in that space between smooth and silky and toothsome. I challenge you to find a cheese with as much potential as ricotta.
Ricotta is also the easiest cheese to make—so simple that you might call it “unfuckupable.” In fact, making ricotta boils down to capturing milk solids—an up-cycle more than a recipe. When making any other cheese, you can take the whey, add a coagulant, and make ricotta from it.
You will benefit from making this cheese first, and instead of using whey, we’re going to make whole-milk ricotta, because the world is rough right now, and you deserve something good. As a savory reward, we’ll take it one step further and make ricotta salata, a hard cheese that you can grate after it’s aged, so you’ll be able to remember this moment in time–you, the cheese, and the feeling of satisfaction you’ll have presenting this cheese to your friends.
Ricotta (adapted from a recipe by Gavin Webber)
Ingredients:
1 gallon milk, not ultra-pasteurized (Pasteurized, VAT-pasteurized, or raw is OK.)2 teaspoons citric acid, dissolved in ¼ cup distilled water1 teaspoon non-iodized saltEquipment (Check out our buying guide for equipment recommendations):
6-quart or larger stockpot3-quart saucepanStainless steel colanderCheeseclothMeasuring spoonsThermometerCheese press (if making ricotta salata)One medium cheese mold with a follow (if making ricotta salata)Set up the space
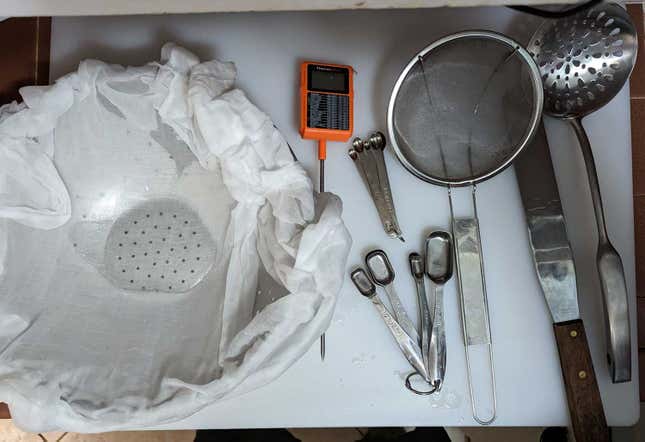
Photo: Amanda Blum
As with all things cheese, cleanliness is next to curdliness. Make sure the pot, the counter, all the utensils you’ll need and use—from the measuring spoons to the thermometer—and the faucet and sink are all freshly clean and sanitized, either with white vinegar or a sanitizing solution. Keep a spray bottle of vinegar and clean towels nearby.
Before you begin, boil water in a pot on the stove, and submerge your cheesecloth for at least a minute, then use sanitized tongs to take it out and stretch it over your colander .
Once you start, you don’t want to wash dishes or anything else in the kitchen, as water droplets can contaminate your cheese. If you have ferments going, you’ll want to cover them or relocate them so they don’t contaminate your cheese. We’re looking for a sterile environment, because we do not want to contaminate your cheese. Contaminating your cheese is bad.
Heat the milk
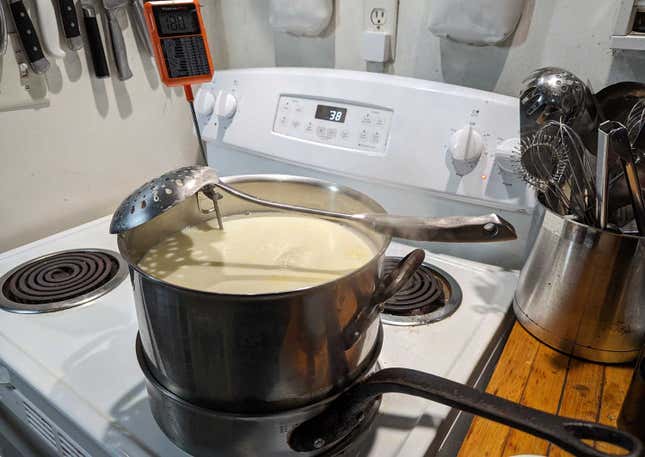
Photo: Amanda Blum
Since we’re going to be hitting higher temperatures with this cheese, you’ll want to use a double boiler so you don’t burn the milk. Set up a sauté pan with a few inches of water, and at least a six-quart pot on top of it. Make sure your thermometer is attached to the pot, then pour in your milk. Turn the heat on medium-high, and begin stirring.
The goal temperature is 190℉, but don’t race there. It should take at least 20 minutes to get to that temperature, stirring the whole time. Once you hit it, turn off the heat, but don’t move the pot.
Add a coagulant
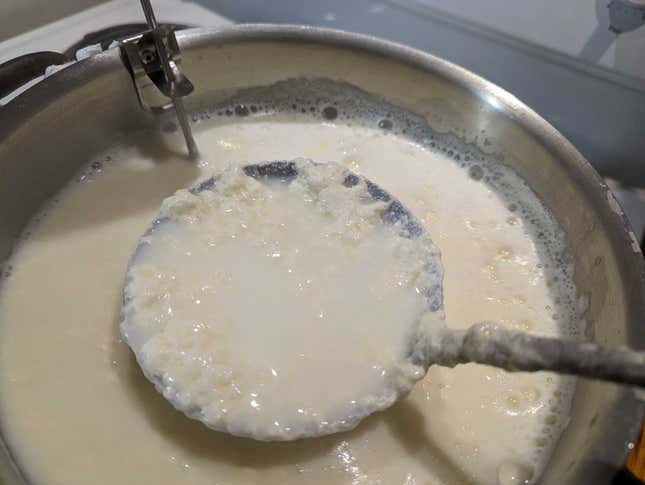
Photo: Amanda Blum
Stir the milk so you have a nice little cyclone going, then pour in half of the citric acid solution. The milk is going to curdle, which is what we’re looking for. You’ll now have curds (solids) and whey (liquid). Keep stirring. Watch the whey; we’re looking for it to turn yellow. That sounds vague, but you’ll recognize it when it happens. After a minute of stirring, add the rest of the citric acid a tablespoon at a time, but only add as much as you need to get that yellow whey. Once it’s yellow, add one more tablespoon of citric acid and stir it in.
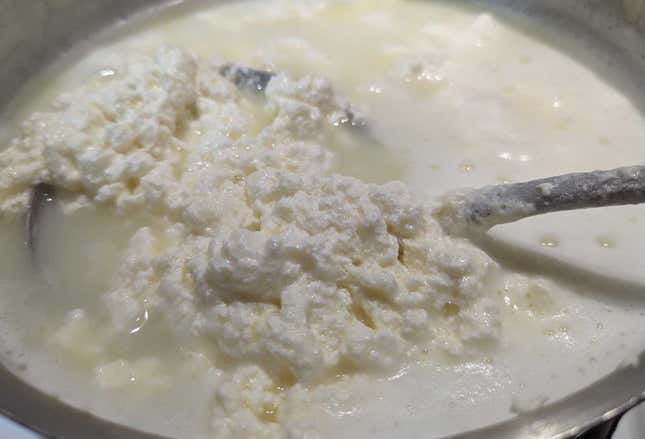
Photo: Amanda Blum
Spoon off the curds
Take the pot over to your sink and slowly and gently pour everything into a cheesecloth-lined colander. If you can’t pour it in gently, use a slotted spoon to ladle the delicate curds into the colander.
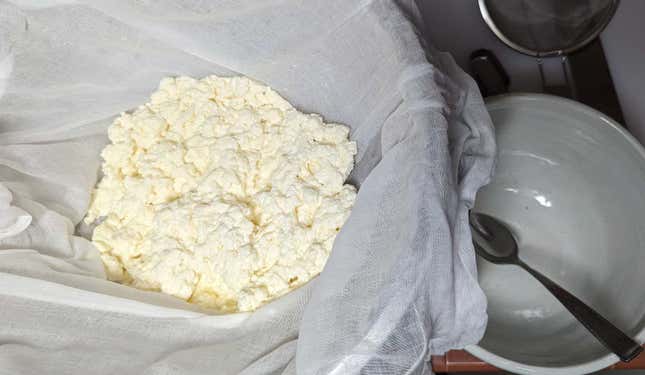
Photo: Amanda Blum
Let the curds drain for 15 minutes to an hour. You can tell it’s “done” when you squeeze a curd between two fingers and it leaves a creamy residue. Sprinkle salt over the curds, stir, give the cheese a taste and adjust the salt to your liking.
That’s it. You can set sail on a ship made of cannoli or make gnocchi so light you can float to space on a raft of ‘em. Making ricotta really is that simple; it keeps in the fridge for a week or so.
Level up with ricotta salata
If you’re feeling unchallenged and ready to tackle a hard cheese, ricotta salata is a good one to start with. It’s hard to screw up because it’s ricotta, and ricotta is reliable.
Ladle your curds into your clean cheese mold. Use your spoon to even them out. Now put the follower on top, and set the cheese in your cheese press. Your cheese press has a gauge for weight, and with most cheeses, you’ll start with a lower weight and work your way up. With this particular cheese, go for broke.
Load a 30-pound weight and let it sit for an hour, then crank it up to 50 pounds. I flip the cheese every two hours for the first five or six hours, or until I go to bed. That’s how exact it is. That’s ricotta. After 12 hours in the press, flip it onto a bamboo mat and leave it in the open air for at least a day. The room should be between 60℉ and 70℉, no hotter, and should have some air circulating. Flip the cheese daily with clean hands.
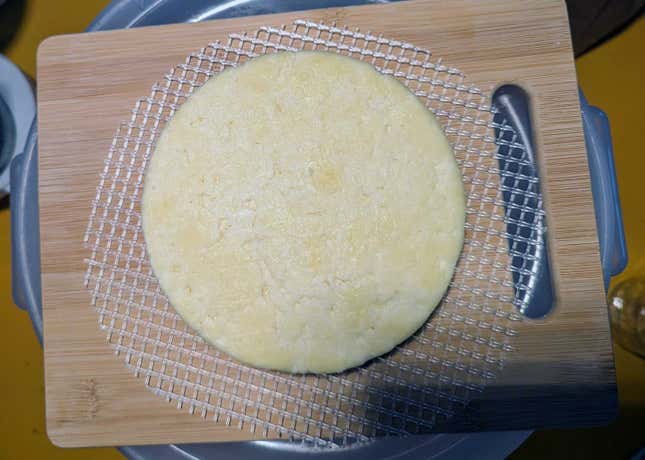
Photo: Amanda Blum
The cheese will start to feel dry to the touch on the exterior, and when it does all the way around, you can transfer it to a Tupperware or a vacuum-sealed bag, Tuck it into your cheese fridge for at least a month, then you can take it out, try a slice, see how it tastes, and if it shreds. You can continue to age as needed, until you get a shreddable texture and flavor you enjoy.
A note on hard cheeses and their mold
Cheese is made of mold. Mold is not inherently bad. In fact, we introduce mold to cheese on purpose—that’s your culture. But ricotta salata is not made with cultures, so mold isn’t a great sign. Black mold, blue mold, brown mold—those are bad. Toss your cheese if you see them.
When you cut open your cheese, look at the holes. They should be irregularly shaped, not perfectly round. Doesn’t matter how many irregular shaped holes there are—those are called “mechanical holes,” and are created by the pressing process, and the cheese knitting together. If there are perfectly round holes, that’s bad. Round holes represent yeast or coliform, and both are no good. Don’t think about it, just toss it—compromised cheese is not worth your health.


.jpg&h=630&w=1200&q=100&v=f776164e2b&c=1)